How to Build a Real Estate Website From Scratch
May 10, 2026
/
Brian & Miglė C.
/
14 min Read
In the real estate industry, transactions involve substantially larger sums of money compared to other sectors.
As a real estate agent, you need to establish a trustworthy persona, so both property owners and potential buyers are willing to entrust you with their valuable assets and investments.
One of the proven ways to showcase your professionalism and expertise is by creating a real estate website. In this article, we’ll show you the whole process of building one, from the initial planning to launch.
Download website launch checklist
How to Build a Real Estate Website
Although there are several ways to make a website, using website builders is the easiest option for real estate agents with no prior experience.
These tools usually come with ready-to-use templates and easy customization options, meaning that anyone can start with absolute ease.
But before we get to the website-building part, you will need to define a clear objective and plan for your project first.
1. Plan Your Real Estate Website
Are you a real estate agent looking to sell properties online? Or your vision is to create a platform to connect buyers and sellers?
By knowing the specific property site to create, you set a roadmap for the design, content, functionality, and overall user experience for your clients.
In general, there are four different types of real estate websites:
- Property listing portals. Websites that aggregate property listings from various sources, including real estate agencies, individual sellers, and landlords. Examples of property listing websites include Zillow, Realtor.com, and Trulia.
- Real estate agency websites. Belonging to real estate agencies and individual brokers, this type of website is designed to showcase their listings, services, expertise, and client testimonials. Want to get inspired? Check out these 10 examples of real estate agent websites created using Hostinger Website Builder.
- Real estate marketplaces. Platforms like Redfin, Opendoor, and Offerpad facilitate transactions between buyers, sellers, landlords, and agents. Their main features include property matchmaking, virtual tours, mortgage calculators, and escrow services.
- Property management websites. These platforms help landlords promote, manage, and earn passive income from their rental properties. A property management website handles everything from displaying available rental units, screening potential tenants, collecting rent payments, and facilitating maintenance requests.
Whether you want to create a property listing website or a real estate marketplace, understanding your audience is equally important.
For instance, first-time homebuyers or new couples may seek educational resources and guidance, while seasoned investors will expect detailed property listings and in-depth market insights.
This strategic approach not only enhances user engagement but also increases the chance of achieving your desired outcomes, whether that’s converting leads into clients or establishing yourself as an authority in the real estate sector.
Make sure to document all of this crucial information in a well-structured business plan. It serves as a guiding framework, helping you stay aligned with your objectives and goals.
2. Sign Up for a Website Builder
Once your main goals, business ideas, and target audience are sorted out, the next step is to sign up for a website builder.
When choosing the best website builder for your real estate business, consider the following factors:
- Ease of use. Find a website builder offering a user-friendly interface, a wide selection of website templates, and AI tools for a quick and hassle-free start.
- Customization. Look for drag-and-drop functionality, so you can easily tailor the website’s look and feel to your exact liking.
- SEO and marketing tools. Search engine optimization helps your site rank higher on search engines like Google, while marketing tools enable you to convert website visitors into customers.
- Value for money. Make sure the price is worth the features offered. As a rule of thumb, some website builders come bundled with web hosting and a custom domain name in one package.
For this tutorial, we’ll use Hostinger’s real estate website maker to illustrate the steps of creating your own website.
With this tool, you can use AI to generate a full-fledged website in minutes or choose from 150 ready-made templates. Either way, customizing your real estate website is easy with the drag-and-drop editor.
There are also built-in SEO tools and third-party marketing integrations designed to help you generate leads, convert potential clients, and maintain long-term customer relationships.
The best part? All of these features are available in the Business Website Builder plan, starting at just $3.99/month.
Here’s how you can sign up for Hostinger Real Estate Website Builder:
- Visit the Hostinger Real Estate Website Builder landing page.
- Scroll down to the pricing table and choose the Business Website Builder plan.
- Select a subscription duration. We recommend going for the 48-month option for the best value for your money.
- Create a new Hostinger account, select a payment method, and fill in your personal information.
- Click Submit Secure Payment.
After the payment is finalized, you will be redirected to the onboarding page. Here, you will find a couple of website creation methods you can choose:
- AI Website Builder. Enter your brand name, select a website type, and briefly explain your business. Then, AI will generate a fully functioning website in a matter of minutes.
- Ready-made templates. Choose from 150 pre-made designs, five of which are specifically made for real estate companies.
Both options are equally accessible. It’s just a matter of personal preference.
That being said, we recommend starting with a real estate template based on your goals, as its overall website structure is carefully designed for real estate agents.
3. Customize Your Real Estate Website
If you want to start with a template, click Use pre-made templates at the bottom of your screen.
When the template selection page appears, take a closer look at each design option by hovering over it and selecting Preview. You can see how the template looks on both desktop and mobile devices.
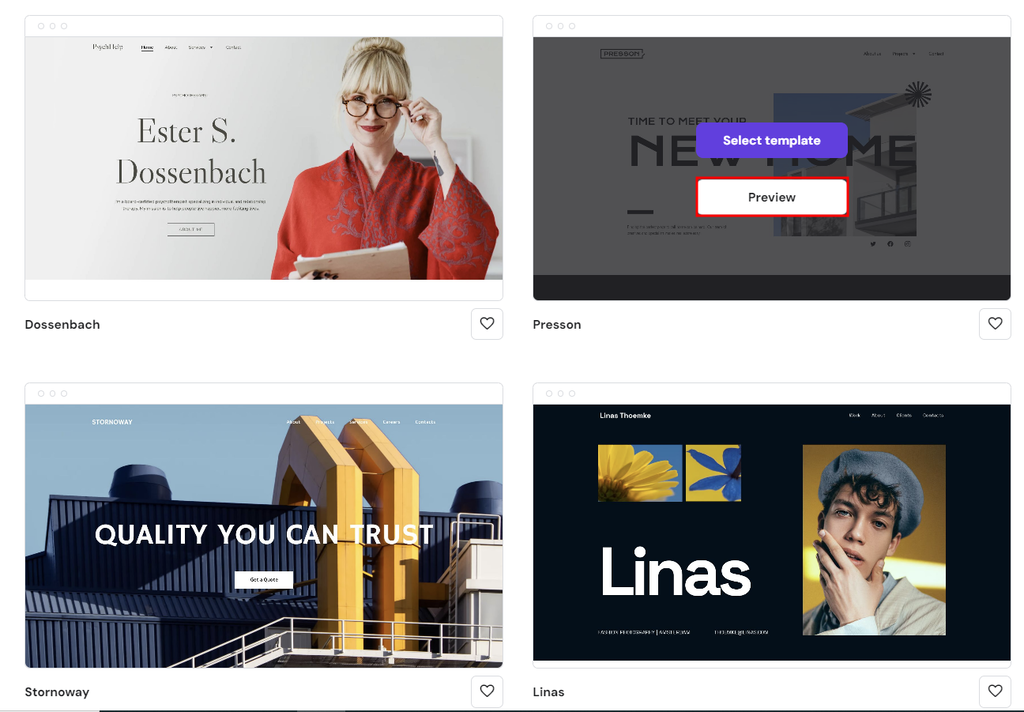
Make sure it has every section you need to start selling real estate listings. Once you’ve found the perfect match, click Start Building to customize your website’s design.
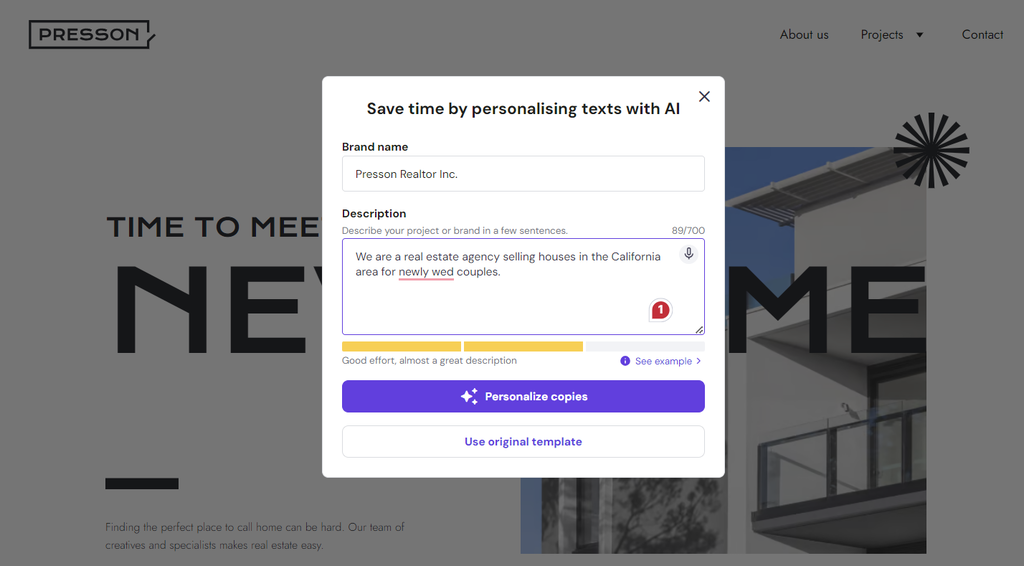
You will be asked to fill in some information about your real estate business so our AI algorithm can generate unique content that truly represents your brand. But if you’re confident in your copywriting skills, select Use original template instead.
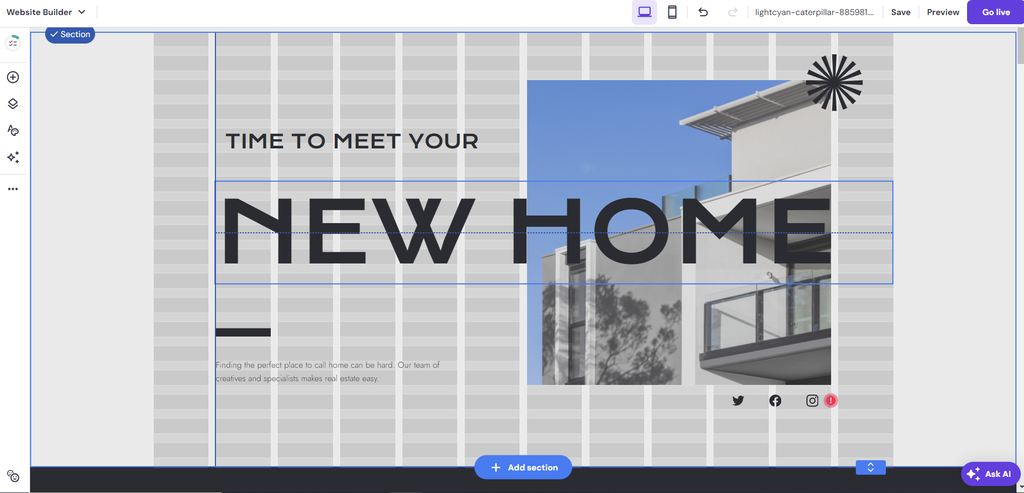
After selecting a template, it’s time to customize it to fit your brand identity using the easy-to-use website editor.
Uploading a Logo
Let’s start by uploading your logo, as it will define your brand’s unique visual identity. In the Header section, click the placeholder logo, select Replace Image, and upload the logo file from your computer.
Don’t have a logo yet? Don’t worry. Use our AI Logo Maker to create a bespoke logo in a matter of seconds. As a Hostinger user, you will receive one free credit, which you can use to generate a set of logos once.
One credit will give you four logo variations, and you can download all of them for free. Here’s how to use the tool:
- Head to the left sidebar → AI Tools → AI Logo Maker.
- Enter a brief description of your brand and choose a logo style – Corporate, Futuristic, Minimalistic, Luxury, or Elegant, alongside a few others.
- Click the Settings icon and toggle the button to add colors to your logo.
- Hit Create and wait a moment or two as AI generates your logo.
- Select your favorite logo design, make some additional tweaks, and download it once you’re happy with the result.
Adjusting the Layout and Styles
By default, each template comes with a predefined layout, so it’s just a matter of customizing it based on web design best practices.
To adjust each text or picture, simply drag and drop it anywhere you like. Our Smart Layout grids help you keep everything aligned perfectly.
You can also choose colors and fonts that reflect your brand’s personality and values, all while ensuring readability for users.
There are two main ways to do that – configuring the global styles or editing each element locally.
To customize the site-wide settings, navigate to the left menu bar and click Website Styles:
- Colors. You can customize your site’s colors by playing around with the available palettes or adding a specific web color code.

- Fonts. To change your text styles, pick a typography combination for all headings, paragraphs, and navigation links. Alternatively, you can upload a custom font.
- Buttons. There are three shapes you can choose for your call-to-action buttons.
- Animations. Select an animation type (Fade, Slide, or Scale) to be applied to all elements of your site. Keep in mind that while it provides a more appealing presentation, using an animation can also slow down your site.
It’s crucial to incorporate branding elements consistently throughout the website to reinforce your brand identity.
If you want to adjust the styles for individual elements, simply select the preferred text or image, click Edit, and change its color or font.
For more comprehensive steps, check out this guide on how to edit a website’s content and design using Hostinger Website Builder.
4. Add Must-Have Features of a Real Estate Website
Next, let’s add all the essential features that make a great real estate website, including property listings, search functionality, contact forms, and map integration.
Property Listings
Our real estate templates already come with pre-made listing pages, so your audience can easily view properties you sell or lease.
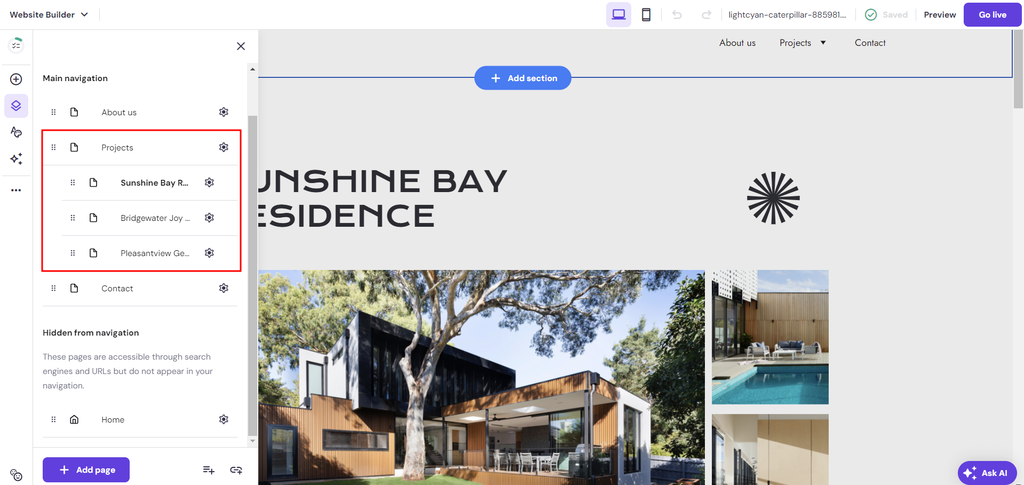
To customize them, head to the left sidebar and choose Pages and navigation. There, you will find the main Projects section with three sample listing pages. Click one of the pages to customize its content and visuals.
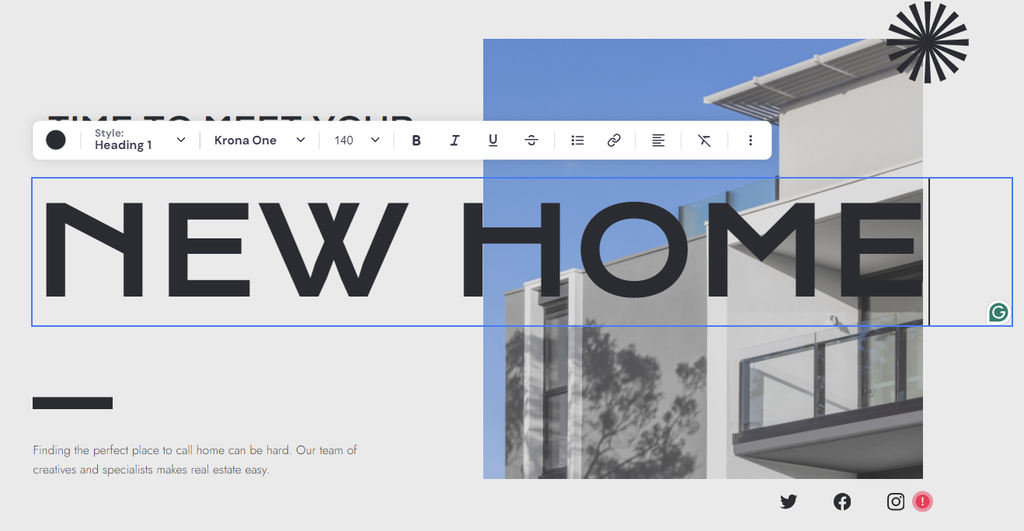
Let’s start with the heading. This is your opportunity to make a strong first impression, encouraging potential buyers or renters to explore further and engage with your listing.
Simply double-click the placeholder text and input your own title. Here are some tips to make it more compelling:
- Include the location. As one of the most critical factors for buyers and renters, mentioning the specific location of your listing is a must. Use the neighborhood name, city, or notable landmarks if they add value.
- Think of your ideal audience. Analyze who your ideal buyer or renter might be. Phrases like “Family Home,” “Student Apartment,” or “Executive Suite” can help target your listing to the right audience.
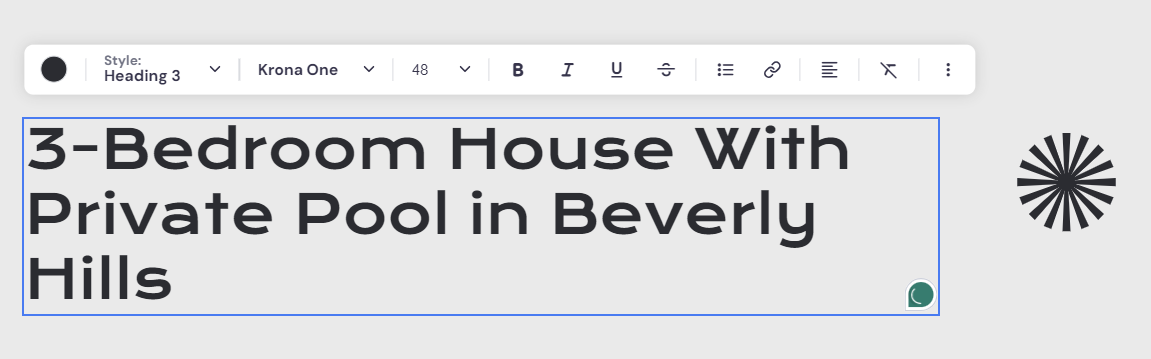
- Keep it concise. While being descriptive, you also want to be concise. Aim for a title that’s informative but not overwhelming. A good rule of thumb is to keep it under 10 words if possible.
- Use numbers. When applicable, include numbers as they tend to catch the eye. For example, “3-bedroom,” “2-bath,” or “2,000 Sq Ft” provide clear, quantifiable information about the property.
- Unique selling points. Make sure to include at least one unique feature that sets your listing apart from others in the area, such as “Ocean View,” “Gated Community,” “Private Pool,” “Rooftop Terrace,” or “Walking Distance to Subway.”
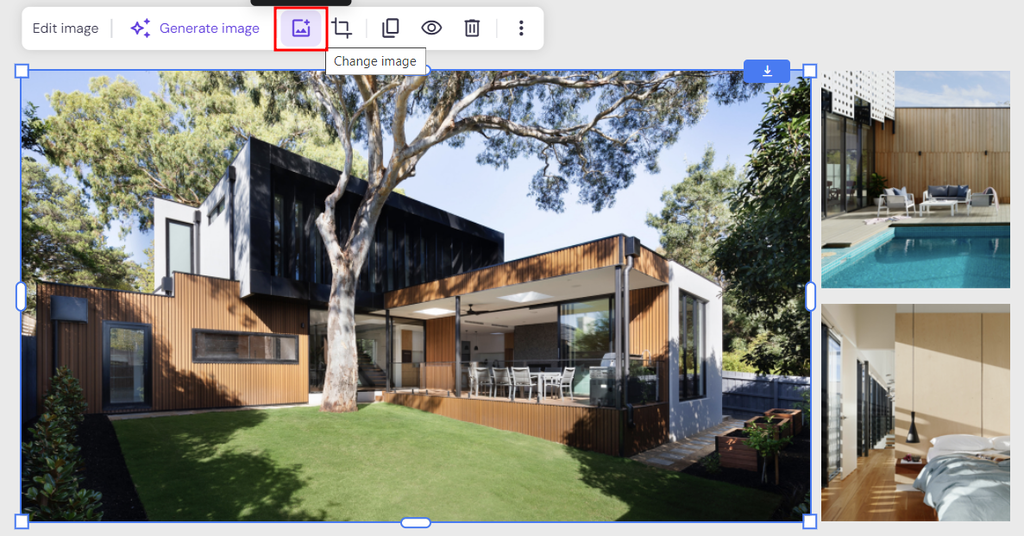
Next, upload high-resolution images of your property. By doing so, potential clients can take a closer look at its interior and exterior, which can be pivotal in their decision-making journey.
To do that, select one of the placeholder pictures, click the Change image icon, and upload your image file.
Want to showcase more photos? Simply add an image gallery:
- Click the plus icon from the left sidebar to add a new element.
- Select Gallery and drop it anywhere you like on the page.
- Hit Edit gallery and choose a layout – Grid or Masonry.
- Adjust the items per row and the gap between each image. You can also enable the full-screen preview when users click one of the photos.
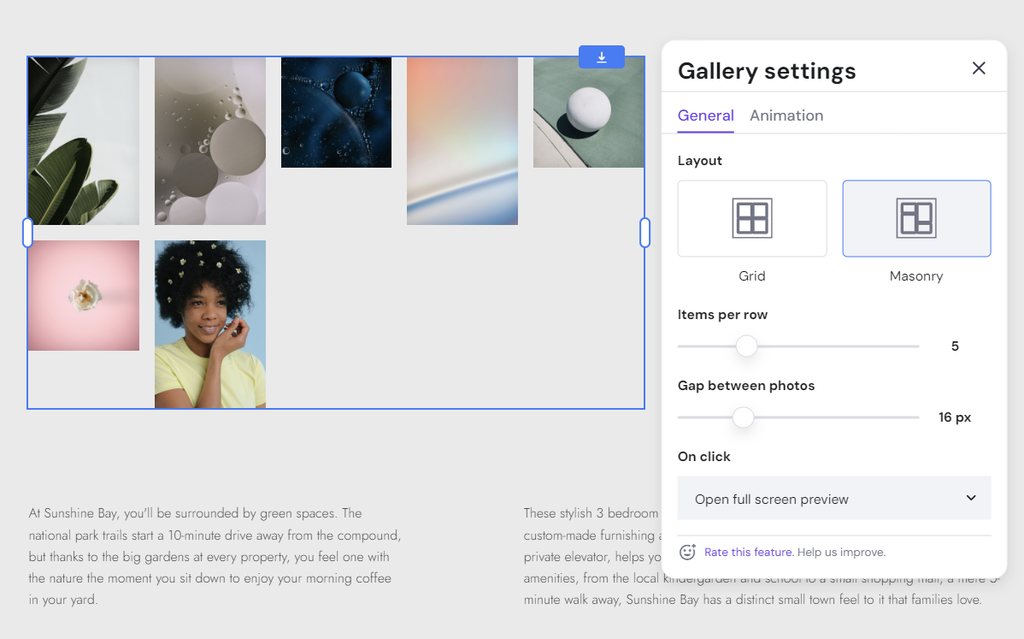
Once done, close the gallery settings and click the Manage gallery button to upload your property images and arrange their positioning.
You can also add a Video element to show your property’s potential in greater detail and nuance. It helps buyers better understand the layout, size, and interior of your property, which can sometimes be difficult to grasp through photos alone.
Even better, go the extra mile by offering a virtual tour. With free software like Lapentor, you can easily upload your property images, create an online tour page, and share the link on your website.
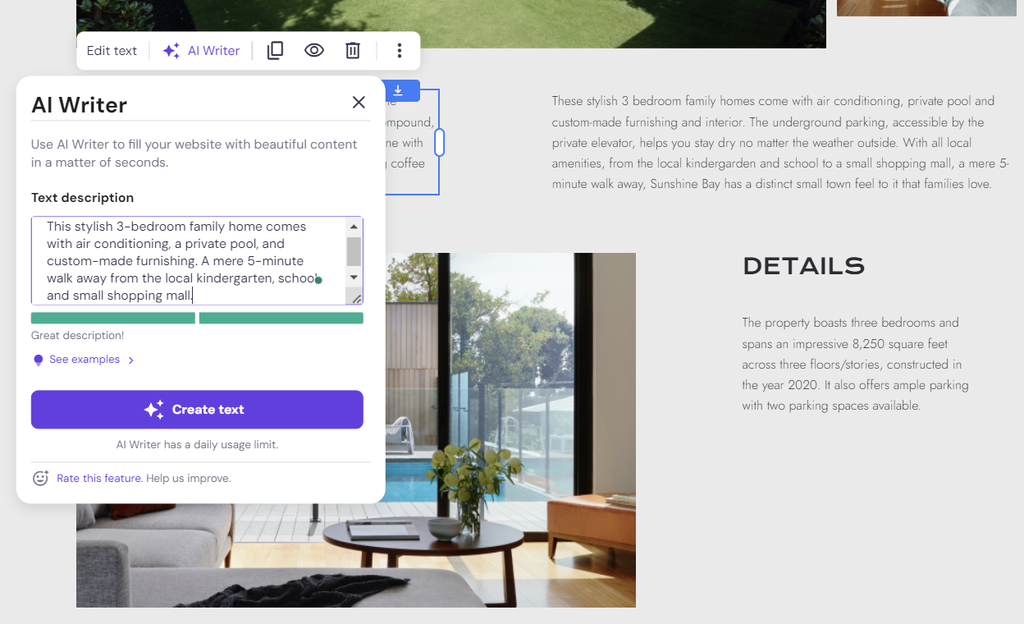
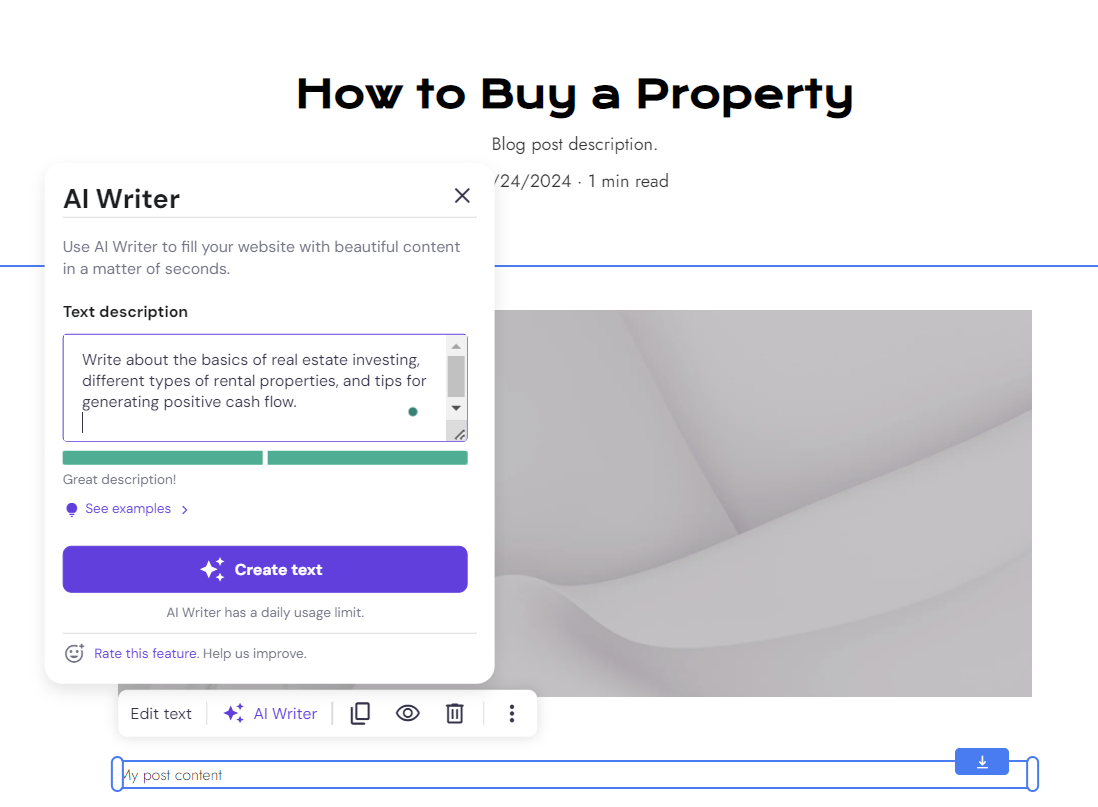
Having a clear property description is also important to boost your conversion rate. Not much of a copywriter yourself? No worries – our AI Writer is always there to lend a hand.
All you have to do is select any text block, choose AI Writer, fill in the text description, and click Create text. Be as descriptive as possible, and include details like:
- Location
- Property size and layout
- Unique selling points
- Amenities
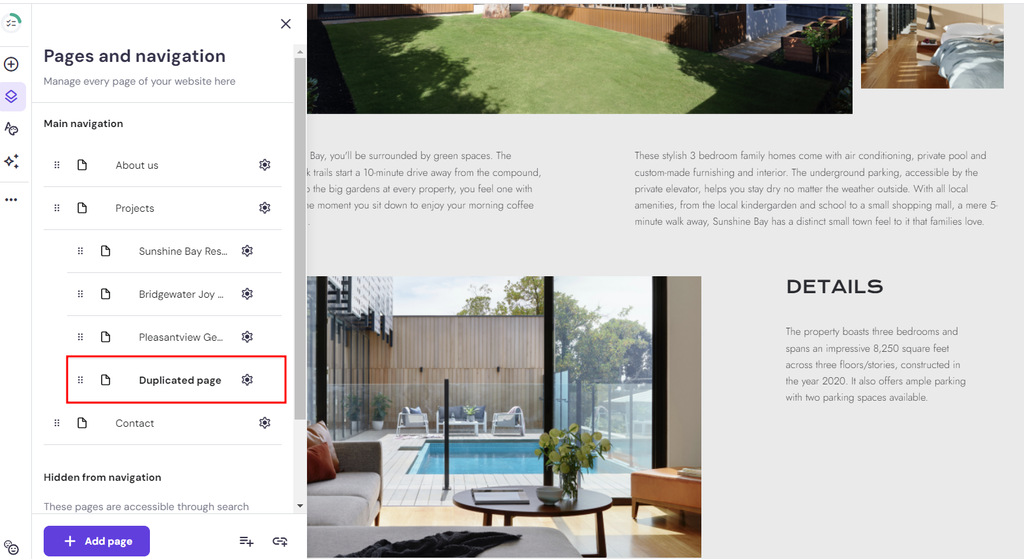
Do the same for the other two listing pages. If you have more listings, simply add new pages by heading to Pages and navigation and clicking Add page.
Alternatively, you can copy the existing listing pages, so you don’t have to start from scratch. Click the Settings icon next to your intended page and select Duplicate. Once created, drag the new page under the Projects section.
Map Integration
By showing the location of your property, you allow future clients to assess the neighborhood, commuting routes, and nearby attractions.
This approach helps filter in prospects who are genuinely interested in your specific area, leading to more qualified inquiries and visits.
To integrate a map into your listing page, click Add section in between two different sections.
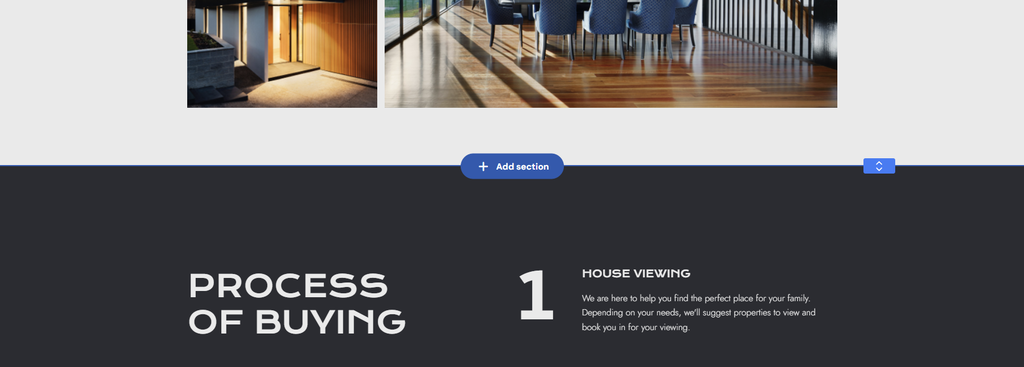
From the left side menu, scroll down to Map and choose from the available options.
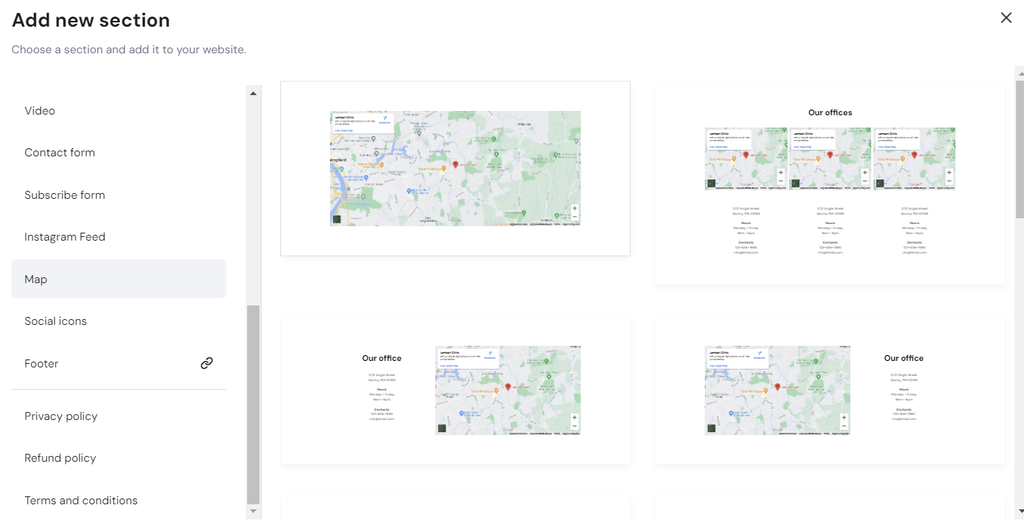
Once added, select the map element, click Edit map, and fill in your property’s address. It will automatically show the exact location of your listing.
Contact Form
We’ve included a contact form at the bottom of every page on your site so potential buyers or renters can easily reach out for further queries or in-person showings. It should also connect to your real estate CRM to easily manage new leads.
That said, you can still customize the form by selecting it and clicking Edit form:
- General. Customize the form name and the email address to which notifications will be sent after each form submission.
- Fields. Add new fields and arrange the positions, field labels, and placeholder texts of existing ones.
- Button. Change the Submit button’s text and adjust its position. After visitors fill in the form, choose whether you want to display a “Thank You” message or redirect them to a specific page.
- Style. Adjust the color, text font, border width, and spacing of each contact form element, including the background, field, and button.
- Animation. Make your contact form more visually appealing by applying an animation such as Fade, Slide, or Scale.
5. Create Content for Your Real Estate Website
Publishing high-quality blog posts is a tried-and-tested strategy to engage readers and establish your expertise in the real estate world.
Still trying to figure out what to write? There are plenty of topics you can explore:
- Market reports. Provide insights on where you see the real estate market heading in the future based on current trends and data. This helps your audience make more informed decisions.
- Real estate investment. Write about the basics of real estate investing, property value estimation, different types of rental properties, and tips for generating positive cash flow.
- Real estate transaction tips. Offer advice for first-time homebuyers, including steps to buy property and secure financing. You can also explain how a property owner can market their house with effective real estate lead generation strategies.
- Company updates. Share news about your real estate firm, such as new listings, successful sales, or community gatherings, to keep the audience informed about your company’s growth and values.
Once you have several ideas in mind, the next step is to create a blog section on your site. Go to Pages and navigation, click Add page, and choose Blog.
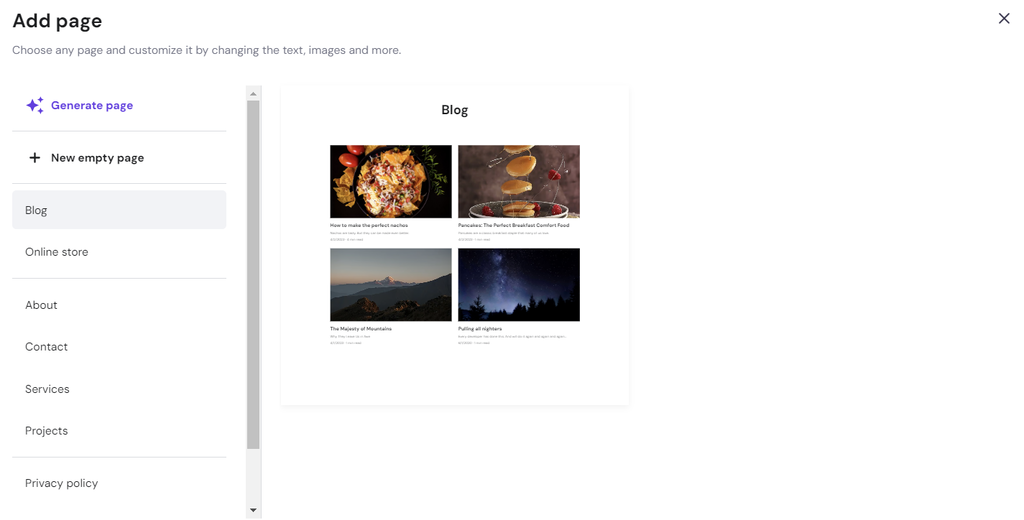
You will be asked to edit the blog page’s name and URL, and whether you want to keep it hidden from the navigation menu. Click Save once you’re done.
By default, there will be four placeholder content pieces. Hover over one of them and click Edit post to make your changes.
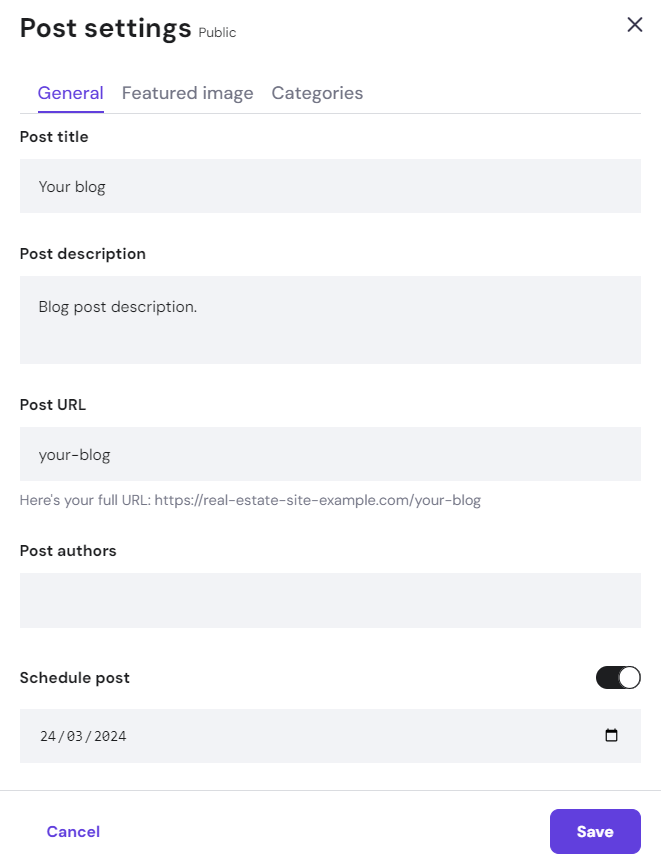
To change the post’s title, description, URL, author, and date, navigate to Post settings at the top menu. You can also schedule your article in this section.
Don’t forget to save your changes, then customize your post’s header and body content:
- Post header. Adjust the text size of your title and the visibility settings of the post’s author, description, category, published date, and reading time.
- Body content. Upload your featured image and write the post content. If you’re feeling stuck, use our AI Writer to assist with the content creation process. Try to enter a descriptive prompt for the best results.
Once you’re finished writing, set the Status from Draft to Public to publish your blog post. You can find the option at the top menu.
Next, head back to Pages and navigation, and choose About us. Here, you can provide information about your company’s history, mission, vision, and team members.
By telling your brand’s story and experience in real estate, you will build trust and connect on a more personal level with the target audience.
6. Optimize for Local SEO
These days, anyone looking to buy or rent a house will probably begin their search online, so optimizing your real estate website for local search results is of the utmost importance.
When done correctly, search engine optimization (SEO) can boost your site visibility on Google, which means more traffic and conversion opportunities.
Here are some real estate website SEO tips and strategies to get your site to the top of search pages:
- Keyword research. Use tools like Google Keyword Planner, Ahrefs, or Semrush to research and identify relevant local keywords. Focus on local keywords that potential clients might use to search for properties in your area. For example, “homes for sale in New York” or “California real estate agent.”
- Meta data optimization. Ensure each page has a unique title tag and meta description, incorporating your targeted local keywords naturally. Use the meta tags to highlight the unique selling points of your properties or services to make them more appealing in the search results.
- Content optimization. Create high-quality and SEO-friendly content that addresses the needs of your target audience. This could be blog posts about the local real estate market, guides for homebuyers in your area, or neighborhood profiles. Include local keywords in your content, but ensure that their use is natural and relevant to the topic.
- Leverage local listings. Claim and optimize your Google My Business account, and get listed in local directories and real estate listings websites. Ensure your business information, like name, address, and phone number, is consistent across all online platforms.
- Build a positive reputation. Encourage satisfied clients to leave positive reviews on your Google My Business listing and other review sites. Positive social proof will significantly influence local search rankings and credibility.
- Utilize schema markup. Structured data provides search engines with specific information about your business and properties, including reviews, addresses, and phone numbers.
- Mobile optimization. Ensure your website is mobile-friendly, as a significant portion of local searches are conducted on mobile devices. Fortunately, Hostinger Website Builder’s templates are mobile responsive from the get-go.
- Social media presence. Maintain an active presence on social media channels relevant to your audience, such as Facebook, Instagram, and YouTube. Share your local content and listings, and participate in local discussions to increase your brand visibility.
Hostinger Website Builder provides built-in SEO features that make it easier to optimize your site for local SEO.
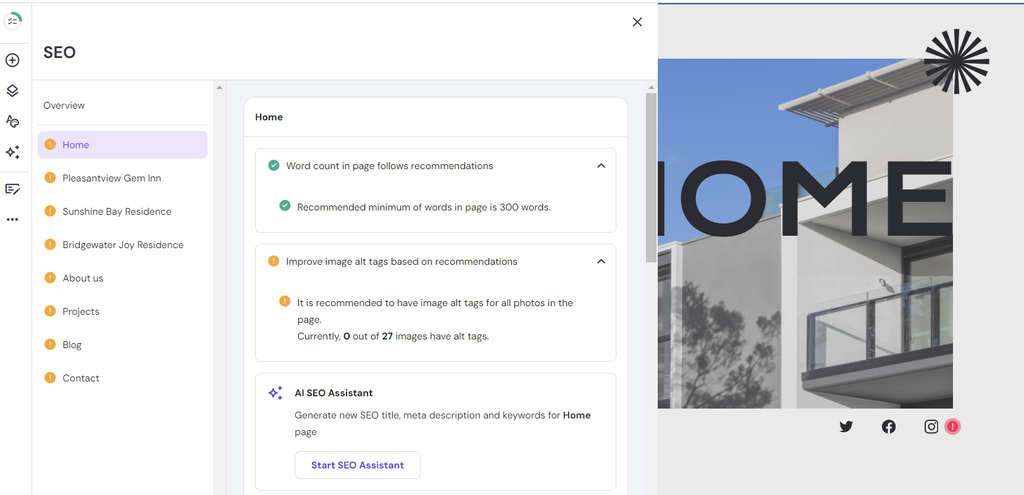
To access the tool, navigate to the left menu bar, click the three-dot icon, and choose SEO.
You will see a list of every published page on your real estate website. Click one of the pages to configure its SEO settings:
- Word count. Find information on whether the page’s word count follows the recommended number. But don’t worry too much about it; the quality of your content is still more important.
- Image alt text. Make sure every image on the page has an alt tag. That way, Google and visually impaired users will understand your photos better.
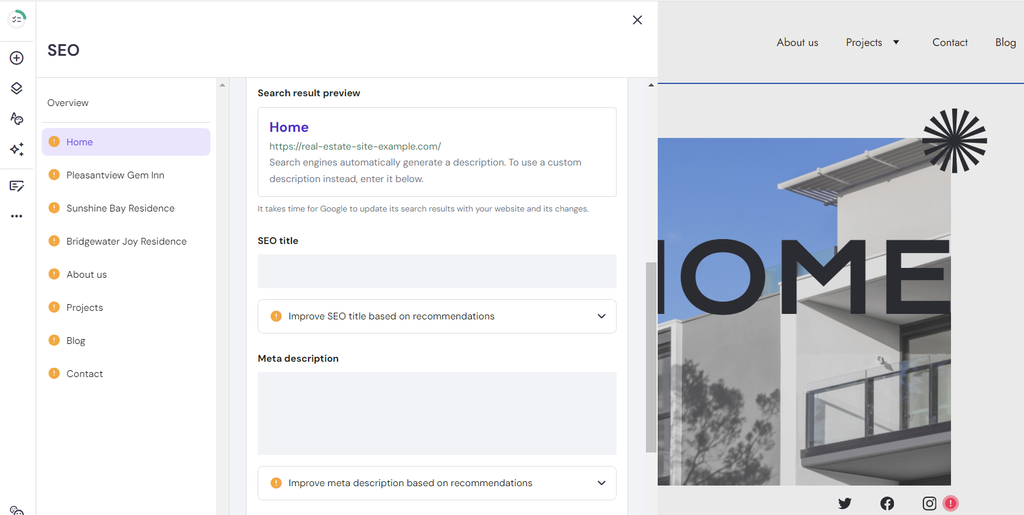
- Metadata. Customize the page’s metadata manually or using AI SEO Assistant. Your SEO title should be between 10 and 60 characters, while the recommended length for the meta description is 156 characters.
- Search result preview. See how the web page will appear on the search engine results pages (SERP).
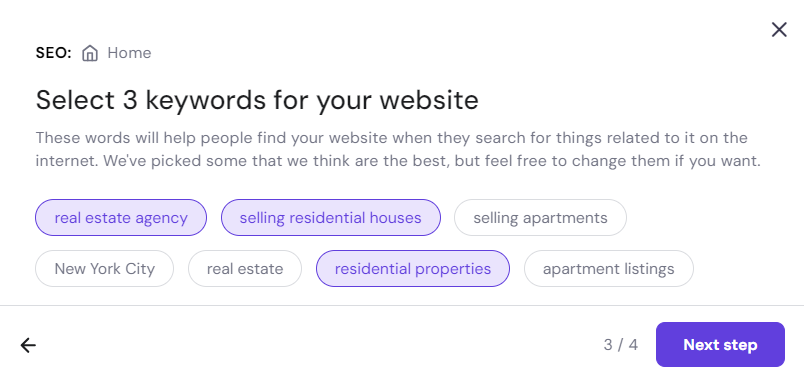
- Keywords. Enter focus keywords based on the previous research. Alternatively, use AI SEO Assistant to generate relevant terms by entering your business name and page description and selecting three main keywords.
7. Launch Your Real Estate Website
By now, your website should be ready for launch.
But before introducing it to the world, check how it looks on both desktop and mobile devices by clicking Preview at the top right of your screen.
Once you’ve made sure there are no typos, misplaced images, or broken links, exit the Preview mode and hit the Go live button.
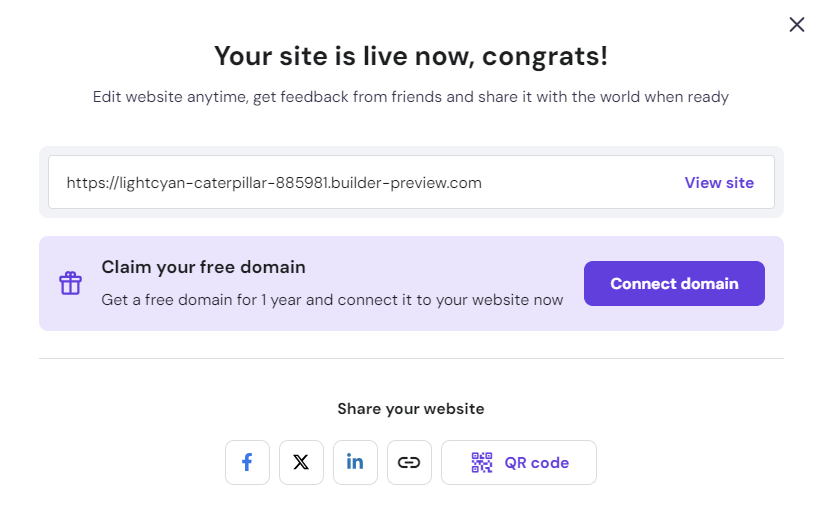
Congratulations, your real estate site is now up and running. Don’t forget to secure your free domain name so it will appear more professional and trustworthy.
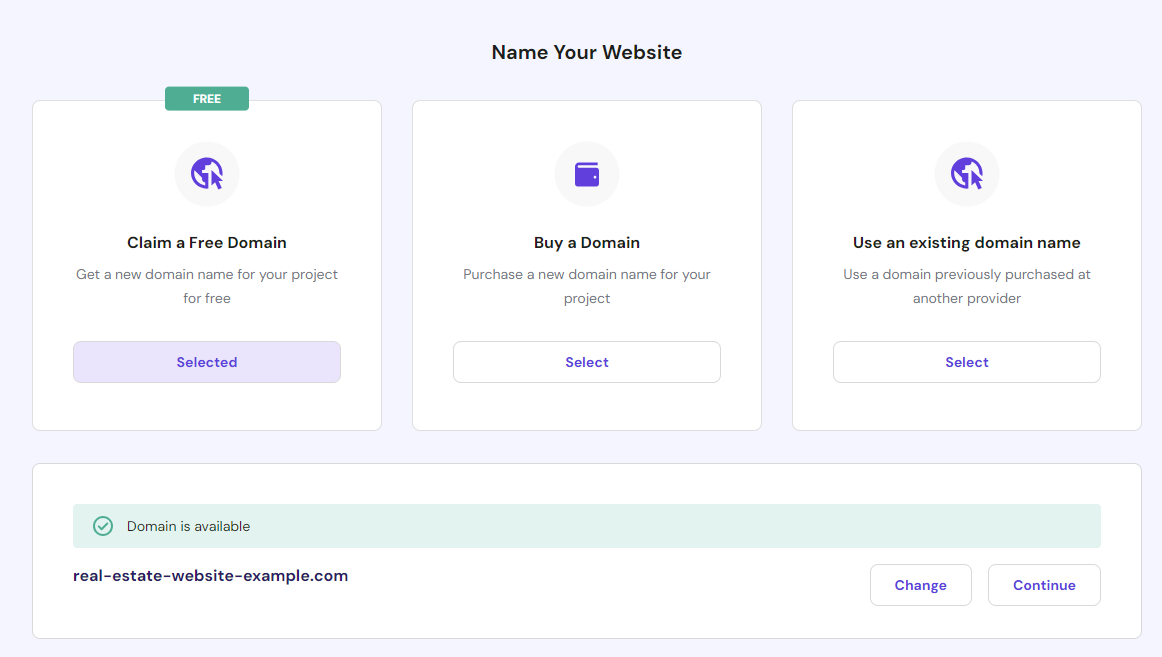
- Click Connect domain, and you will be redirected to the Name Your Website page.
- Select Claim a Free Domain.
- Enter your preferred domain name and extension. Short on ideas? Here’s a guide on how to choose a domain that stands out.
- Once found, enter your ideal domain name in the available field and click Search.
- If the name is available, select Continue.
- Double-check your contact details and make changes if necessary. After that, click Finish registration.
We will review your contact information and send an email notification once your domain registration is accepted. Keep in mind that the process can take up to 24 hours.
In the meantime, continue optimizing your real estate website to attract more traffic and get more clients.

Conclusion
Building a real estate website helps real estate professionals showcase their expertise and market their property listings to the right audience.
The great news is that such platforms as Hostinger Website Builder make it easy for anyone to create and monetize a real estate website. You simply choose from the available templates or generate the initial design with AI, then customize your site using the easy editor.
Once published, don’t forget to optimize your site for local SEO to bring in traffic and leads. Real estate agencies are inherently local businesses – your success is deeply intertwined with the specific geographic areas you serve.
We hope by reading this article, you can finally build your own real estate website and dominate the online real estate market. Good luck!
Real Estate Website FAQ
Have more questions on how to create a real estate website? Find the answers in this FAQ section or leave a comment below.
Do I Need Technical Skills to Build a Real Estate Website?
No, there are various no-code platforms you can use to create a website for real estate agents. For example, Hostinger Website Builder allows you to choose from 150 ready-made templates or generate a well-made design using AI. After that, easily customize every element of your website with the drag-and-drop interface.
How Much Does It Cost to Build a Real Estate Website?
With our Business Website Builder plan, creating a real estate website costs only $3.99/month for the 48-month subscription. In other words, you don’t have to worry about renewing the hosting plan for the next four years.
What’s included in the package? You get a free domain for 12 months, a suite of AI tools, and powerful eCommerce features. If you’re not fully satisfied, easily ask for a refund within 30 days of your purchase.
What Are the Key Features of a Real Estate Website?
Your real estate website should have property listings with detailed descriptions, high-quality images, virtual tours, interactive maps, mortgage calculators, and contact forms. Having search filters for location, price, and property type, as well as integration with MLS databases, is also important for a seamless user experience.
What Are the Types of Real Estate Websites?
There are many kinds of real estate websites, including property listing portals like Zillow or Realtor.com, agency or individual realtor websites showcasing their listings and services, property management websites that handle rental units, and real estate marketplace platforms facilitating transactions between buyers, sellers, and agents.

Brian is a Content Writer who loves telling complex stories in a simple way. He has written all types of content, including tutorials, blog posts, landing pages, social media posts, white papers, infographics, and YouTube scripts. Follow him on LinkedIn.

Miglė Cicėnaitė-Jocė is a Product Manager for Hostinger's Website Builder. She is on a mission to redefine website creation, focusing on the AI flow and its features, and is always eager for product feedback and market insights to improve the user experience. Follow her on LinkedIn.