How to install let’s encrypt SSL certificate on webmin
Jul 17, 2025
/
Aris S. & Ariffud M.
/
5 min Read
Webmin is a powerful web-based control panel for Unix-like systems, making server management easier and more accessible. One of its features is Let’s Encrypt, which offers free, automated SSL certificates to encrypt connections and protect data integrity for websites.
In this article, you’ll learn how to install Let’s Encrypt SSL certificates on Webmin. By following this guide, you’ll have SSL encryption implemented on your server, ensuring your hosted websites are secure and trustworthy for visitors.
Prerequisites
You must have a valid domain name before issuing an SSL certificate using Let’s Encrypt. We recommend purchasing one from Hostinger since you can manage it from hPanel, making the configuration process more efficient.
Then, point your domain to a virtual private server (VPS). Make sure the DNS records propagate worldwide, which you can check using an online tool like DNS Checker.
Your VPS must also have the Webmin control panel installed. On Hostinger’s VPS, you can easily configure it without commands using our operating system templates. Here’s how to do so:
- Log in to hPanel and click VPS on the left side menu.
- Click Manage on your VPS.
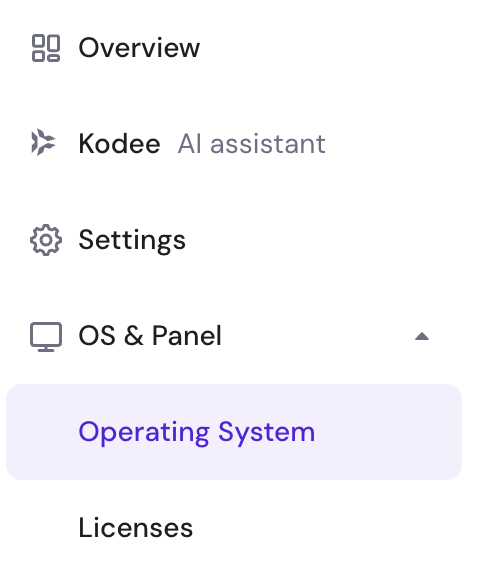
- On the sidebar, navigate to OS & Panel → Operating System.
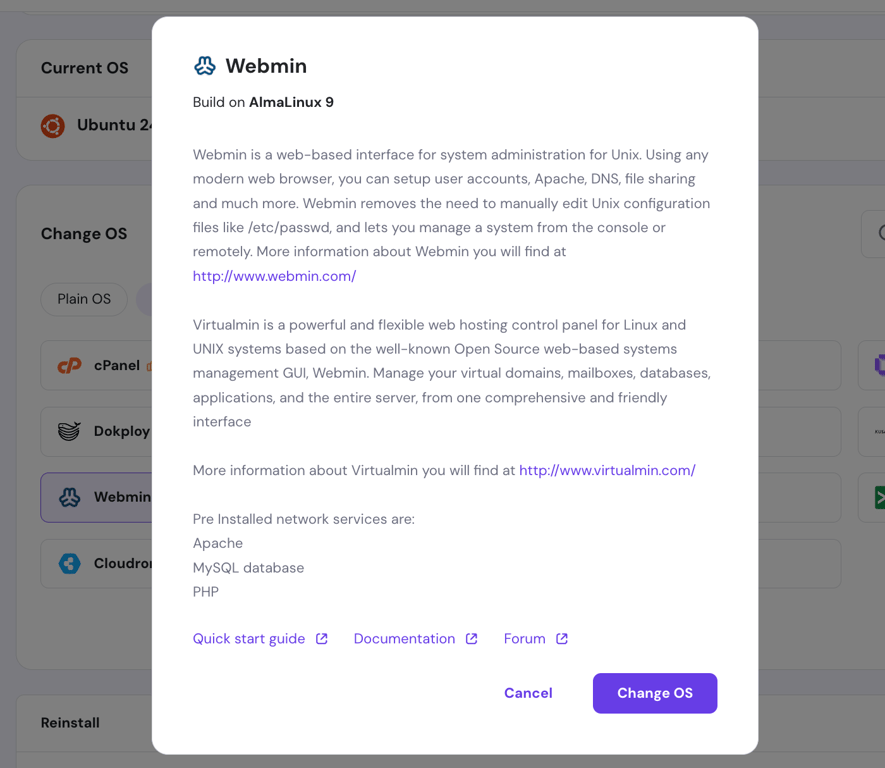
- Click the OS with Panel tab and select Webmin.
- Hit Change OS to confirm.
That’s it! The OS template will automatically install other complementary software like a web server, so you can immediately access the control panel afterward.

How to install Let’s Encrypt SSL on Webmin
After addressing the prerequisites, let’s proceed to the steps to issue Let’s Encrypt SSL via Webmin.
1. Log in to Webmin
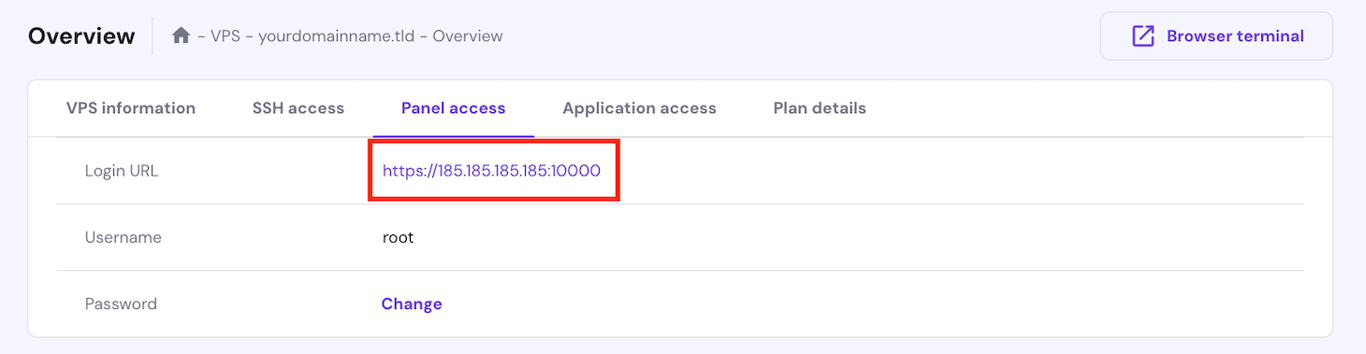
Start by logging in to the Webmin server using its IP address. At Hostinger, you can do so by going to the VPS Overview menu → Panel Access, and clicking the Login URL.
Log in as a root user using the password you set when installing the OS template. The post-installation wizard should pop up. For this tutorial, we will skip it and use the default Webmin configuration.
Important! Your web browser will warn you when accessing the control panel for the first time. Ignore the warning and proceed to the Webmin dashboard.
2. Install a virtual server and Let’s Encrypt
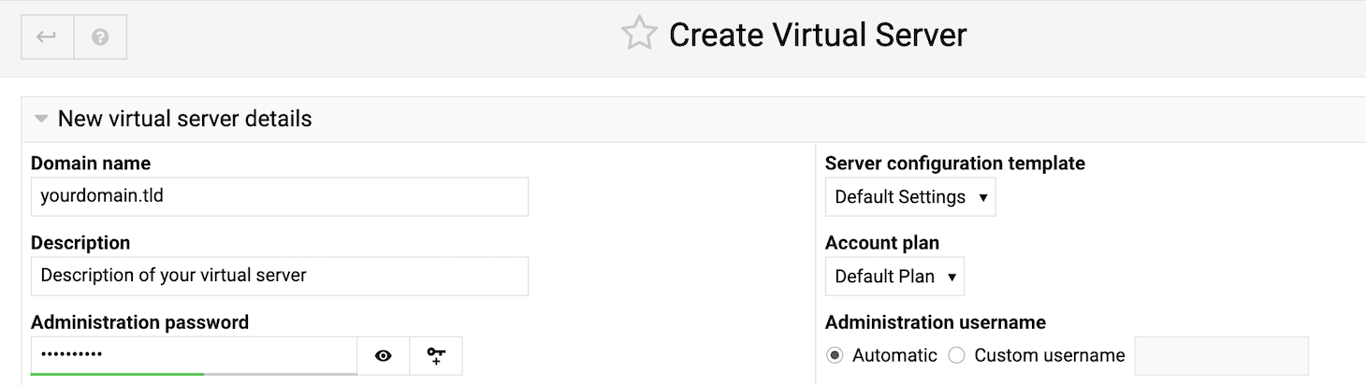
To issue a free SSL, you need a virtual server associated with your domain. To create one, navigate to the sidebar, select the Virtualmin tab, and hit Create Virtual Server.
Enter your domain name, admin password, and other details. Click Create Server to confirm. Wait until the process is complete, which should take around 15 minutes.
Once the virtual server is set, navigate to the sidebar → Manage Virtual Servers → Setup SSL Certificate. Click on the Let’s Encrypt tab to access the SSL configuration menu.
3. Request an SSL certificate
In the Let’s Encrypt tab, you can issue an SSL certificate using two options – Domains associated with this server and Domains listed here.
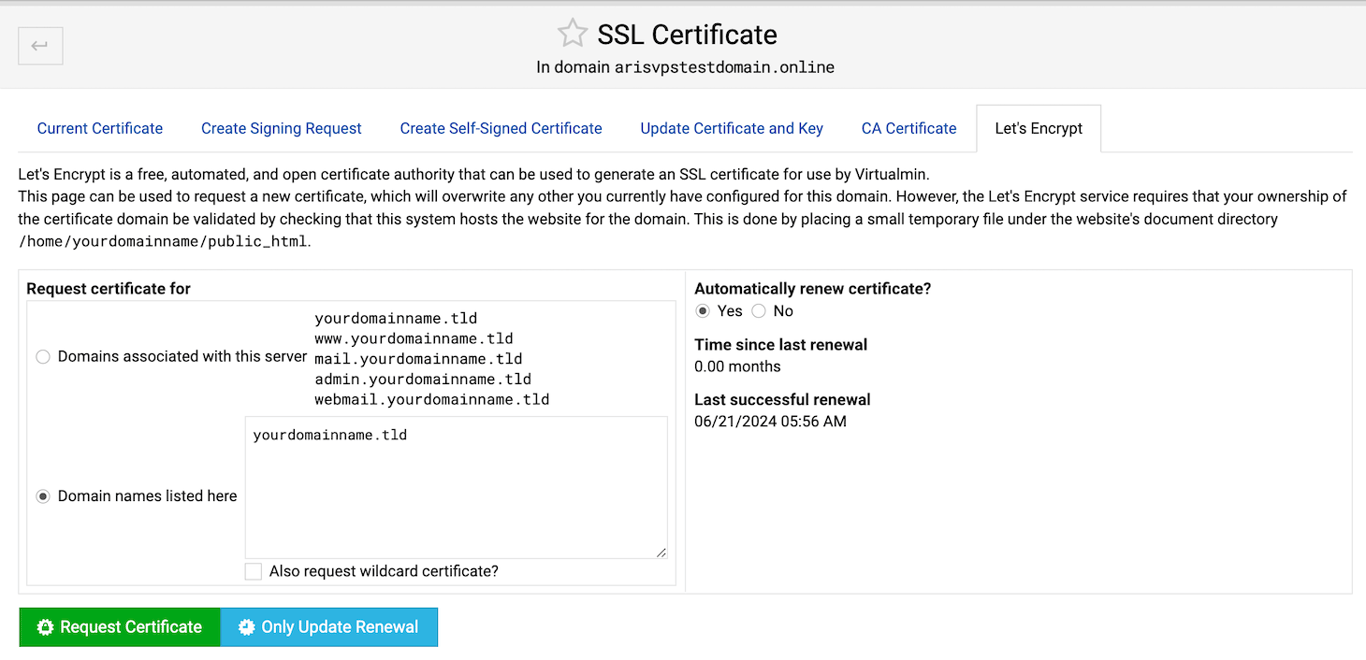
If you choose Domains associated with this server, Let’s Encrypt will automatically issue SSL certificates for the virtual server’s domain name.
Meanwhile, use the Domain listed here option if you want to install the Let’s Encrypt certificate on other domains and subdomains.
From the same menu, you can also request a wildcard SSL by checking the box. This certificate is valid for all subdomains that share the same base name, like website.domain.tld and website2.domain.tld.
4. Set up automatic renewal
During the SSL certificate installation, you can also enable automatic renewal by clicking Yes. We recommend turning this setting on since web browsers might warn your website visitors if you forget to renew the certificate.
Once your Let’s Encrypt SSL is configured, click the Request Certificate button to issue it. Wait until the process is finished, which should take around 10 minutes. Once done, you should see a confirmation message like the following.

If you encounter an error, go to the next section to learn about the solutions. Otherwise, click Return to SSL certificate management.
From the Current Certificate tab, you can check the expiry date and how many days are left until renewal. In the same menu, you can also choose to set the new certificate as the default.
We are all set! Remember that you must manually force HTTPS on your website after issuing the certificate.
Troubleshooting common Let’s Encrypt installation issues
Although the setup process is relatively simple, you may encounter some issues when installing Let’s Encrypt SSL certificates on Webmin. Here are some common problems and how to resolve them.
DNS propagation problems
DNS propagation delays can cause issues with SSL certificate validation. Ensure your domain’s DNS records are correctly pointing to your server’s IP address, and allow 24 to 48 hours for changes to propagate globally.
As we previously mentioned, you can periodically check the propagation status by using DNS checker tools.
Firewall settings blocking ports 80 or 443
Let’s Encrypt requires access to ports 80 (HTTP) and 443 (HTTPS) for certificate validation. If you use Uncomplicated Firewall (UFW), make sure it doesn’t block these ports. Otherwise, the validation process will fail.
For Hostinger VPS customers, you can fix this on hPanel by following these steps:
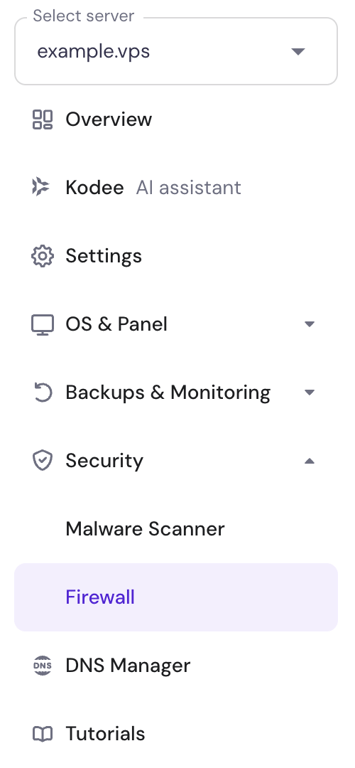
- From your VPS dashboard’s left sidebar, navigate to Security → Firewall.
- Select Create firewall configuration and give it a friendly name.
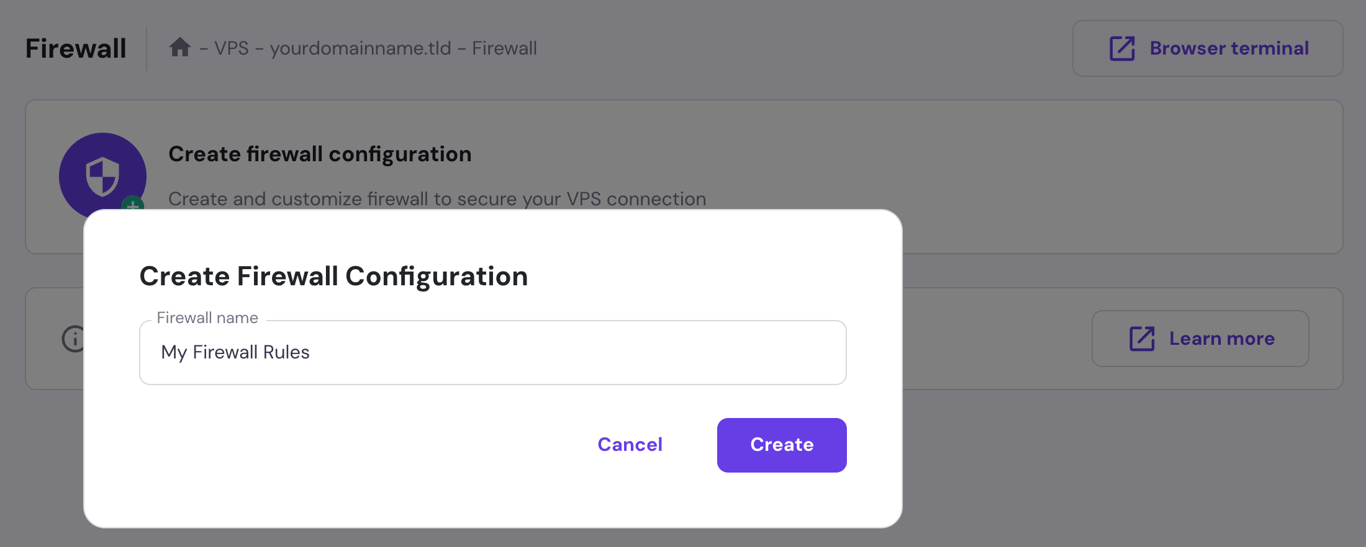
- Click the three-dot menu button and choose Edit.
- In the Add Firewall Rule section, set Protocol to TCP and Port (or range) to 80. Then, click Add Rule.
- Repeat the same process for the 443 (TCP) port.
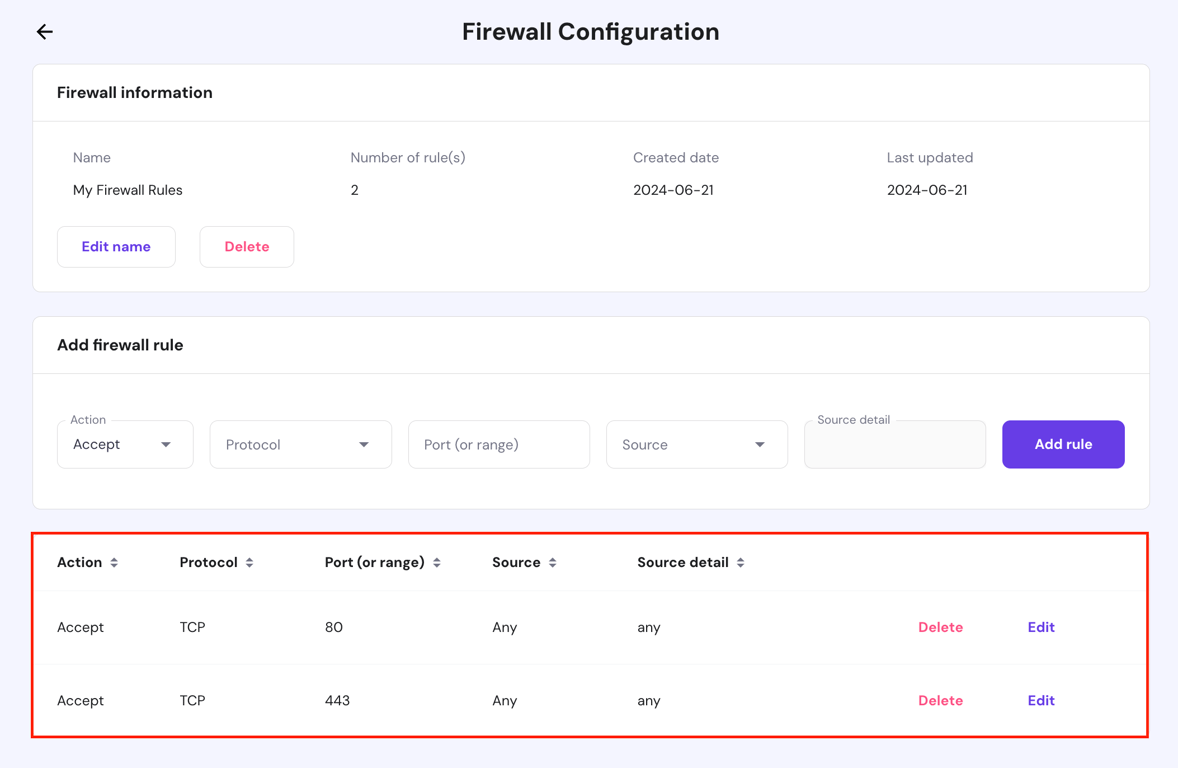
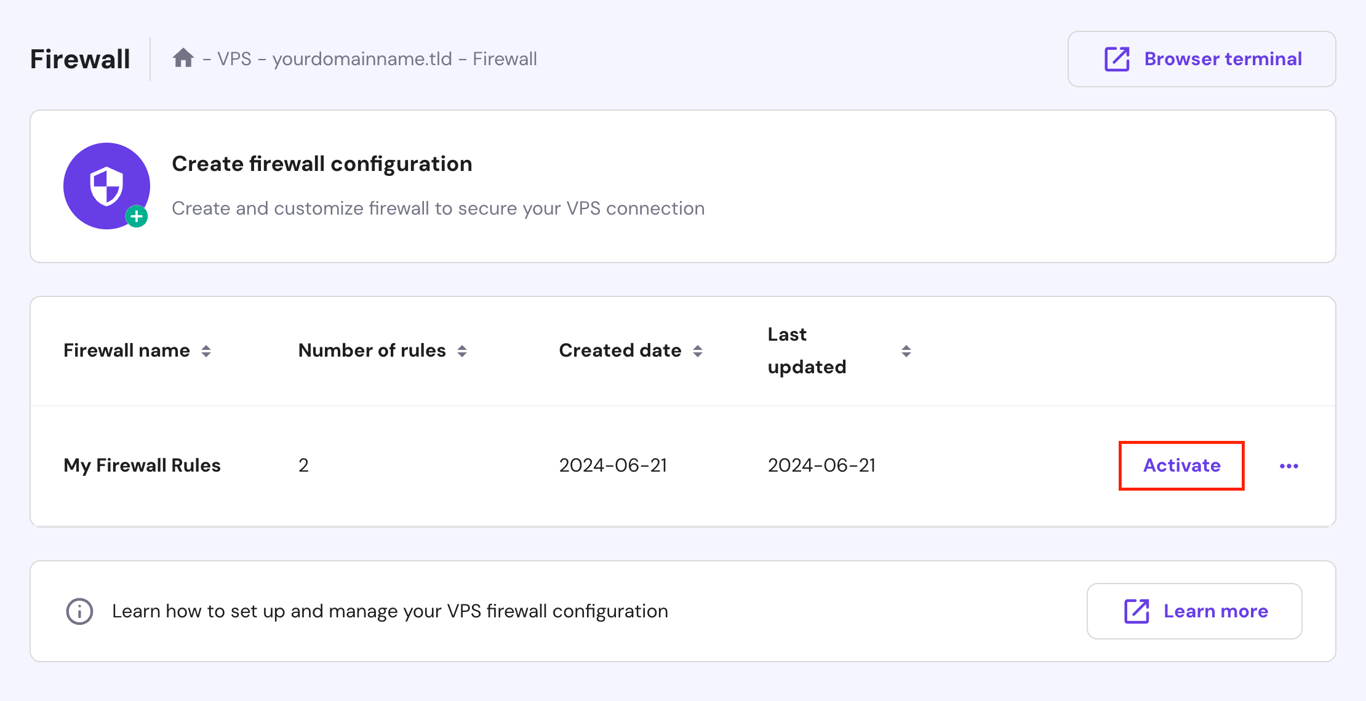
- Hit the Back button and click Activate.
Hostinger VPS users can also ask our AI assistant, Kodee, to set up a new firewall rule on their server. Simply ask it, “Create firewall rules on my server that open ports 80 and 443 TCP/UDP to any IP address,” and it will handle the configuration for you.
Alternatively, open your terminal application and run these Linux commands to check and open both ports:
sudo ufw allow 80/tcp

sudo ufw allow 443/tcp

sudo ufw reload
Incorrect web server configuration
A misconfigured web server can also prevent Let’s Encrypt from validating your domain. Ensure that your web server is correctly set up to serve your website. Check the following:
- Root directory. Verify that your web server’s root directory is correctly set and that it contains the necessary validation file for Let’s Encrypt. The validation file should be placed in .well-known/acme-challenge/ within your root directory.
- Hostname. Make sure the server’s hostname matches the domain for which you are requesting the certificate.
Here’s an example configuration file for the Apache server, typically located in /etc/apache2/sites-available/yourdomainname.conf:
<VirtualHost *:80>

    ServerName yourdomainname.tld

    DocumentRoot /var/www/html

    <Directory /var/www/html>

        Options Indexes FollowSymLinks

        AllowOverride All

        Require all granted

    </Directory>

</VirtualHost>

<VirtualHost *:443>

    ServerName yourdomainname.tld

    DocumentRoot /var/www/html

    SSLEngine on

    SSLCertificateFile /etc/letsencrypt/live/yourdomainname.tld/fullchain.pem

    SSLCertificateKeyFile /etc/letsencrypt/live/yourdomainname.tld/privkey.pem

    <Directory /var/www/html>

        Options Indexes FollowSymLinks

        AllowOverride All

        Require all granted

    </Directory>

</VirtualHost>
Conclusion
In this guide, you’ve learned the steps to install Let’s Encrypt SSL certificates via Webmin, from logging in to the control panel’s dashboard to setting up automatic renewal. You’ve also addressed common troubleshooting issues, such as firewall settings blocking necessary ports.
Additionally, regularly check and maintain SSL certificates across all hosted websites to ensure ongoing security and credibility. If you have any questions, don’t hesitate to use the comment section below.
Webmin Let’s Encrypt FAQ
This section answers the most common questions about installing Let’s Encrypt SSL on Webmin.
Can I renew Let’s Encrypt certificates through Webmin?
Yes, you can renew Let’s Encrypt certificates through Webmin. Its web interface offers an automatic renewal option, ensuring your SSL certificates are renewed before they expire and maintaining continuous website security.
How do I generate a certificate signing request (CSR) in Webmin?
To generate a CSR in Webmin, first navigate to Tools → Terminal. Then, type the following command:sudo openssl req -new -newkey rsa:2048 -nodes -keyout /etc/ssl/[yourdomain].key -out /etc/ssl/[yourdomain].csr -subj /C=[Country]/ST=[State]/L=[City]/O=[Organization]/OU=[Organizational Unit]/CN=[Common Name]; cat /etc/ssl/[yourdomain].csrReplace the […] placeholders with your actual data.
Can I install Let’s Encrypt certificates on multiple domains using Webmin?
Yes, you can install Let’s Encrypt certificates on multiple domains using Webmin. List all the domain names during the certificate request process, separating them with enter. Remember that your domain must point to the correct server.
All of the tutorial content on this website is subject to Hostinger's rigorous editorial standards and values.

Aris is a Content Writer specializing in Linux and WordPress development. He has a passion for networking, front-end web development, and server administration. By combining his IT and writing experience, Aris creates content that helps people easily understand complex technical topics to start their online journey. Follow him on LinkedIn.

Ariffud is a Technical Content Writer with an educational background in Informatics. He has extensive expertise in Linux and VPS, authoring over 200 articles on server management and web development. Follow him on LinkedIn.