How to automate WooCommerce customer email replies with OpenClaw
Mar 12, 2026
/
Simon L.
/
9min read

OpenClaw is an open-source, self-hosted AI agent that runs on your own server and can interact with the tools you already use, including WordPress and WooCommerce.
Unlike typical chatbots that just answer questions, OpenClaw actually carries out tasks. It can look up order details, pull customer info, send emails, and follow up on its own without you lifting a finger.
If you’re running a WooCommerce store, you already know that customer emails can pile up quickly. Order status questions, shipping inquiries, refund requests – they never stop, and each one takes time away from actually growing your business.
That’s what makes OpenClaw a genuine productivity booster for store owners. Instead of manually checking order statuses and typing out the same replies over and over, your agent does it around the clock.
It can answer common questions instantly, escalate tricky ones to you, and maintain proper email threads so the customer experience stays smooth. You get your time back, and your customers get faster responses.
Here’s what the full setup process looks like:
- Deploy OpenClaw on a VPS. Prepare a Linux server with Docker, clone the OpenClaw repository, and run the setup script to get your AI agent online 24/7.
- Link your WordPress site to OpenClaw. Install the WordPress agent skill and authenticate using the REST API and application passwords so OpenClaw can interact with your site.
- Install the WooClaw-Lite skill. This connects OpenClaw to your WooCommerce store, giving it the ability to check orders, retrieve customer details, and search products.
- Set up a dedicated email inbox. Use Agentmail to create a programmatic inbox for your agent, complete with webhook support for proper email threading.
- Configure automation to reply to customer emails. Build a webhook-driven flow where incoming emails trigger OpenClaw to check order details and send helpful replies automatically.
Let’s walk through each step.
1. Set up OpenClaw on VPS
You can technically set up OpenClaw and run it on your own computer, but for email automation, that’s not really practical. If your laptop goes to sleep or loses its internet connection, your agent goes offline too, and customer emails sit unanswered until you’re back.
That’s why a VPS (virtual private server) is the better fit here. It keeps your agent running 24/7 with a stable connection, so incoming emails get handled whether you’re at your desk, asleep, or on vacation.
You’ll need a Linux VPS with Docker installed – Ubuntu 22.04 or 24.04 works well, and a server with at least 2 GB of RAM gives you enough room to run comfortably.
From there, you run the included setup script and follow the onboarding wizard to add your AI provider credentials, like an Anthropic or OpenAI API key. The script handles the rest of the installation automatically.
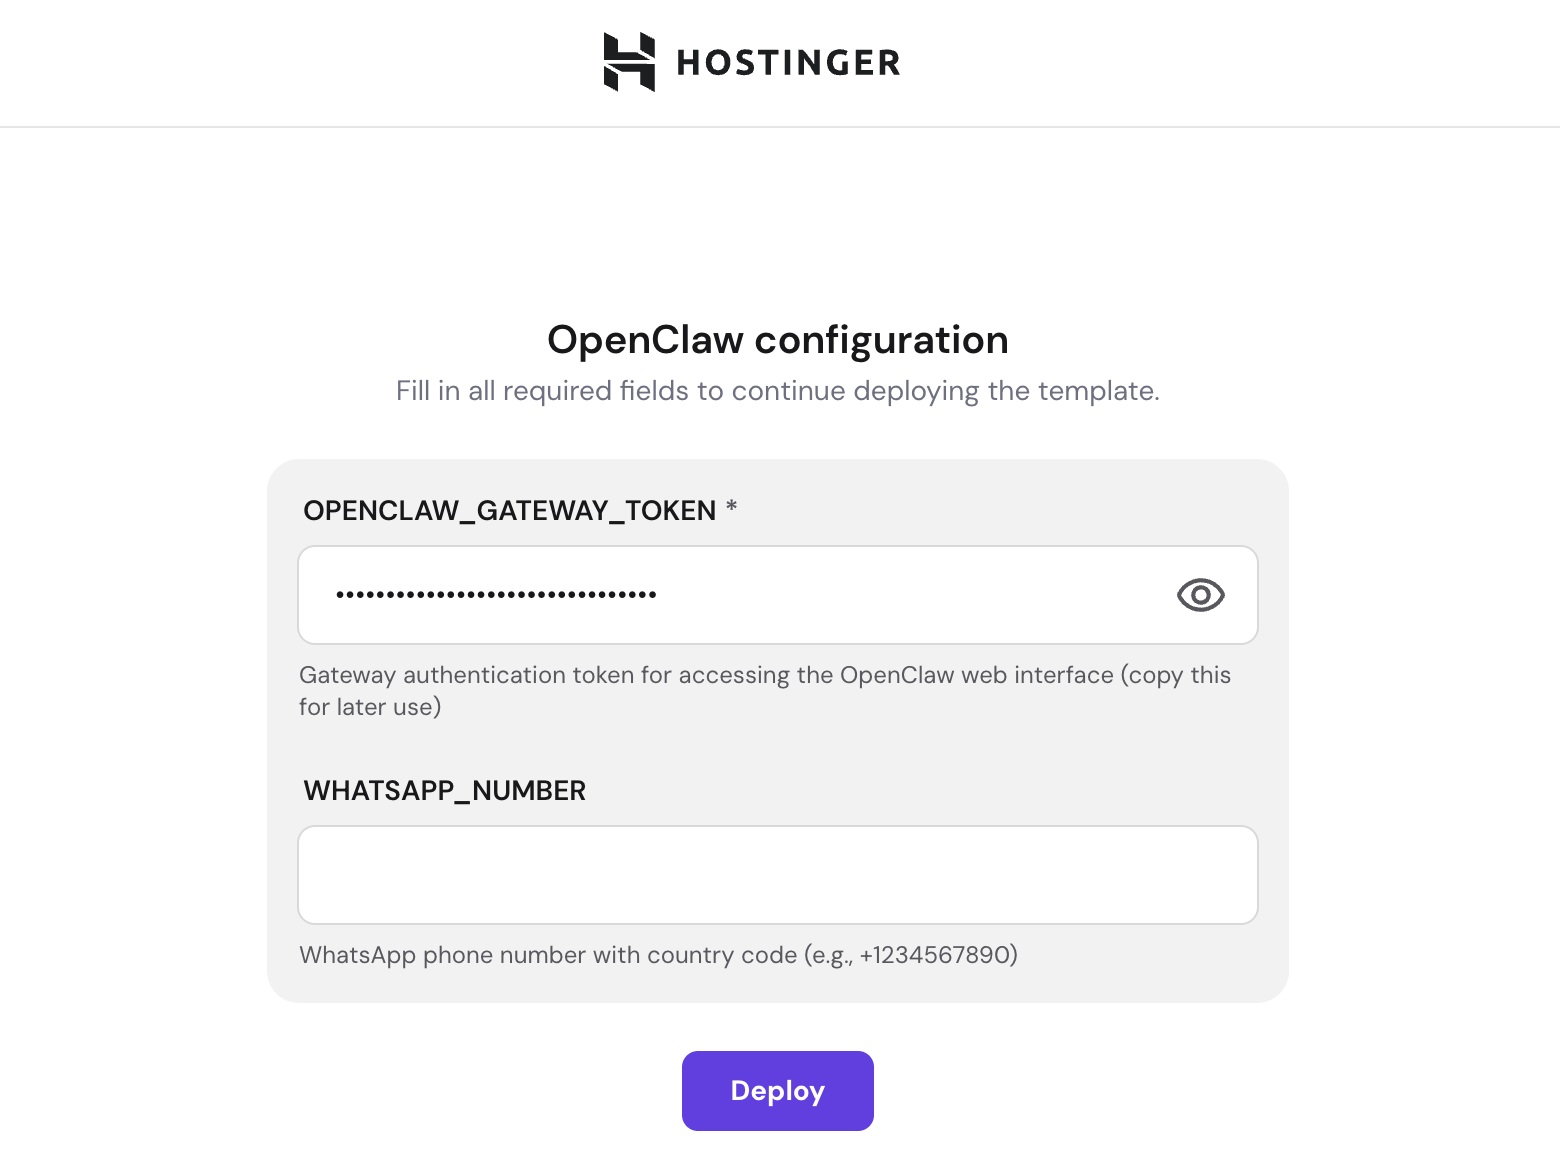
If you’re using Hostinger’s OpenClaw hosting, the process is even simpler. One-click Docker template handles the entire deployment for you, so you can skip the command-line setup entirely.

2. Connect your WordPress site to OpenClaw
Once OpenClaw is running on your VPS, the next step is to link it to your WordPress site. OpenClaw connects to WordPress via the REST API and authenticates using application passwords, so it can read and write data on your site without needing your admin login credentials.
To get this working, you’ll need to install the WordPress agent skill in OpenClaw. You can do this right from the OpenClaw chat interface by asking the agent to set up the WordPress connection, and it’ll walk you through the authentication flow.
Then, from your WordPress dashboard, generate an application password for a dedicated user account. It’s a good practice to create a separate WordPress user with only the permissions OpenClaw needs rather than using your main admin account, since that limits what’s affected if something goes wrong
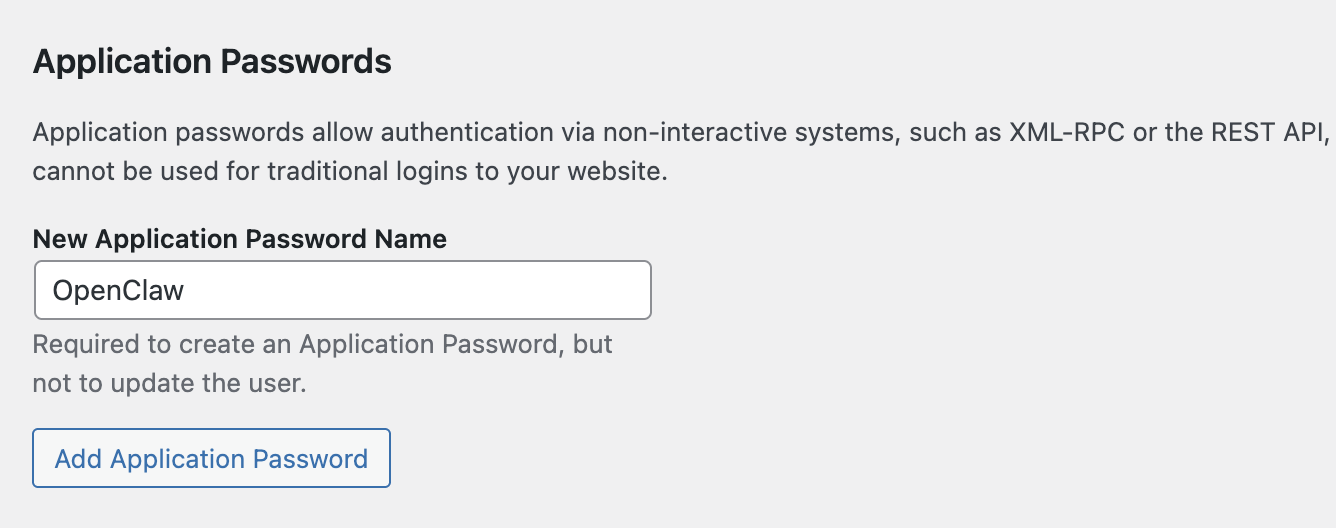
Once you provide OpenClaw with your WordPress site URL, username, and application password, the connection is live. Your agent can now interact with your site’s data, publish content, and manage pages.
3. Add WooCommerce skill to OpenClaw
The general WordPress connection is great, but WooCommerce has its own API layer with different authentication and endpoints. That’s why there’s a dedicated skill for it.
The WooClaw-Lite skill, available on ClawHub, connects to your store through the OpenClaw Connector Lite plugin and gives your agent direct access to the WooCommerce data they’ll need to answer customer emails: order statuses, customer details, order history, and product info.
Here’s how to get it running:
- Install and activate the OpenClaw Connector Lite plugin on your WordPress site. Once it’s active, go to the plugin’s settings page. You’ll see a generated secret key – copy it, because OpenClaw needs it to authenticate with the plugin’s API.
- Install the WooClaw-Lite skill in OpenClaw. The easiest way is through the ClawHub CLI. Run clawhub search wooclaw from your server’s terminal to find the skill and its exact slug, then install it with clawhub install (slug). Alternatively, you can paste the skill’s GitHub link into your OpenClaw chat and ask the agent to install it.
- Tell OpenClaw: “Set the environment variable OPENCLAW_STORE_URL to https://yourstore.com” and “Set the environment variable OPENCLAW_STORE_SECRET to [your secret key from the plugin settings].”
- Restart your OpenClaw gateway to pick up the new skill and credentials. You can do this by telling OpenClaw “Restart the gateway” in chat, or by running docker compose restart openclaw-gateway from your server’s terminal.
- Test the connection with a few real queries. Try “Check the status of order #1001” to test the check_order tool, then “Search for products matching blue t-shirt” to test find_product. If both return real data from your store, you’re good to go.
Once WooClaw-Lite is active, OpenClaw has three tools at its disposal: check_order (retrieves detailed info for a specific order, including status, total, customer name, and line items), find_product (searches your catalog by name or SKU), and store_status (checks if your store is reachable and the plugin is active).
These are the tools your agent will lean on when it starts answering customer emails in the later steps.
4. Create a dedicated email inbox for OpenClaw
OpenClaw needs a proper inbox to send and receive customer emails on its own. Using your personal Gmail or your store’s main email address isn’t ideal since you’d run into OAuth complexity, rate limits, and the risk of getting your account flagged for automated behavior.
Agentmail solves this cleanly. It’s an API-first email platform built for AI agents, with programmatic inbox creation, real-time webhooks, and usage-based pricing.
Here’s the setup:
- Sign up for an Agentmail account and copy your API key from the dashboard.
- Install the Agentmail skill in OpenClaw. Run clawhub search agentmail from your server’s terminal to find the skill and its exact slug, then install it with clawhub install (slug). You can also paste the skill’s GitHub link into your OpenClaw chat and ask the agent to install it. Once installed, tell OpenClaw: “Set the environment variable AGENTMAIL_API_KEY to [your API key].”
- Create a new inbox for your support agent. You can do this by prompting OpenClaw: “Create a new Agentmail inbox with the username ‘support’ and display name ‘Customer Support’.” This gives you an address like support@agentmail.to. If you’re on a paid Agentmail plan, you can configure a custom domain so emails come from something like support@yourstore.com instead.
- Register a webhook so Agentmail notifies OpenClaw the moment a new email arrives. Ask OpenClaw to set up a webhook pointing to your instance’s hooks URL, for example https://your-vps-ip:18789/hooks/support-email. Make sure the webhook is configured to fire on the message.received event.
- Verify the connection by sending a test email to your new inbox and confirming that OpenClaw receives the webhook notification.
This dedicated inbox setup matters for one important reason beyond security: email threading.
When a customer sends a follow-up message, you want the entire conversation to stay in one thread in their inbox, not scatter across disconnected emails.
Agentmail handles this automatically by managing the Message-ID, In-Reply-To, and References headers.
When your OpenClaw agent uses the reply endpoint, the response appears in the correct thread. No manual header management required on your end.
5. Set up automation in OpenClaw to reply to WooCommerce emails
This is where everything comes together. You’re going to wire up an automated flow so that when a customer sends an email, OpenClaw receives it, figures out what they need, checks your WooCommerce store for the relevant details, and replies – all without you stepping in.
Here’s how to configure it:
- Confirm that webhooks are enabled in your OpenClaw configuration. You can ask OpenClaw directly: “Are webhooks enabled?” If not, tell it: “Enable webhooks and set a secure token.” This token authenticates incoming webhook requests, so only Agentmail, not random traffic, can trigger your agent.
- Set up a webhook mapping so incoming Agentmail notifications route to the right agent. Tell OpenClaw: “Route incoming webhooks from Agentmail to the support agent.” If you haven’t created a named support agent yet, OpenClaw will use your default agent instead.
- Give your support agent clear instructions by writing a system prompt. Keep it focused – tell the agent which tools it has, which issues to handle directly, and when to escalate. Here’s a solid starting point:
You are the customer support agent for [Your Store Name], a WooCommerce store.
When a customer email arrives:
- Identify their question (order status, shipping, returns, product info, etc.).
- If they reference an order number, use check_order to retrieve the status, items, and shipping details.
- If no order number is given, ask the customer for it in your reply.
- For order status and shipping questions, reply directly with the relevant details.
- For refund requests, complaints, or anything you're unsure about, send a polite acknowledgment and flag it for human review.
Keep your tone friendly and concise. Include specific order details in every reply so the customer knows you've actually looked into their case.
You can refine this over time as you see how the agent handles real emails. For example, you might add instructions for common scenarios, such as “if the order status is ‘on hold’, explain that payment verification is in progress” or “if the tracking number is available, always include it.”
Test the full automation loop. Send an email to your agent’s inbox with a realistic support question and watch the chain of events play out.
Here’s what a real interaction looks like:
Customer email: “Hello, I ordered a pair of running shoes (order #1087) three days ago. When will they ship?”
What happens in the background: OpenClaw receives the email via webhook → extracts order #1087 from the message → calls check_order with ID 1087 → gets back status: “shipped,” tracking number: “1Z999AA10123456784,” estimated delivery: Friday → composes a reply using those details.
Agent’s reply: “Hi Sarah, thanks for reaching out! I checked on order #1087 – your running shoes shipped yesterday via UPS. Your tracking number is 1Z999AA10123456784, and delivery is estimated for this Friday. Let me know if you need anything else!”
The customer gets a fast, accurate, personalized response, and you didn’t have to do a thing.
Some questions won’t have a simple answer your agent can pull from WooCommerce – things like refund requests, product complaints, or edge cases that need a human decision.
For those, the agent sends the customer a quick acknowledgment and pings you through your preferred channel (Telegram, WhatsApp, Slack, or whatever you connected during OpenClaw setup) so nothing falls through the cracks.
Alternative step: Use manual prompts in OpenClaw to reply to WooCommerce customer emails
If fully automated replies feel like too big a leap right away, you can use OpenClaw as a hands-on assistant instead. Same tools, same skills, same email inbox, but you stay in the driver’s seat.
You tell OpenClaw what to do in natural language, it gathers the data and sends the email, and you keep oversight on every interaction.
This works especially well for situations where you want to review the reply before it goes out, or for tasks that go beyond simple status checks.
The actual time savings come from collapsing what’s normally a multi-step, multi-tab process into a single prompt.
Handling individual orders
Take a prompt like this: “Find order #1042, get the customer’s email, and send them a shipping update.”
Behind the scenes, OpenClaw looks up order #1042 in WooCommerce via the check_order tool, extracts the customer’s email address and shipping details from the response, drafts an update email with the tracking info, and sends it through your Agentmail inbox.
What normally involves opening your WooCommerce dashboard, finding the order, copying the details, switching to your email client, and typing the message takes about five seconds instead.
Running batch operations
Where this really shines is batch operations. Say it’s the end of the day and you want to make sure every customer who placed an order gets a confirmation.
You can tell OpenClaw: “Check all orders placed in the last 24 hours that are still processing, and send each customer a confirmation email.”
It queries WooCommerce for matching orders, loops through each one, and sends personalized emails to every customer. What would normally be 20-30 minutes of clicking around your dashboard is done in one go.
Getting creative with prompts
You can take this further, too. Need to follow up with a repeat buyer? “Find all orders from sarah@example.com in the last three months and send her a thank-you email with a 10% discount code.”
Want to catch potential issues early? “Check for any orders placed more than three days ago that still show as ‘processing’ and send me a summary.”
The flexibility is the real advantage. You’re giving natural language instructions to an assistant that has full access to your store’s data and a working email outbox.
And as you start noticing which prompts you run repeatedly, those become natural candidates for the automated webhook flow from the previous step.
What else can I do with OpenClaw?
WooCommerce email automation is just one way to put OpenClaw to work. Since it’s a general-purpose AI agent with access to your server, messaging channels, and a growing library of over 5,700 community-built skills, the use cases extend well beyond ecommerce.
For example, you can have OpenClaw transcribe meeting recordings and automatically extract action items, assign owners, and flag deadlines – useful if you’re juggling team coordination alongside running your store.
Content creation is another strong area: you can give OpenClaw a simple outline and have it generate a first draft, then repurpose that content across platforms (a blog post becomes a Twitter thread becomes a newsletter section) without switching between tools.
People are even using OpenClaw to control smart home devices with a single chat command – adjusting lights, checking thermostat settings, or triggering routines – all from the same Telegram or WhatsApp interface where they manage everything else.
These examples barely scratch the surface. Once your OpenClaw agent is running and connected to your store, it’s worth exploring what other parts of your workflow you can hand off to it.
You can find 25 practical ways to automate tasks using OpenClaw, covering everything from daily morning briefings to smart home control and brand mention monitoring.
All of the tutorial content on this website is subject to Hostinger's rigorous editorial standards and values.

Simon is a dynamic Content Writer who loves helping people transform their creative ideas into thriving businesses. With extensive marketing experience, he constantly strives to connect the right message with the right audience. In his spare time, Simon enjoys long runs, nurturing his chilli plants, and hiking through forests. Follow him on LinkedIn.