The “Ubuntu 24.04 with PostHog” VPS template comes with PostHog pre-installed, offering an intuitive web interface to track, analyze, and visualize user behavior. With PostHog’s powerful dashboards and event tracking, you can easily monitor product usage, run experiments, and optimize user experiences without complex setup or third-party analytics.
Accessing the Posthog Web Interface
Once your VPS is deployed, you can manage your Posthog instance directly from hPanel without using SSH:
- Go to your VPS dashboard in Hostinger’s hPanel.
- Click the Manage App button.

On the login screen, you will be presented with the following screen:
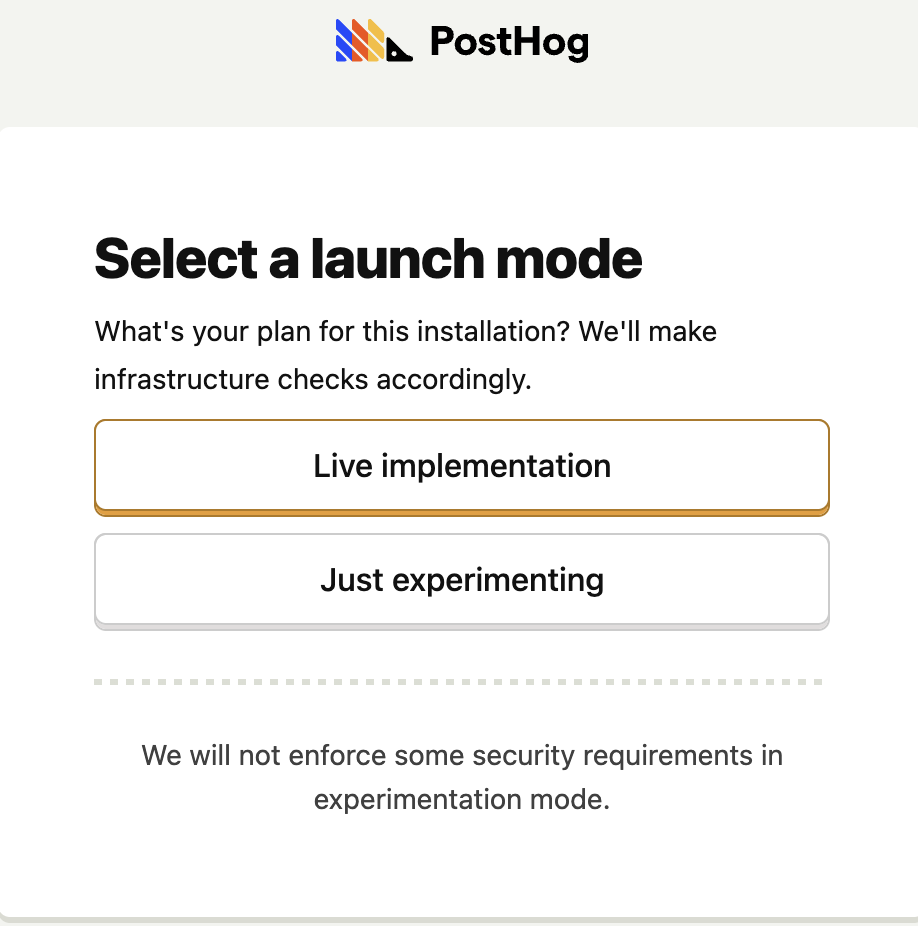
For the Knowledge Base article, we will be going with “Just experimenting” option.
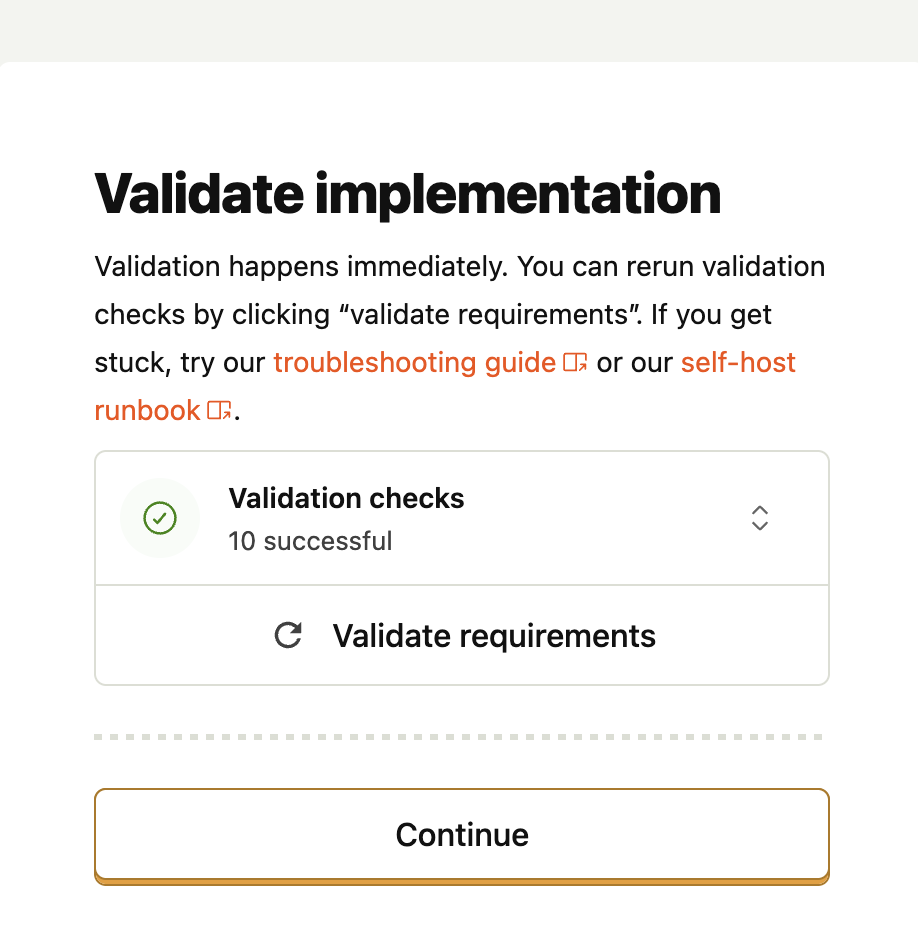
Validation checks will be done, click “Continue”
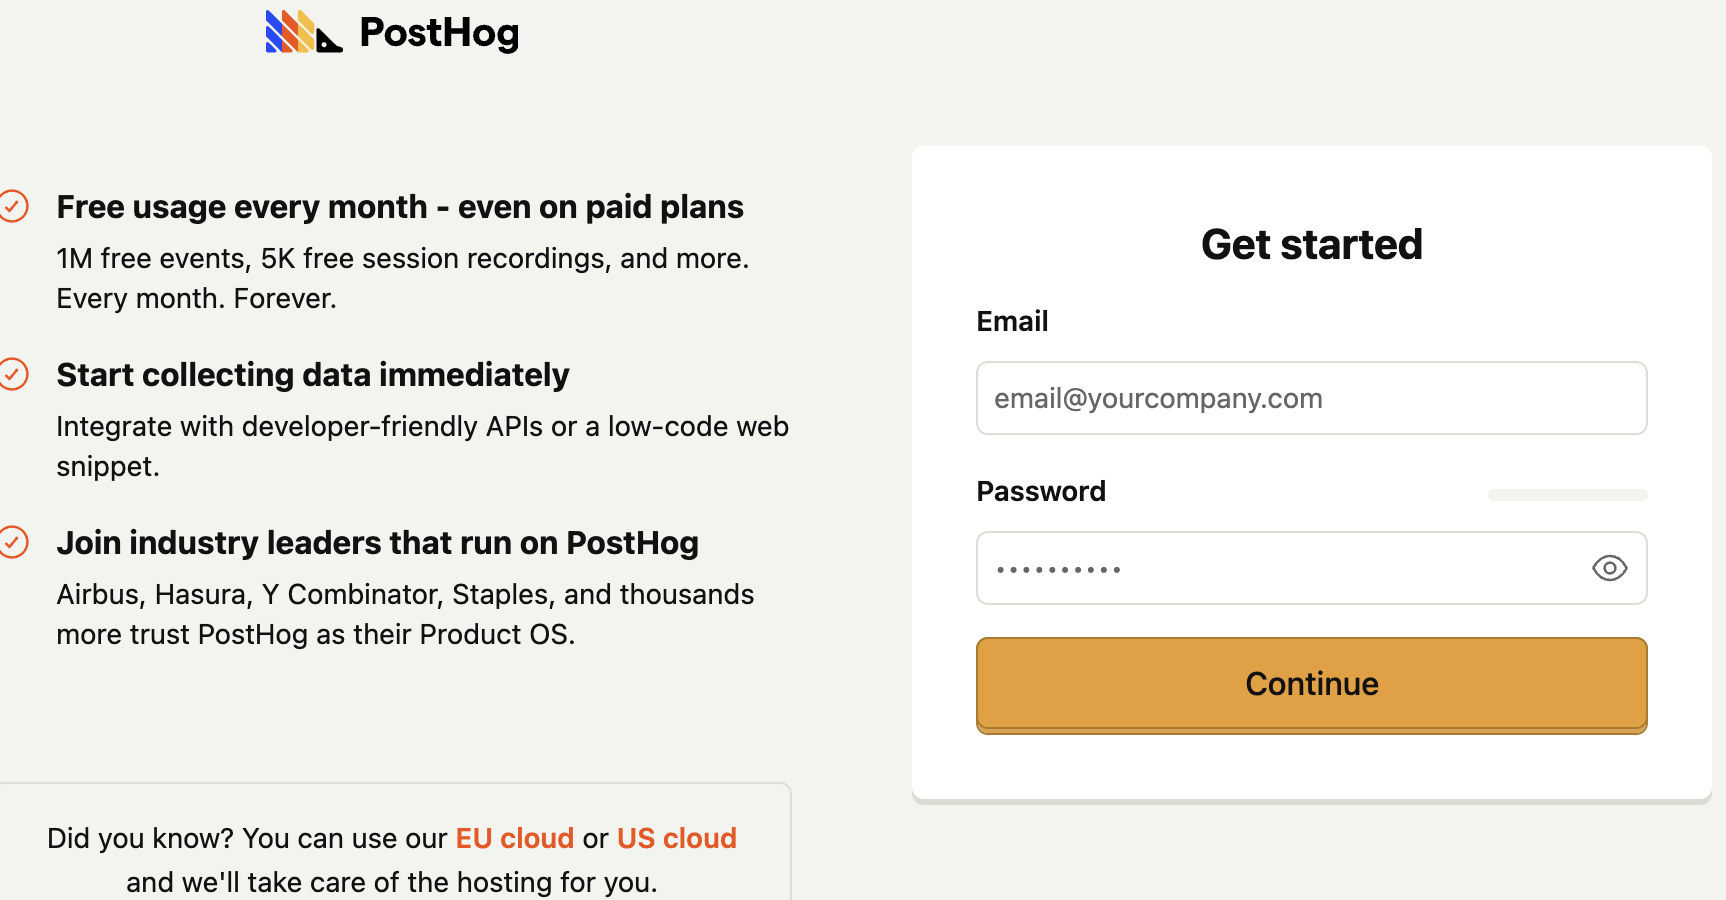
You will be redirected where account creation happens. Enter the credentials, and click continue.
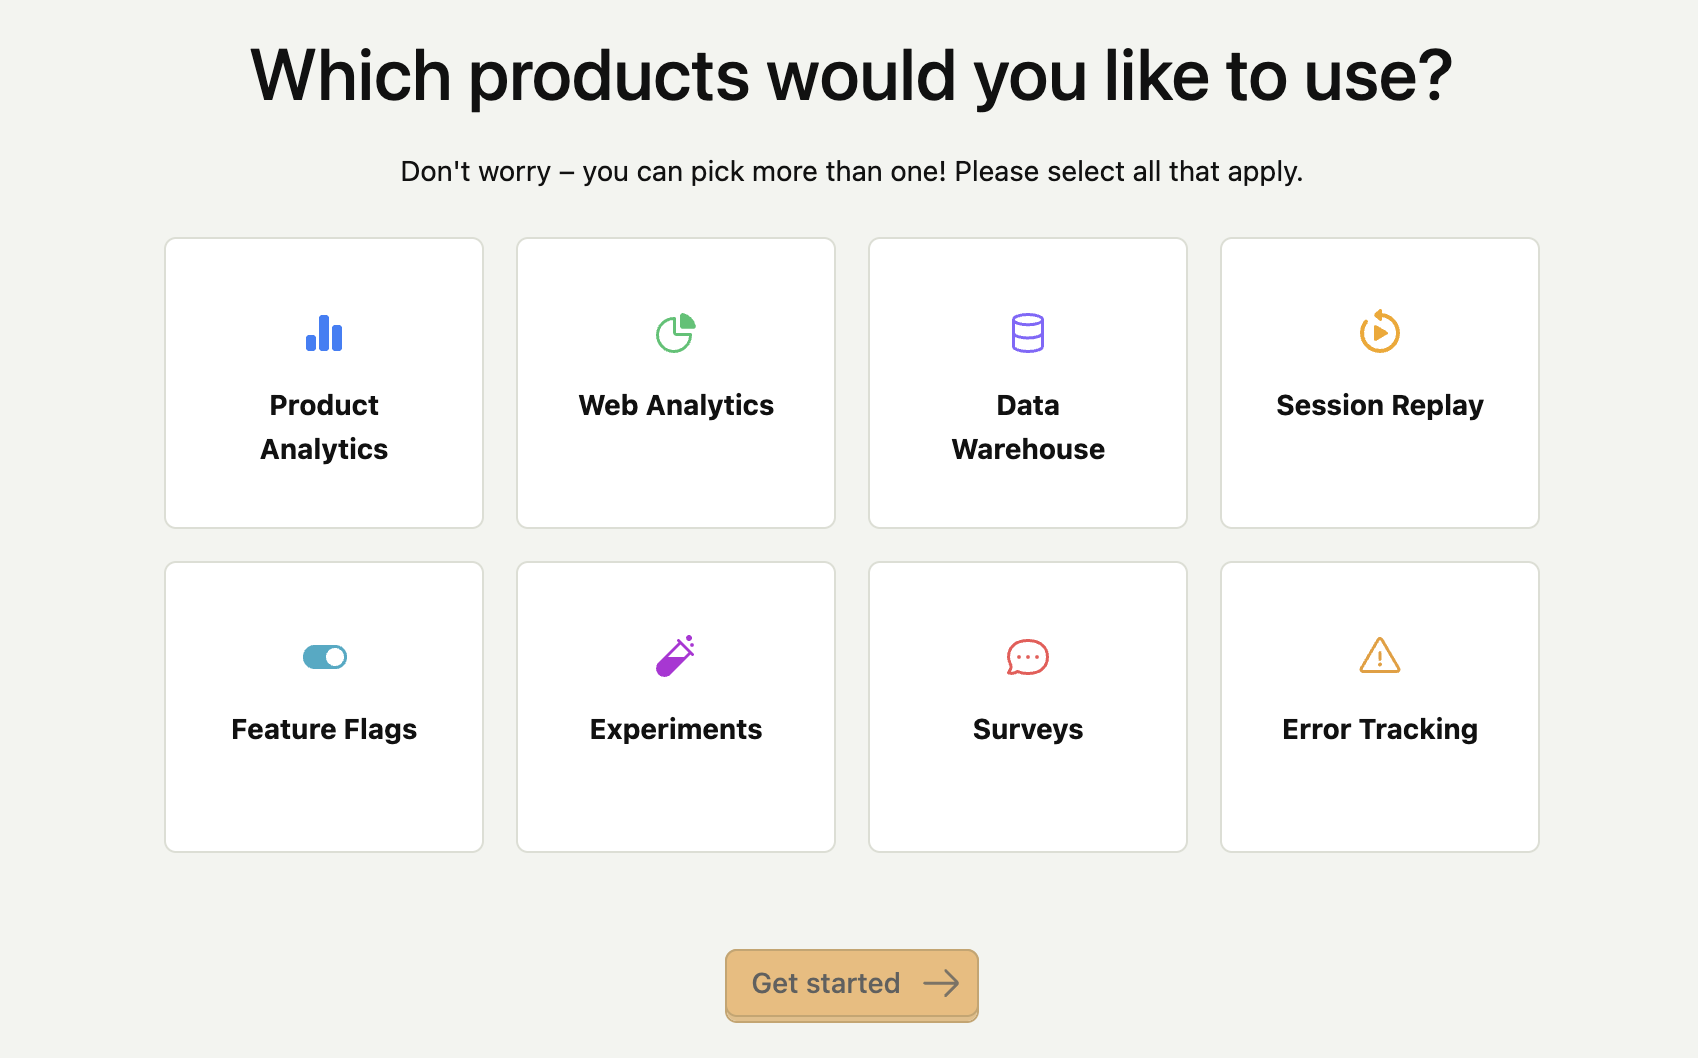
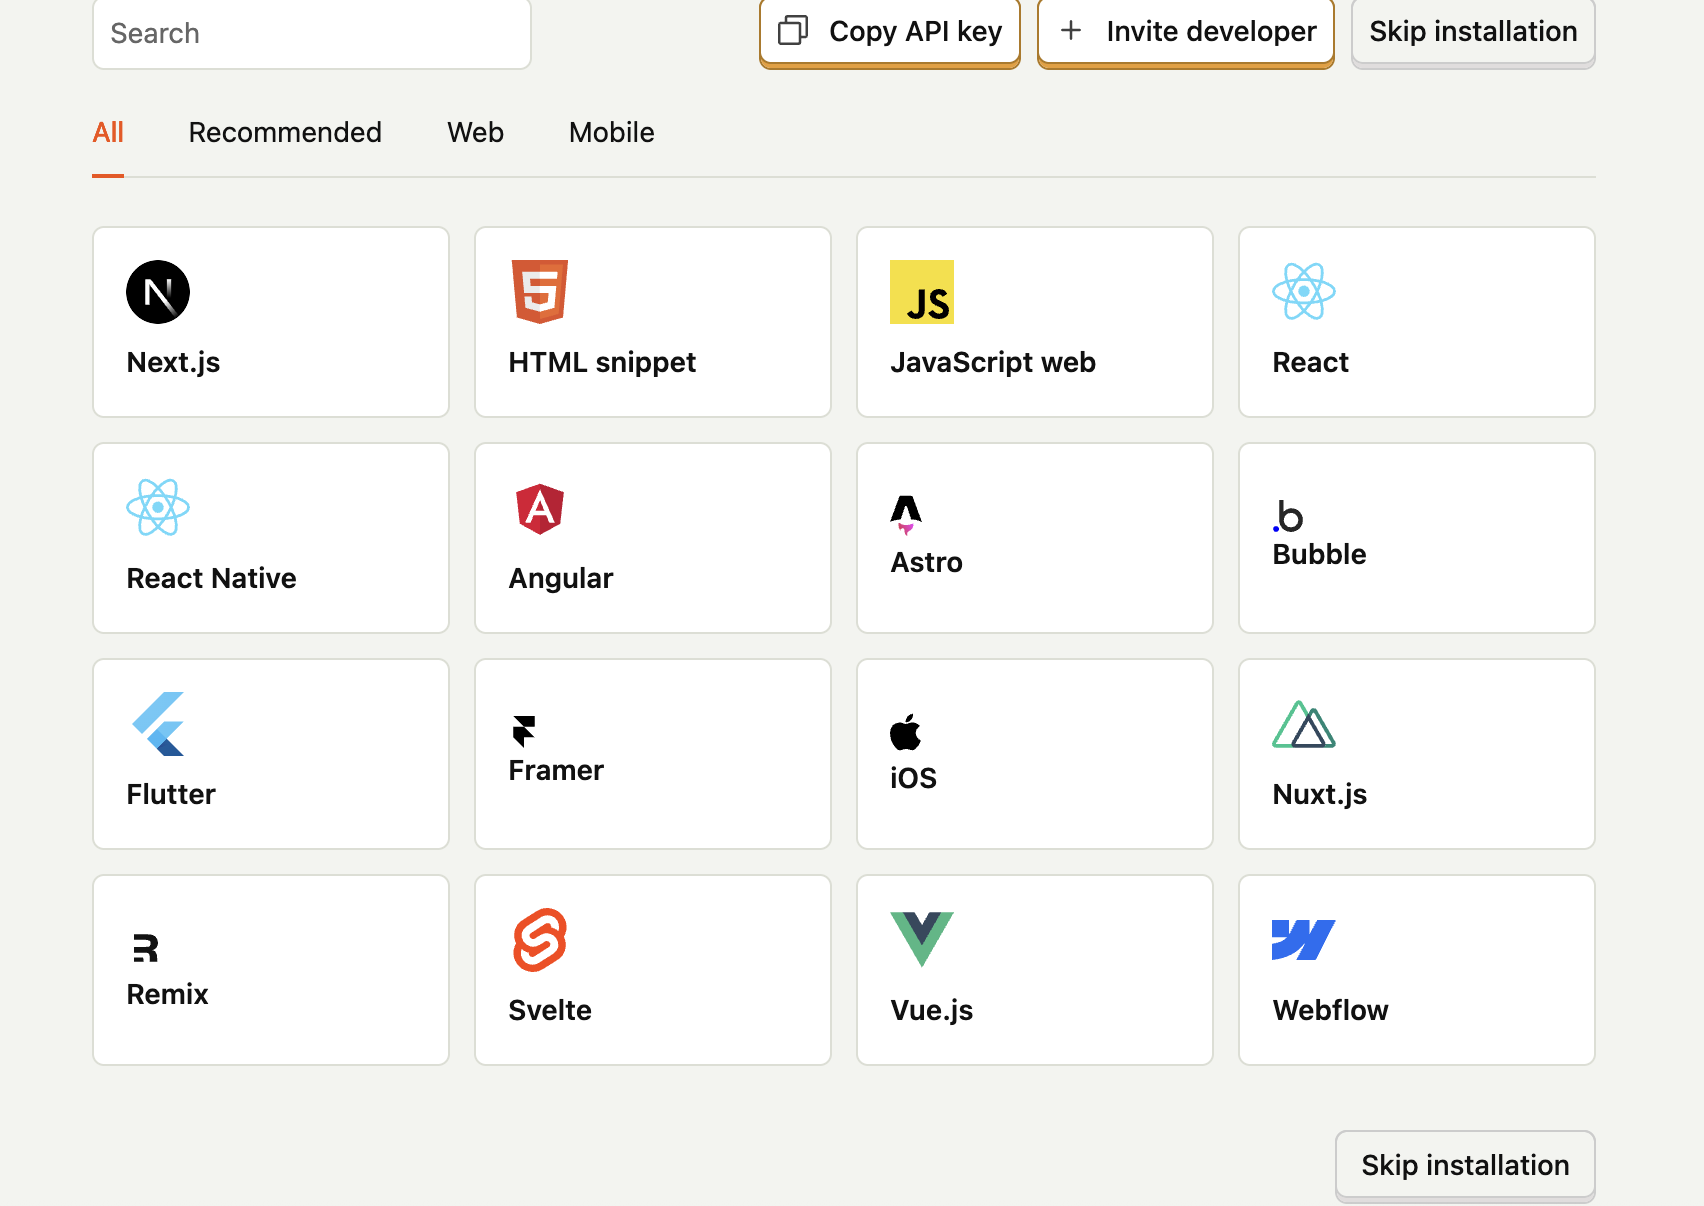
After account creation, you will be presented with the following options. Pick whichever applies to you, and click “Get started”.
Depending on your selections, the recommended installations will be presented; Choose, or Skip installations on the bottom right corner.
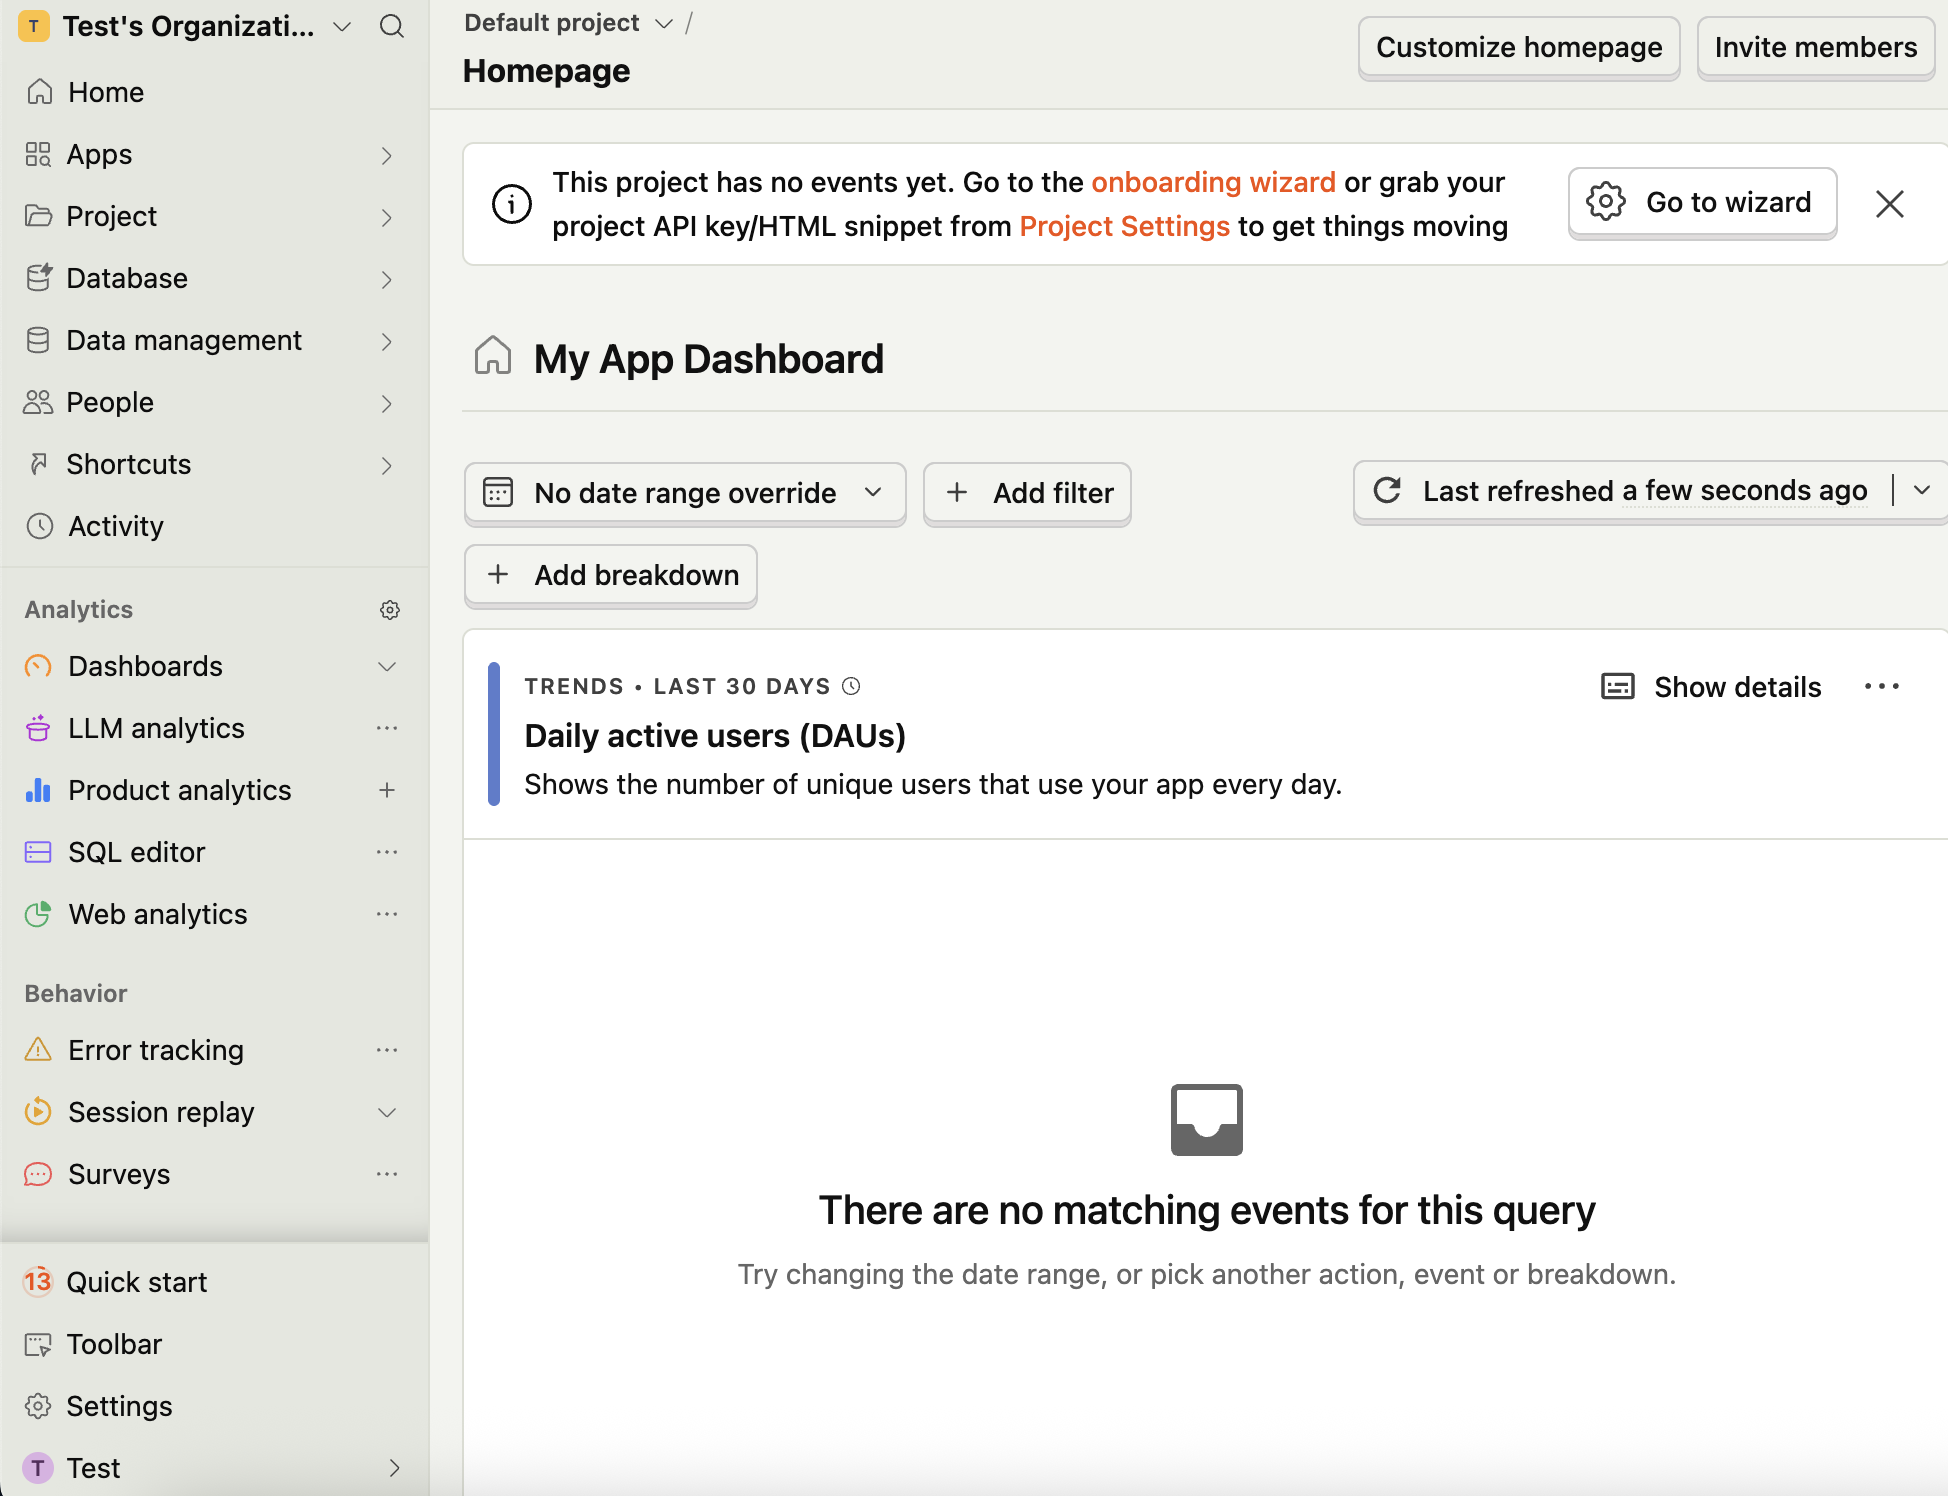
After this, you will be redirected to the main application page:
If you would like more details and advanced usage, you can visit the official Posthog documentation or refer to the Quick start guide in the application.