When developing a WordPress website, it is important to avoid making changes directly on the live site. A common and effective solution is to use a staging environment—a duplicate of your live website created specifically for testing. This separate environment allows you to safely test changes and ensure everything works as expected before applying them to the live site.
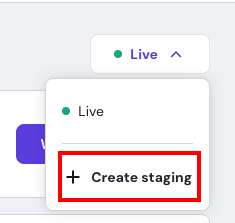
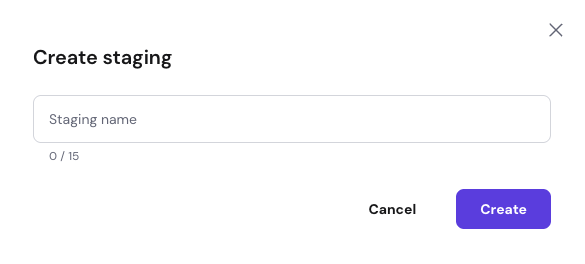
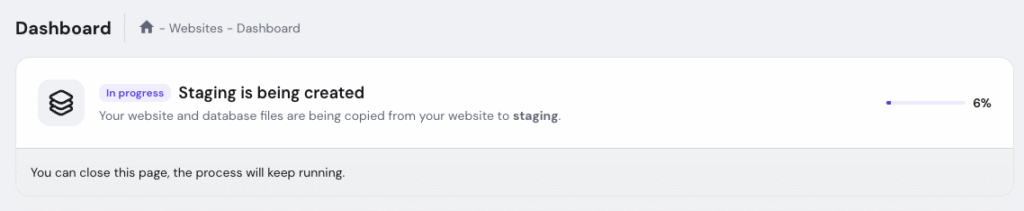
How to Create the Staging Environment
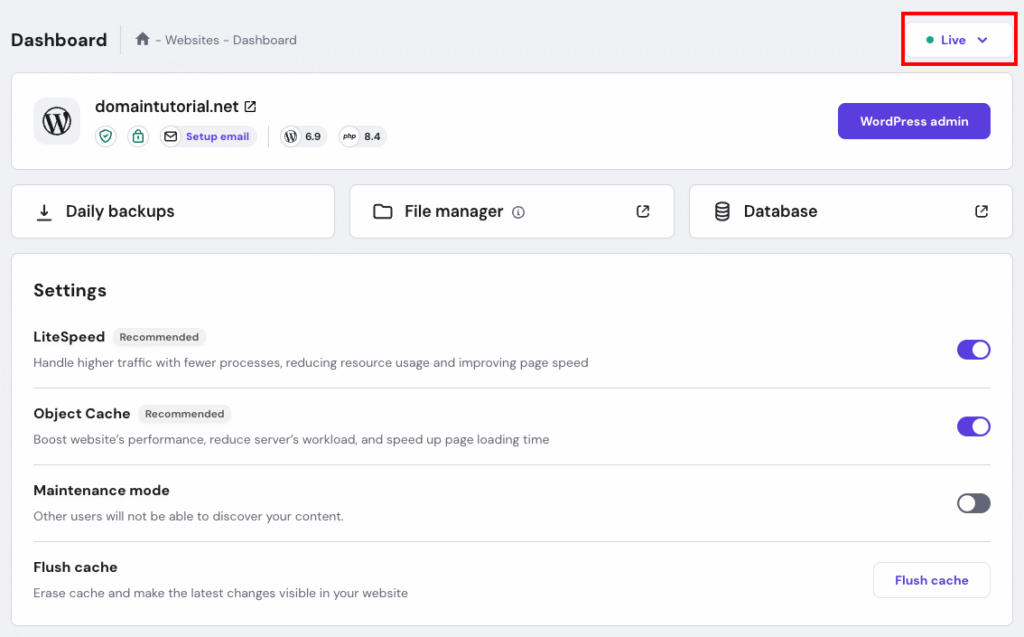
- If your domain is pointing by nameservers to a different provider, make sure to create the A record for the staging subdomain on your active DNS Zone and point it to your hosting IP
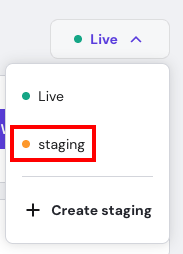
How to Manage the Staging Environment

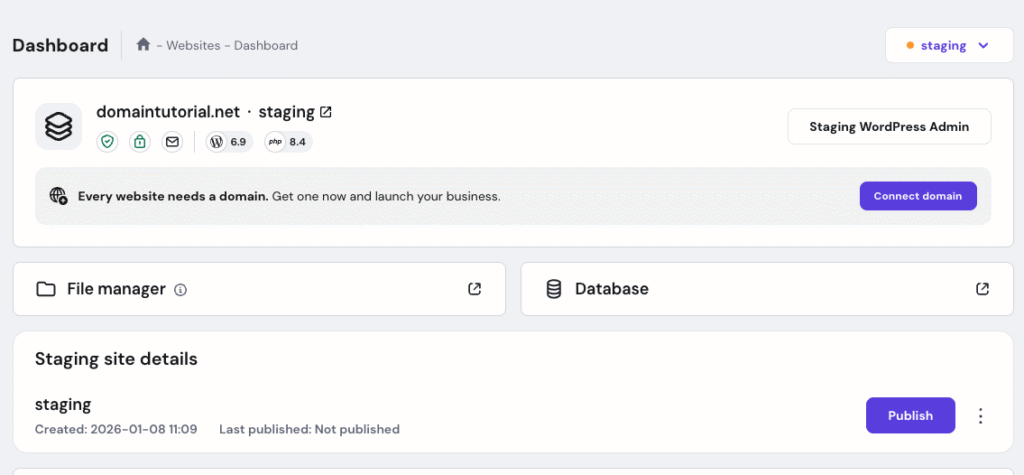
Once you have worked on the staging website and are ready to go live, you can push the changes by clicking on Publish.

You can choose what to publish to the production—Files only, Database only, or both Files and Database.
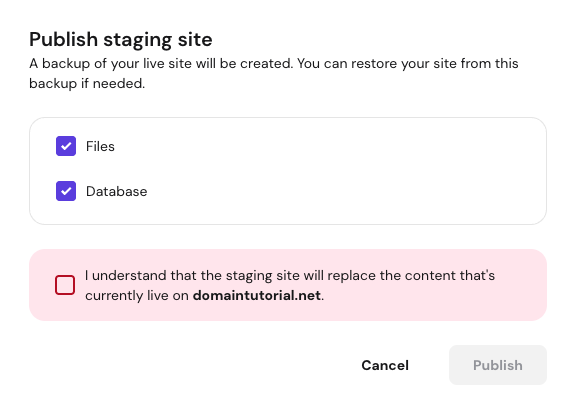
Confirm that you understand the staging site will replace your live website with the staging process by clicking on Publish.
Publishing replaces the content with the staging copy. If you had made changes on your original website after creating the staging, they will be lost.
- Delete the staging environment.

NOTES
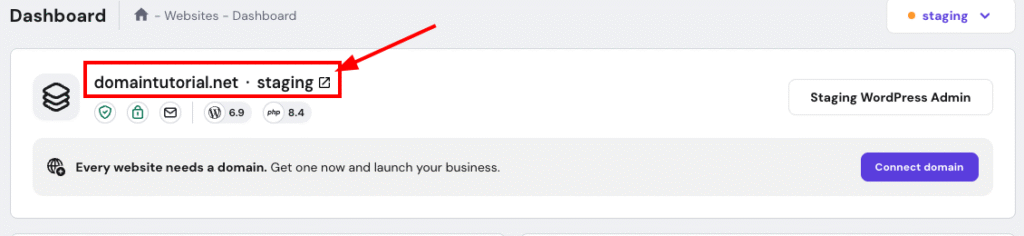
- Staging websites are created as temporary domain.