OpenClaw is an AI-powered automation platform that connects to applications through agent skills, enabling autonomous task execution with natural language commands. When integrated with WordPress, OpenClaw can create content, manage posts, and perform administrative tasks by analyzing your site’s context. Running OpenClaw on Hostinger VPS provides 24/7 availability, dedicated resources for AI operations, and centralized management for WordPress automation.
This tutorial covers deploying OpenClaw on Hostinger VPS, installing the WordPress agent skill, configuring authentication through application passwords, and creating content that matches your site’s style automatically.
Deploy OpenClaw (if you don’t have a VPS yet)
If you don’t have a VPS already, you can deploy OpenClaw directly from the OpenClaw VPS hosting page:
- Select a VPS hosting plan that fits your needs
- During the setup process, configure your preferred AI model, such as Gemini, by entering the required API key
- Complete the deployment and wait for the application to be ready
For a step-by-step guide, check this support article on how to deploy openclaw on Hostinger VPS.
Accessing OpenClaw
Once the installation is complete, you can access your OpenClaw instance:
- Open the OpenClaw web interface in your browser
- Enter the OPENCLAW_GATEWAY_TOKEN provided during installation to authenticate your access
Post-installation configuration
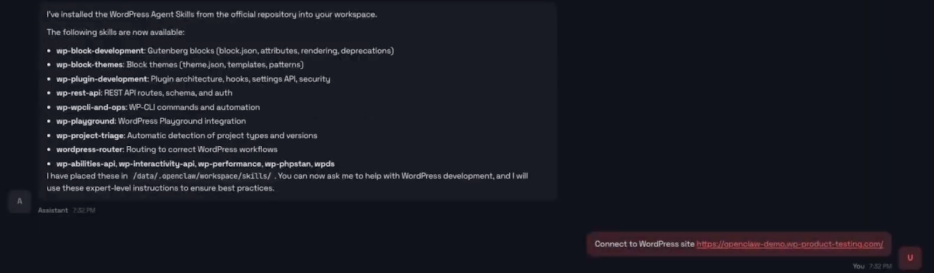
Step 1: Install the WordPress Agent Skill
To enable WordPress functionality, you must first install the necessary skill:
- Within the OpenClaw interface, navigate to the Chat section
- Ask Openclaw to install the WordPress agent skill directly from GitHub
Step 2: Connect to your WordPress site
- Provide the URL of the WordPress website you wish to connect
- Ask OpenClaw to guide you through the authentication flow to establish the connection via REST API and application passwords
Step 3: Configure WordPress API authentication
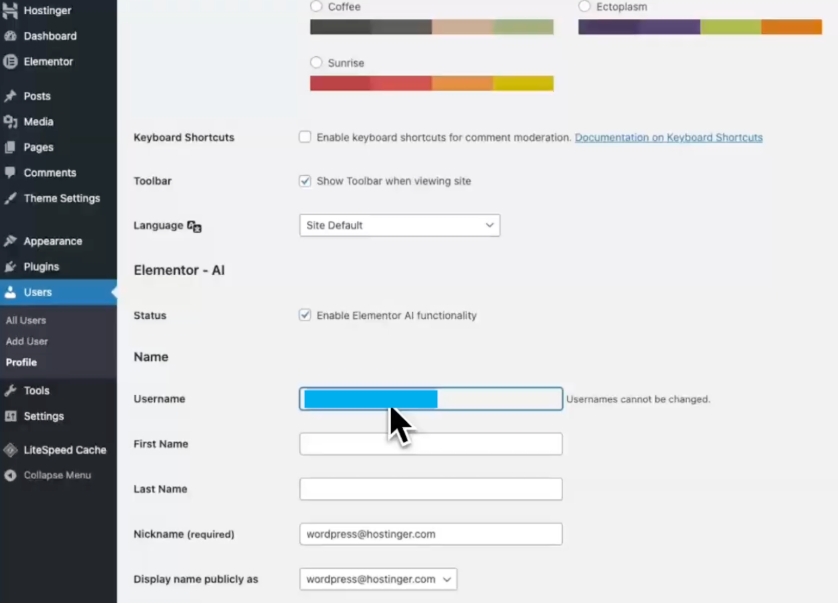
OpenClaw interacts with your site using the WordPress REST API and application passwords. For this, you’ll need your username and the application password.
The username is the one from your profile.
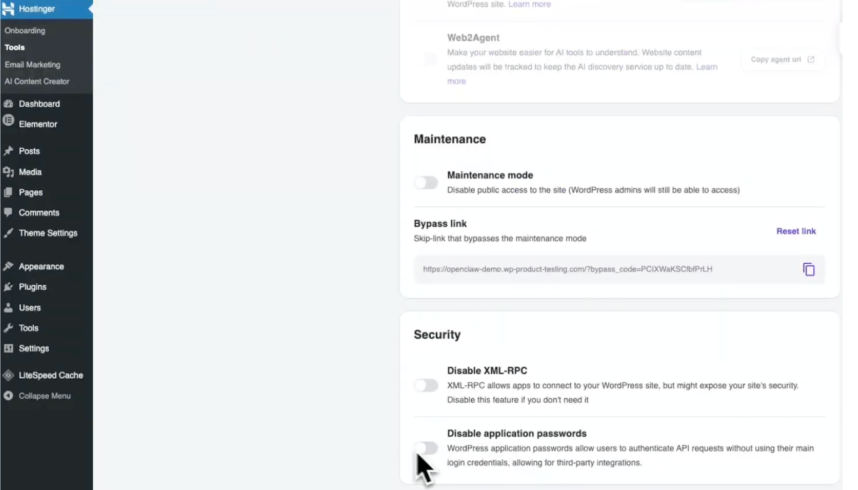
Before creating the application password, ensure that application passwords are enabled in your WordPress settings.
You can create a new application password for your user profile:
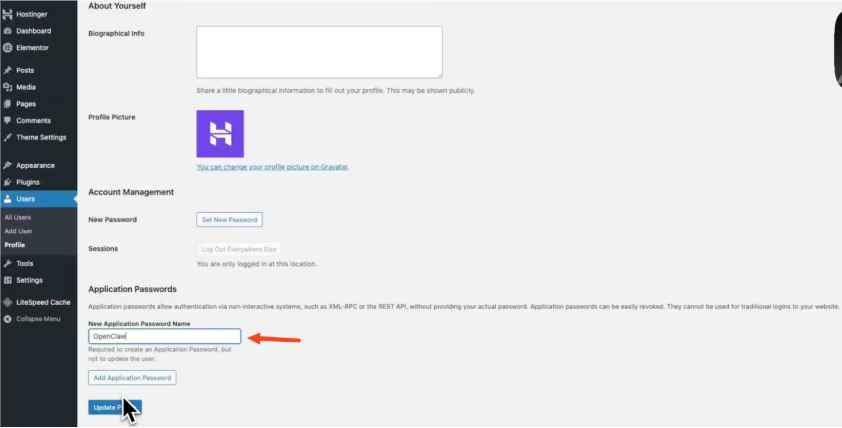
Provide your WordPress username and the newly generated application password to OpenClaw, and you’ll be ready to ask your new AI assistant to publish posts, update pages, or perform any other tasks you need.