Overview
Hostinger Horizons includes an integrated backend that automatically creates and manages your project’s data storage. No external database setup is needed.
This backend automatically stores and manages data when you add features like user logins, forms, or dynamic content. The “Data” section is where you can view and manage that information.
Previously, building data-driven features required connecting third-party services (for example, a database or authentication provider). With Horizons’ integrated backend, everything is handled within a single platform. You describe what you need, and Horizons sets it up automatically.
This feature may be gradually available as it continues rolling out. Currently, it’s free while in beta.
With project data, you can:
-
Manage user accounts and logins
-
Review and edit form submissions
-
Store and update dynamic content
-
Support automated emails and authentication flows
Accessing your project data
- Open your project
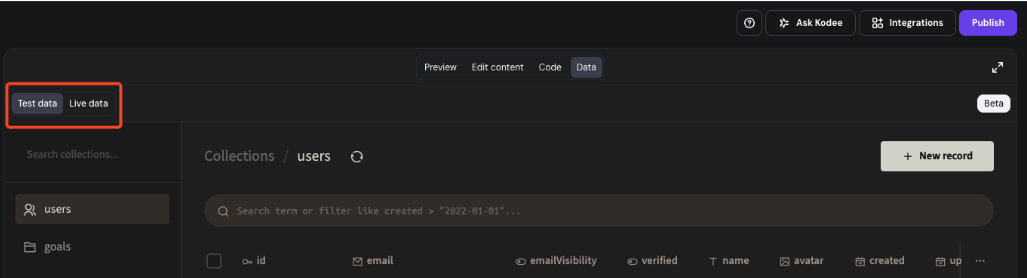
- Click the Data toggle at the top of the preview screen.

You’ll see 2 data environments available:
Test data
Use Test data to safely experiment. Any actions you take in preview mode (for example, submitting a contact form) will appear here. It’s ideal for testing new features without affecting your live website.
Live data
Use Live data to view real information collected from your published site: customer signups, form submissions, blog entries, or anything else visitors have created.
Browsing and editing data
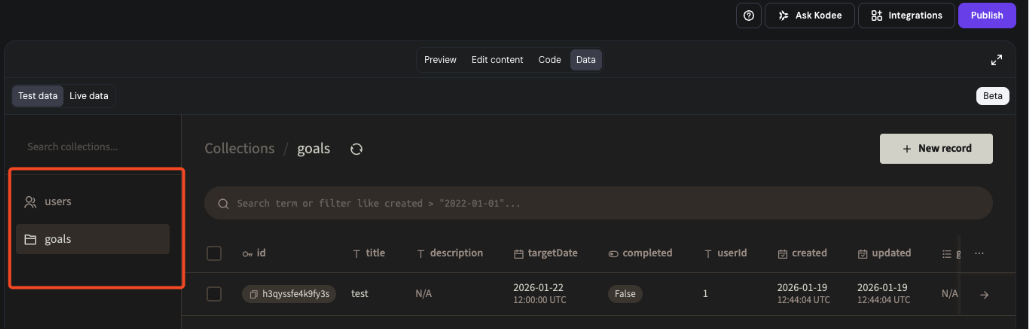
Collections are groups of related data automatically created by Horizons when your project needs them. For example: users, form responses, blog posts, or custom content. Each collection contains individual records.
On the left panel when ‘Data’ is toggled , you’ll find your Collections: groups of records such as contacts, posts, or users.
- Click any collection to view its records on the right side.
- Use filters to quickly find specific entries.
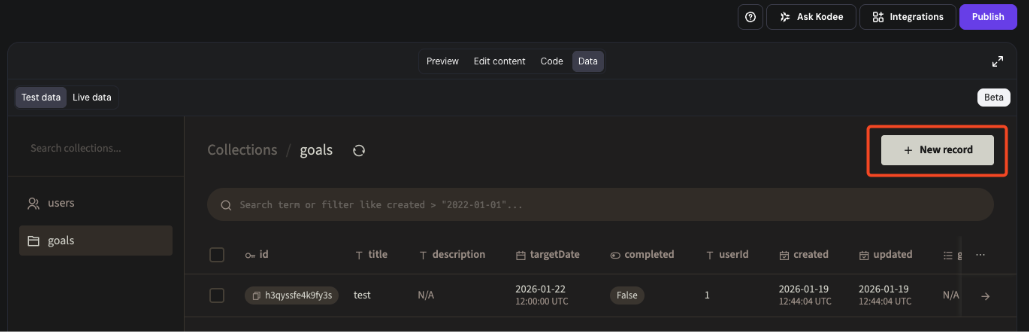
- Click Add record to manually create new data in any collection.
- Click on relevant data record to make changes.
- Click on ⋮ after clicking on relevant record to see an option to delete data record.
Making structural changes
Horizons handles the underlying database structure, security, and updates automatically. You don’t need to manage migrations, connections, or schemas manually, and changes won’t affect your live site unless published.
To modify your data model (for example, add collections or fields), describe the change you want in the Horizons prompt. E.g., “Add a new collection for support tickets with fields: title, email, status.” Horizons will apply the update automatically behind the scenes.