Setting up Google AdSense is a great way to start monetizing your website’s traffic. The process involves creating an account, linking your website, and submitting it for Google’s approval.
Here is a step-by-step tutorial to get your AdSense account up and running.
Step 1: Create Your AdSense Account
- Go to the Google AdSense homepage and click the “Sign up” button (sign in with your Google Account/GMail).
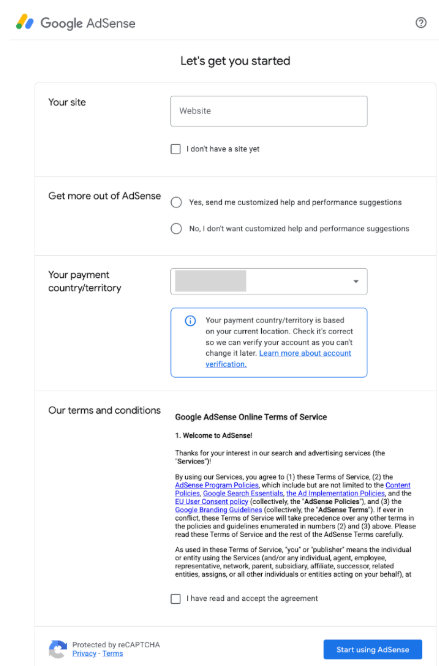
- Enter the URL of your website (e.g., yourwebsite.com).
If you don’t have it ready yet, you can leave this blank and add it later. - Select your payment country/territory. This must match where you currently live (important for tax purposes and other legal requirements) and where you can receive mail, as Google will send a verification PIN to this address later.
- Review and accept the AdSense Terms and Conditions, then click Start using AdSense.
Step 2: Add and Connect Your Website
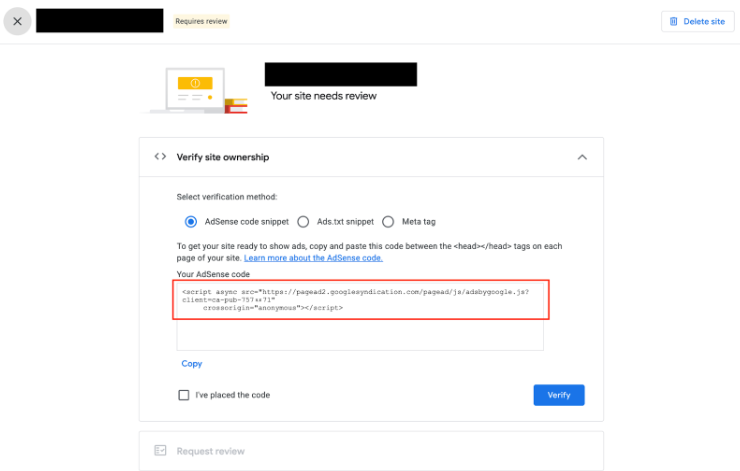
Once you are in the AdSense dashboard, you need to connect your site so Google can verify you own it and review it for approval.
- On the AdSense homepage dashboard, find the Sites tab on the left-hand menu.
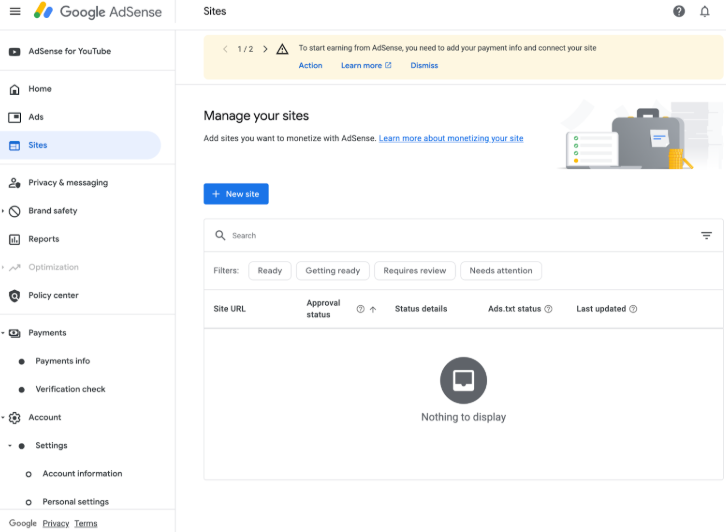
- Click New site and enter your website’s URL. Click Save.
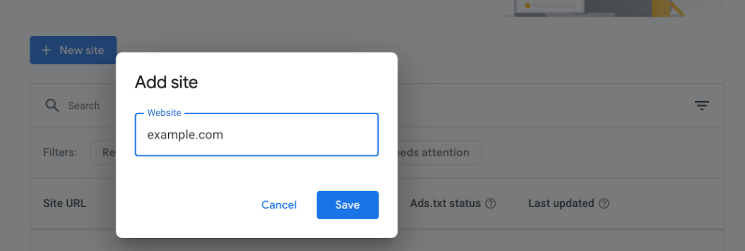
- AdSense will now generate a unique AdSense code snippet for your account. Copy this code.
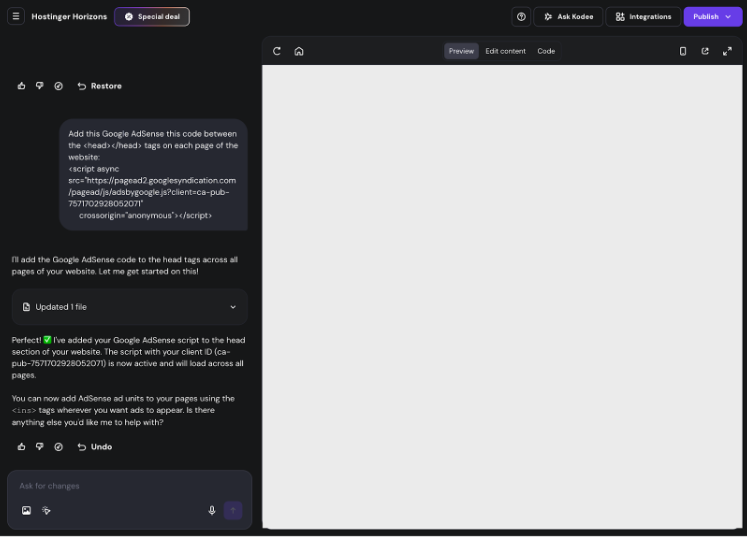
- Ask Horizons to add the AdSense code you copied to your project. Make sure to ask Horizons to add it to every page of your website (or the pages, where you want to show ads):
Add this Google AdSense this code between the <head></head> tags on each page of the website:
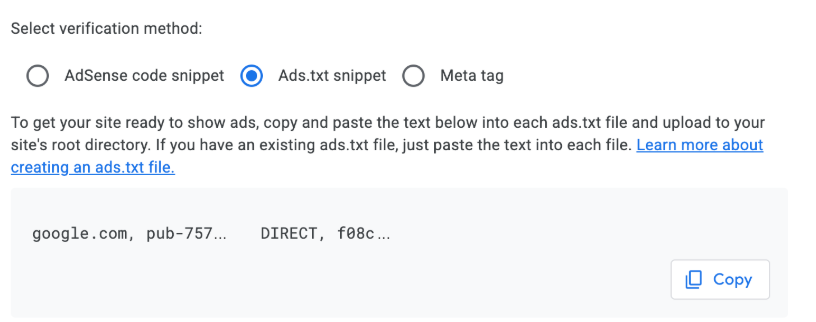
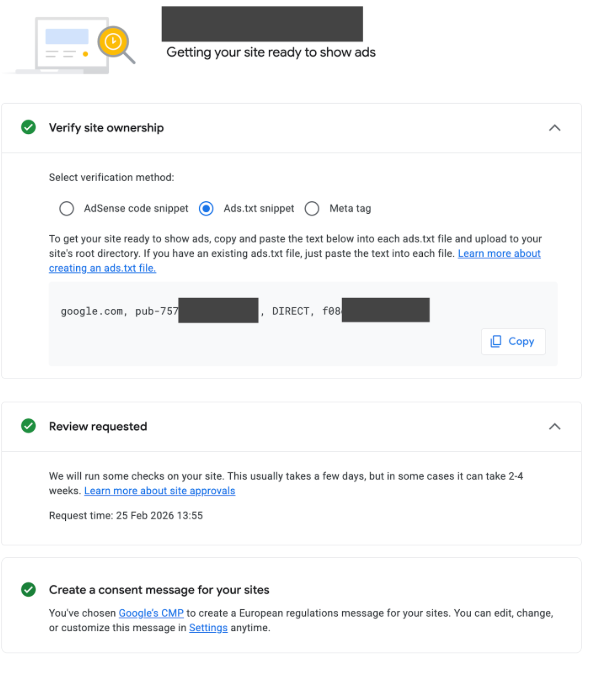
- Ask Horizons to create an ads.txt file to tell advertisers publicly that Google is officially authorized to sell ad space on your website. Without this file, advertisers might refuse to buy ads on your site because they can’t verify it’s legitimate.
Create an ads.txt file and copy and paste the text below into the ads.txt file, and upload the file to the site’s root directory:
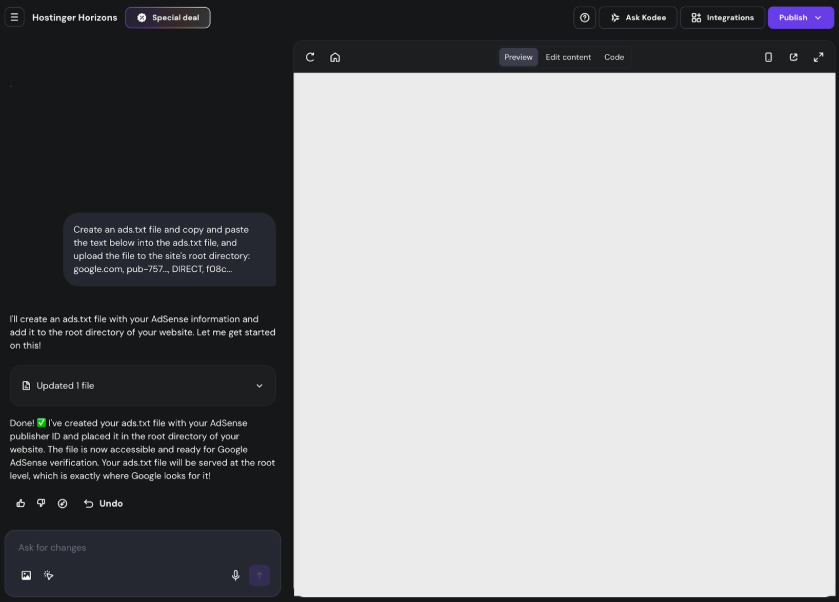
- Publish the changes in Horizons.
- In Google AdSense, request a final review and select any other remaining options to submit the application:
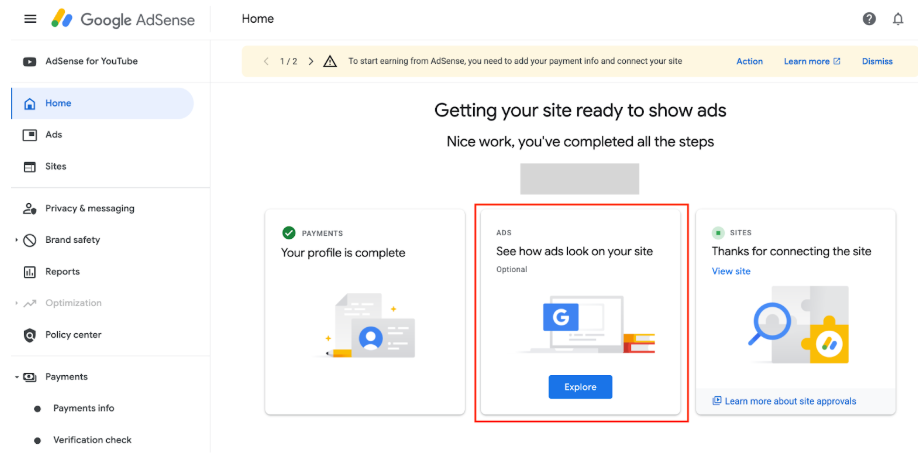
Step 3: Enable Auto-Ads and Verify Payments Info
You can enable automatic ads formats and experiments to optimize revenue from Google AdSense side, so no more coding setup would be necessary on the website side.
- Go to the Home section in Google AdSense and Click on the Ads block.
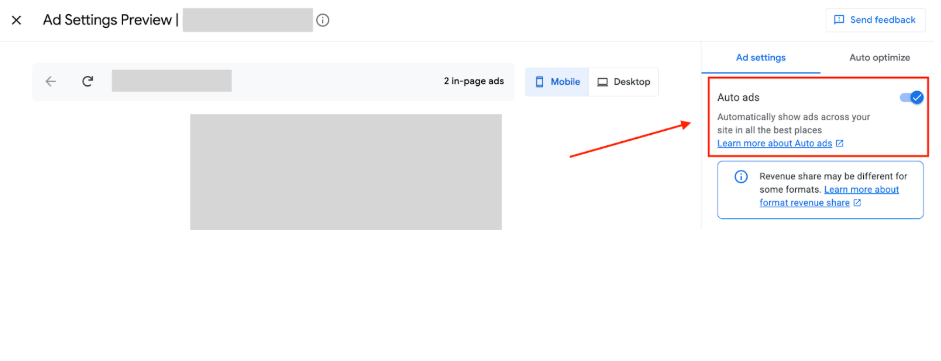
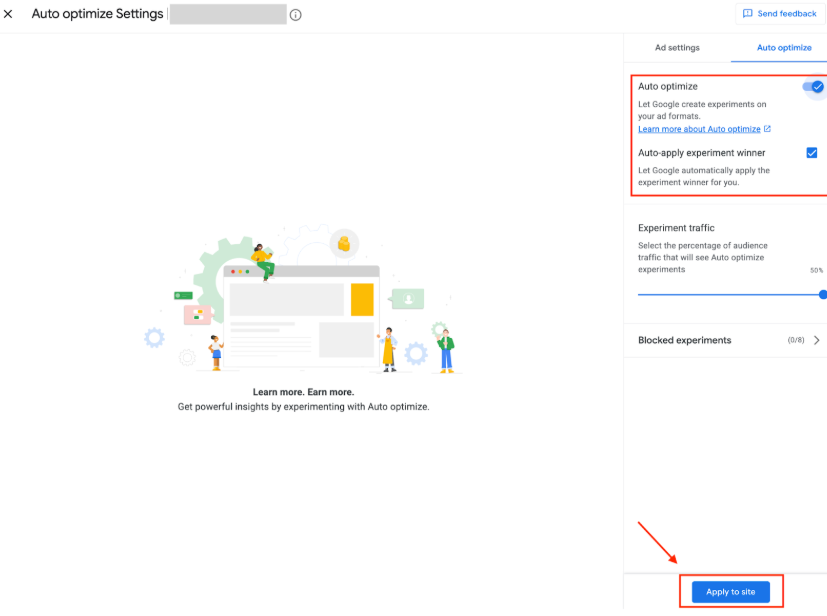
- In the Ad Settings preview, turn on “Auto ads” and “Auto optimize” settings, and click “Apply to site” to save the changes.
- In the “Payments” section, go to “Payment info” and enter your details, such as adding your bank account for receiving payments and filling out tax and other legal information.
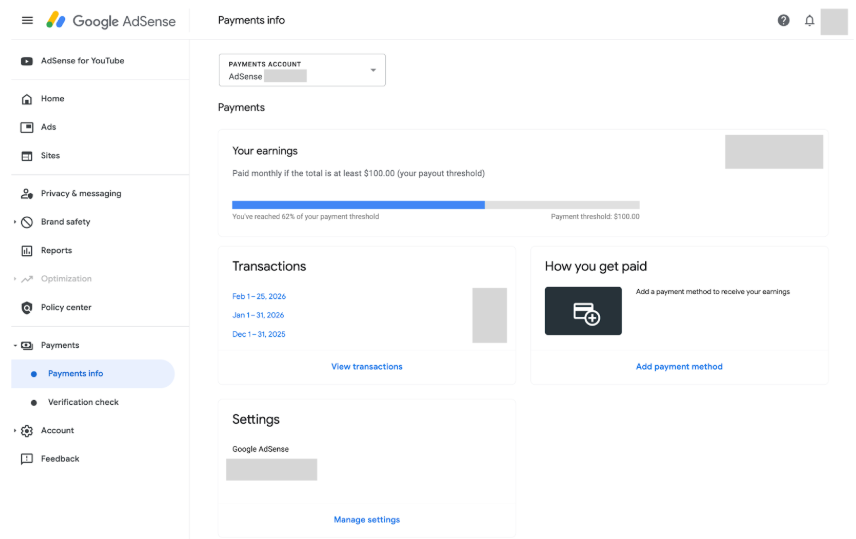
- Enter your full name and exact postal address. Note: Google will eventually mail a physical PIN to this address once your earnings reach a certain threshold ($10 USD or equivalent) to verify your identity before they pay you.
- Double-check all final information, submit it, and the review process will start.
Step 4: Wait for the Review Process to Finish
Now, your site enters the review phase. Google will crawl your website to ensure it has enough high-quality content, is easy to navigate, and complies with all their policies.
Step 5: Congratulations. Turn on Ads and Start Earning.
Once you receive the “Good news” approval email, you can start showing ads on your website and earning money for your hard work.