Hytale is an upcoming sandbox RPG that combines adventure, building, and modding in a rich multiplayer world. With Hostinger Game Panel, you can deploy a Hytale dedicated server in just a few clicks — no manual configuration required.
This guide will walk you through the process of creating and managing a Hytale server using the Hostinger Game Panel. If you’re new to the game or want to understand how Hytale works in a multiplayer setup, it helps to first learn more about what Hytale is.
Step 1 – Purchase a server
Navigate to our Hytale Server Hosting page and select the plan you would like to purchase.
Step 2 – Set up your gaming server
Right after purchasing, you’ll be redirected to the onboarding process. Select your server location (the closest to your users) and set a strong password for your control panel’s admin user.
Step 3 – Log in to Game Panel
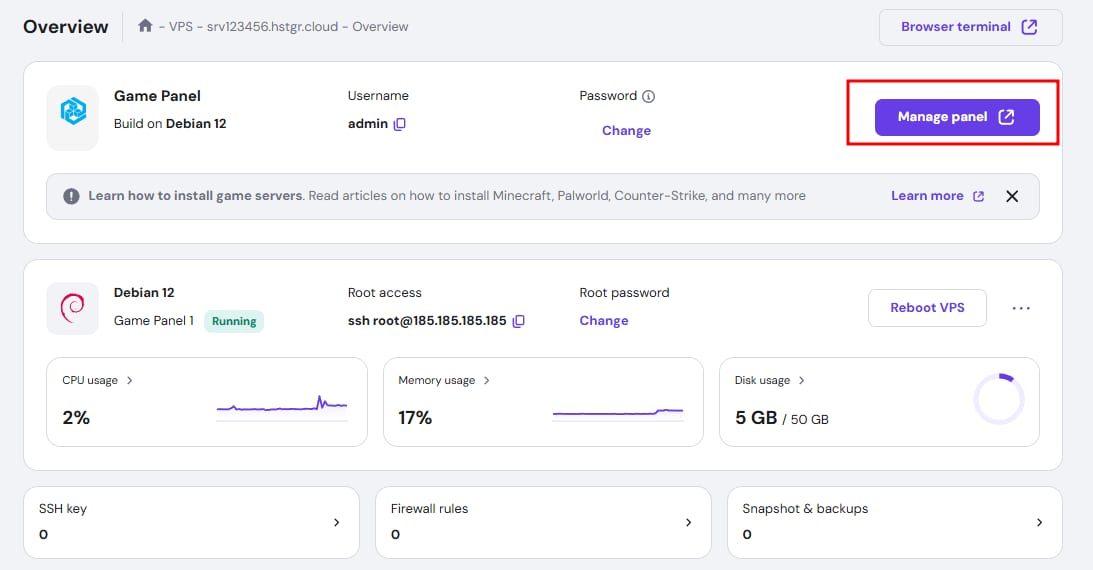
Once the initial installation is completed, navigate to the Panel access tab on your hPanel’s VPS section and click the link next to Login URL:
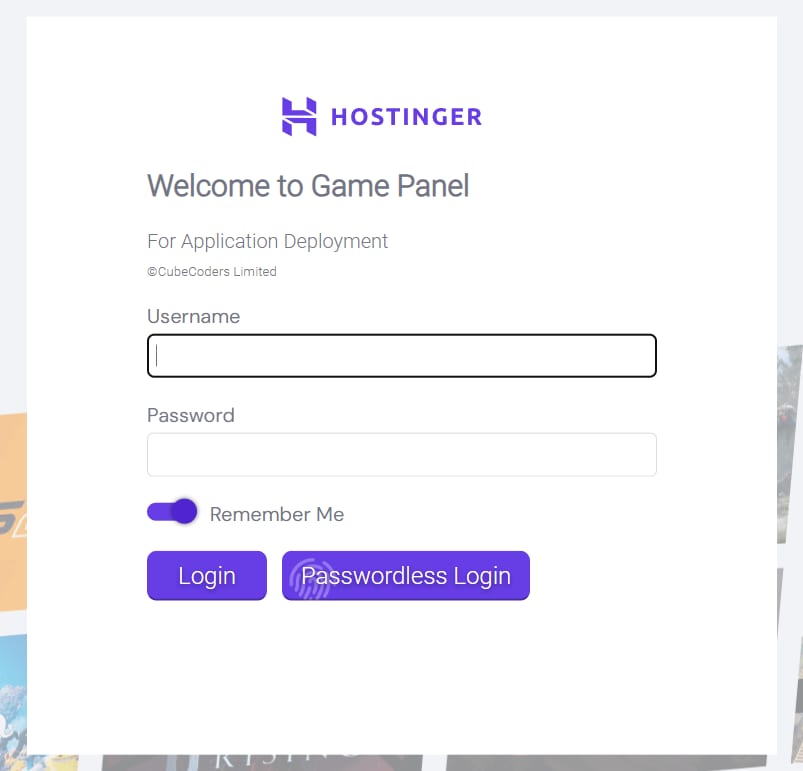
In the window that opens, enter the username ‘admin’ and the password you created during the onboarding process.
Step 4 – Create the Hytale instance
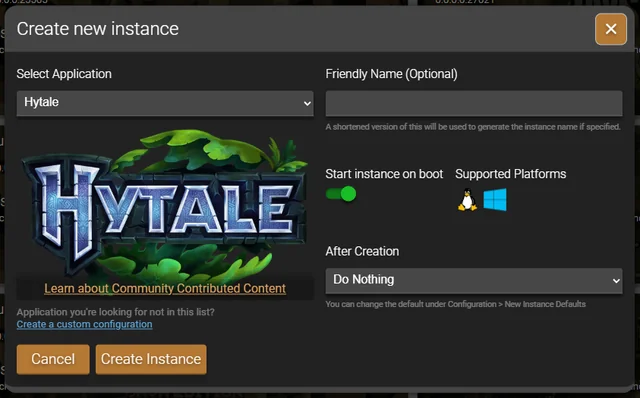
In the Instances section of the Game Panel, click the Create Instance button. When the list of available game templates appears, select Hytale from the dropdown menu and confirm the deployment. The Game Panel will automatically download the required server files, configure the environment, and prepare the server for use. This process usually takes only a few minutes.
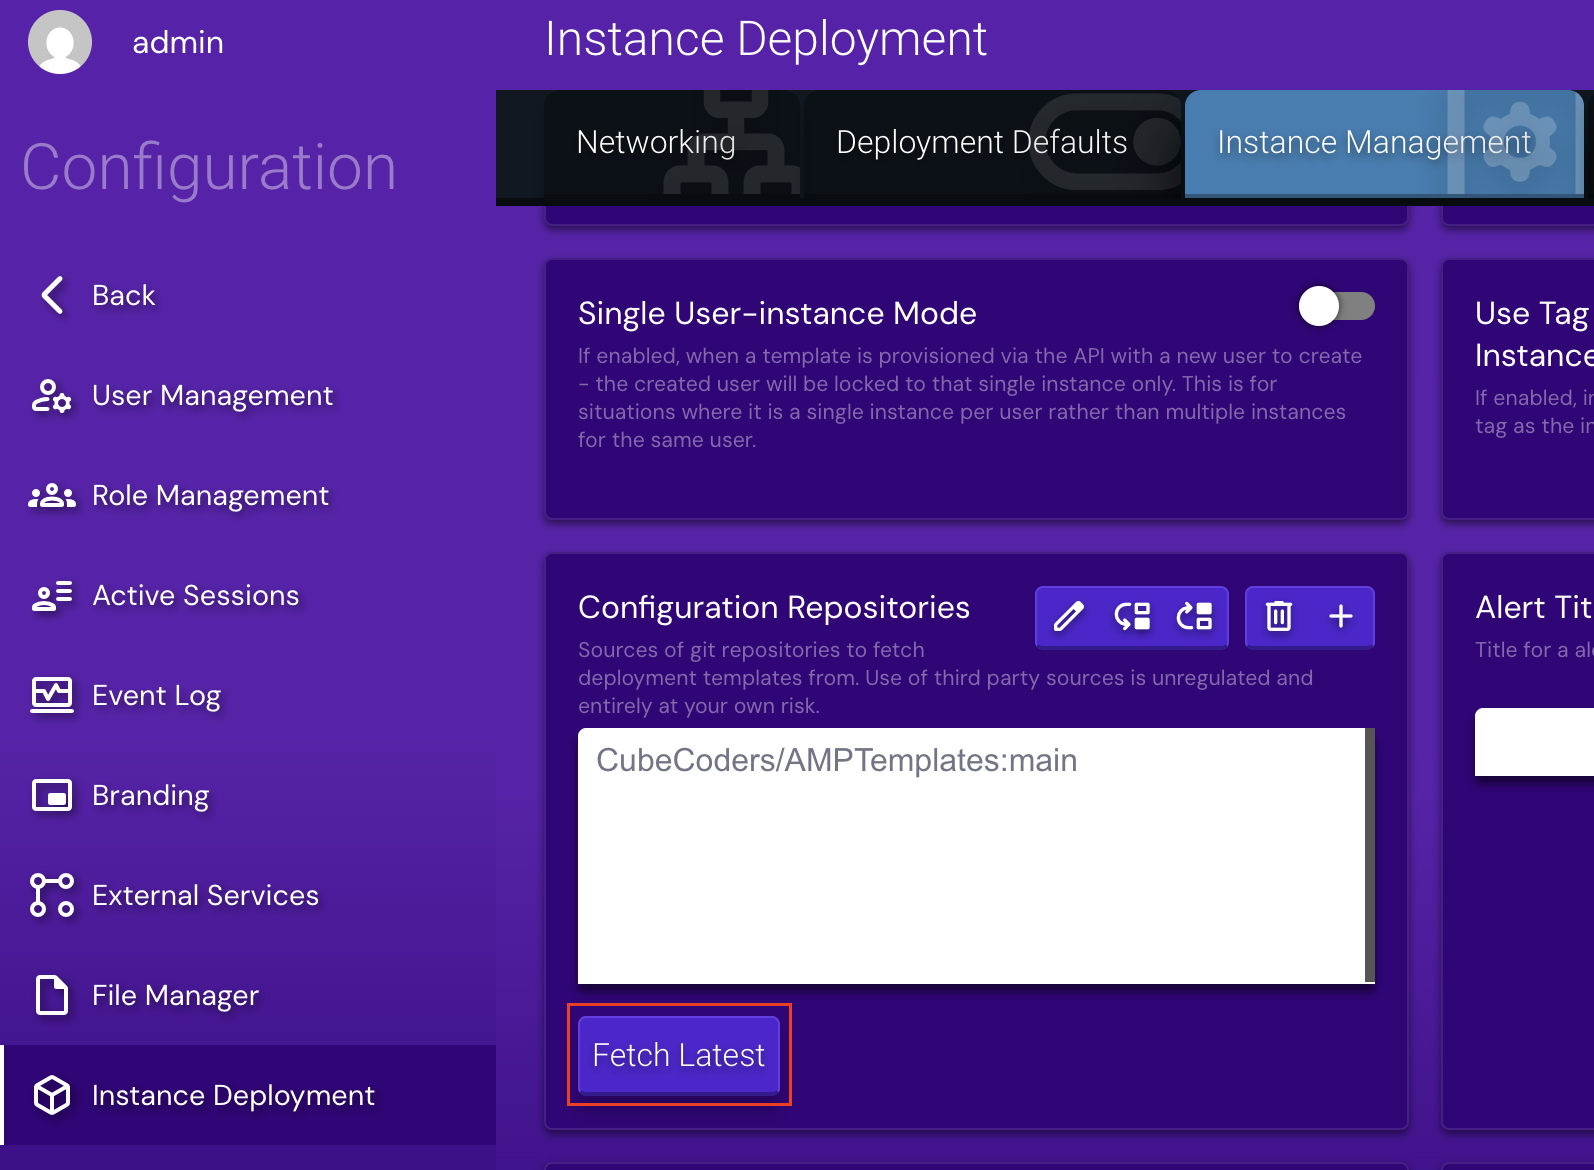
If Hytale doesn’t show in the list, then you simply need to update your repositories:
Once the instance appears in your Instances list, do not start it yet.
Step 5 – Downloading and authenticating the server files
After the instance is created, open the instance management view and trigger an update so the server can begin downloading the required Hytale files. Immediately open the server console while the update is running.
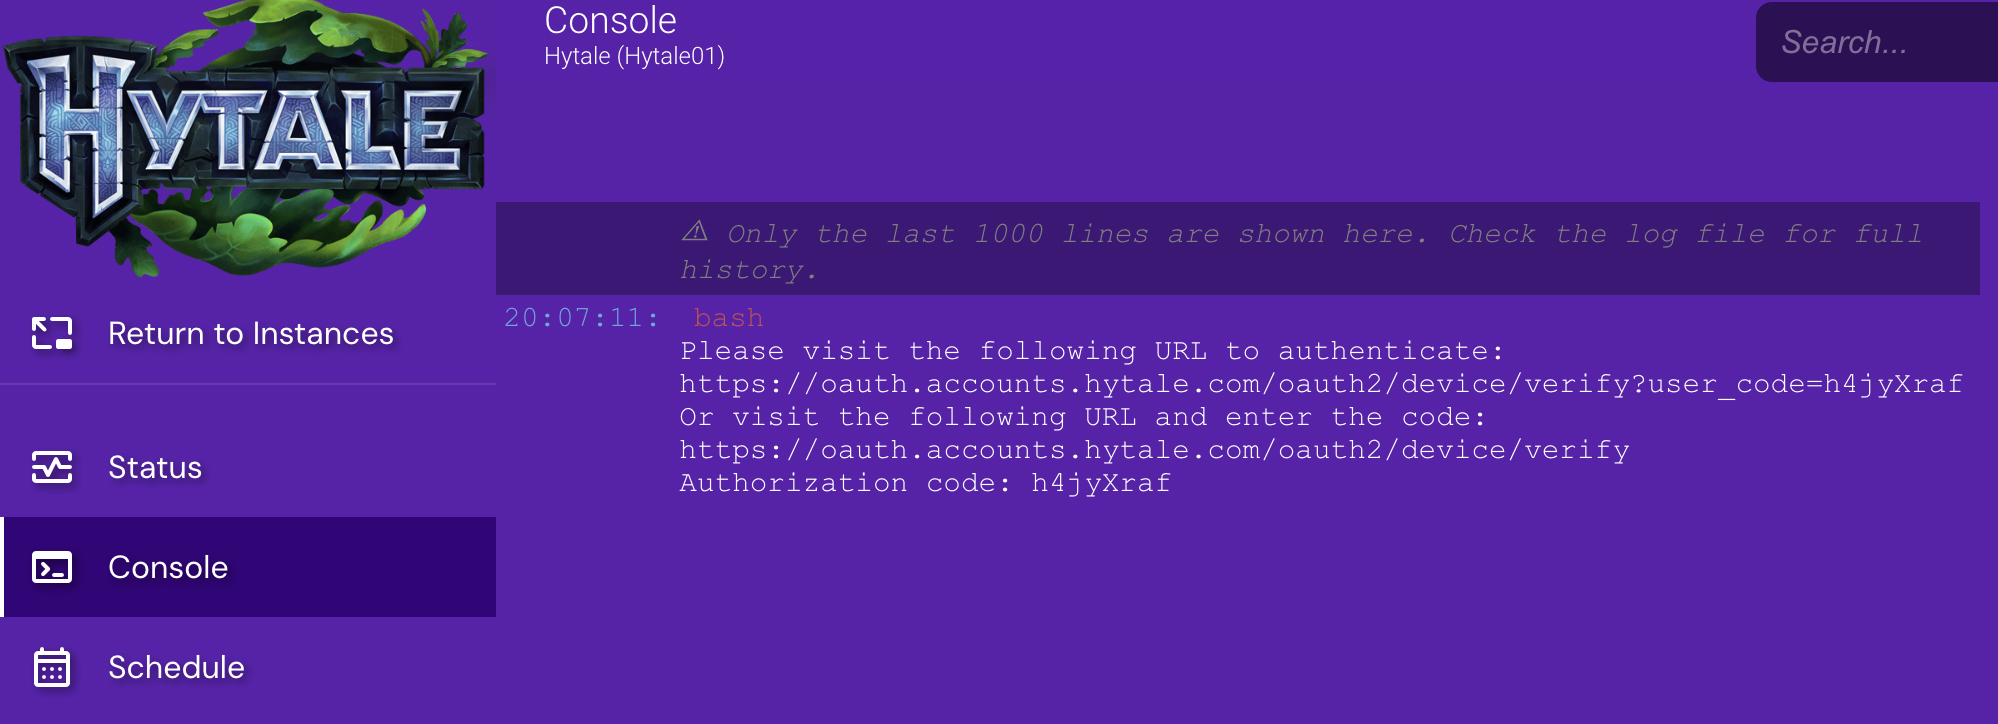
During the installation process, the console will display a URL prompting you to authenticate the download. Open this link in your browser and log in using the Hytale account that owns the game. Approve the authorization request to allow the server to download the game files.
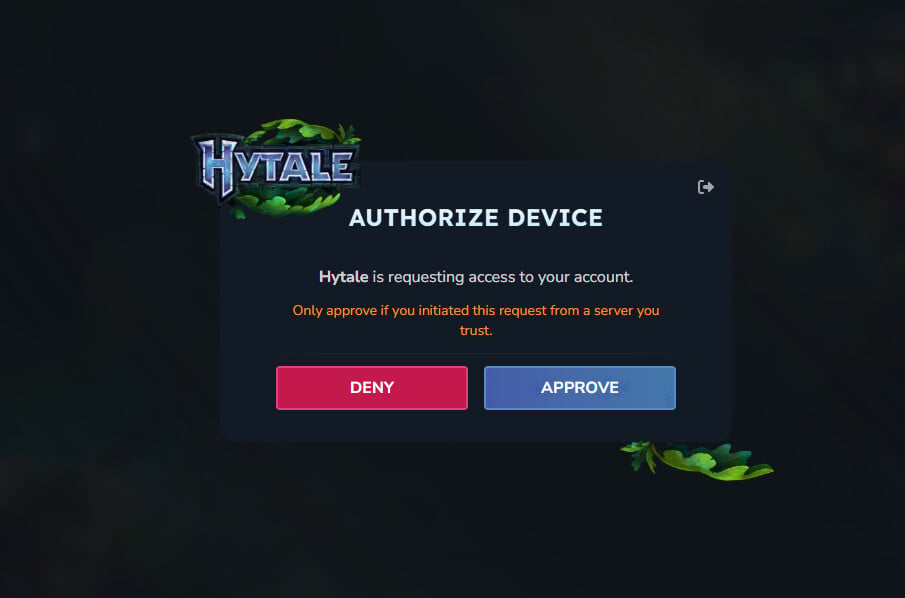
This authentication step is required only once per server. After authorization is completed, the download will continue automatically.
Step 6 – Authenticating the server for player access
With the server running, open the console and run the authentication command provided by the Hytale server. This command will generate another authorization link.
/auth login device
Open the link in your browser, log in to your Hytale account, and approve the request. After completing this step, return to the console and run the persistence command so the authentication is saved permanently. This ensures the server remains authorized after restarts.
/auth persistence Encrypted
After the server is running, copy the server’s IP address from the instance details. Open Hytale, add the server using the IP address, and connect to begin playing on your dedicated server.
For users who want more control, the Game Panel includes a built-in file manager, server configuration options, scheduling features for restarts, and simple update controls. These tools allow you to customize and maintain your Hytale server with minimal effort.
Hytale is still under active development, which means server requirements and features may change over time. Keeping your server updated and choosing a VPS plan with sufficient resources will help ensure smooth gameplay and the best possible experience.
If you’re still comparing options, check our guide to the best Hytale server hosting providers to understand what to look for in terms of performance and features.