Make your emails stand out with a personal touch! Personalization lets you automatically include each subscriber’s first name, last name, or email address in your messages — helping you build stronger connections and boost engagement effortlessly.
Why use personalization
Personalized emails feel more genuine and engaging. Instead of sending the same generic message to everyone, you can greet subscribers by name or include their details directly in your content. This simple touch can boost open rates, click-through rates, and customer loyalty.
How to add personalization to an email template
Follow these steps to add personalized fields to your email:
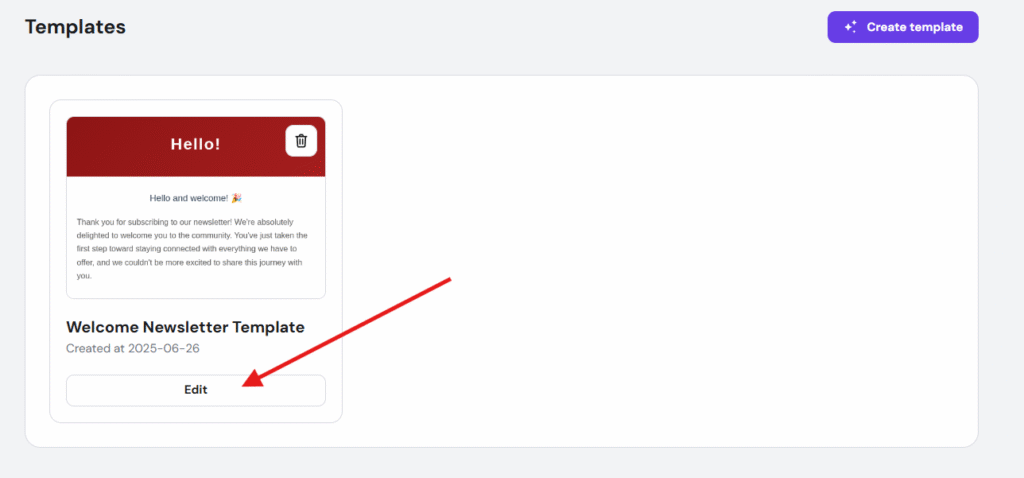
- Go to your email template editor
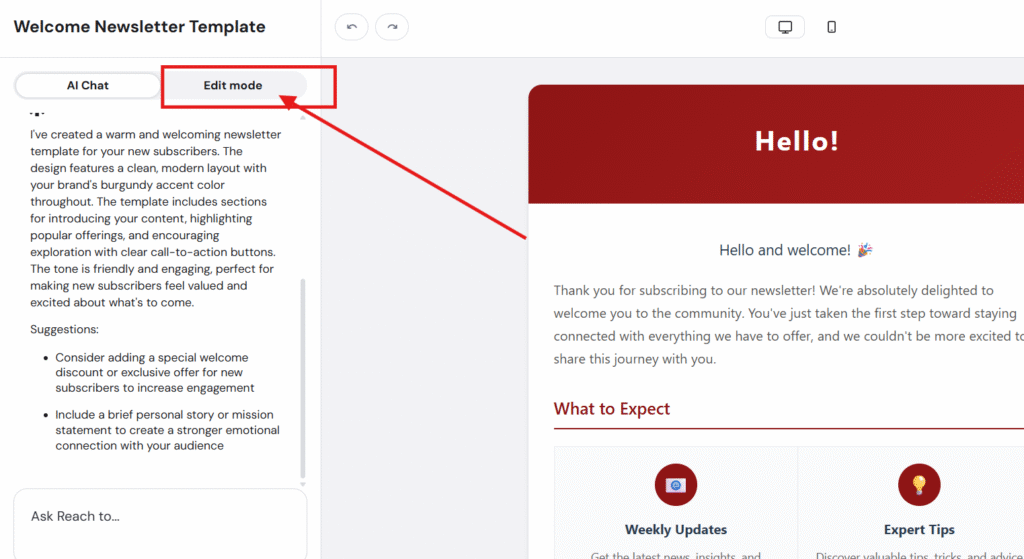
Navigate to Edit email template → Edit mode.


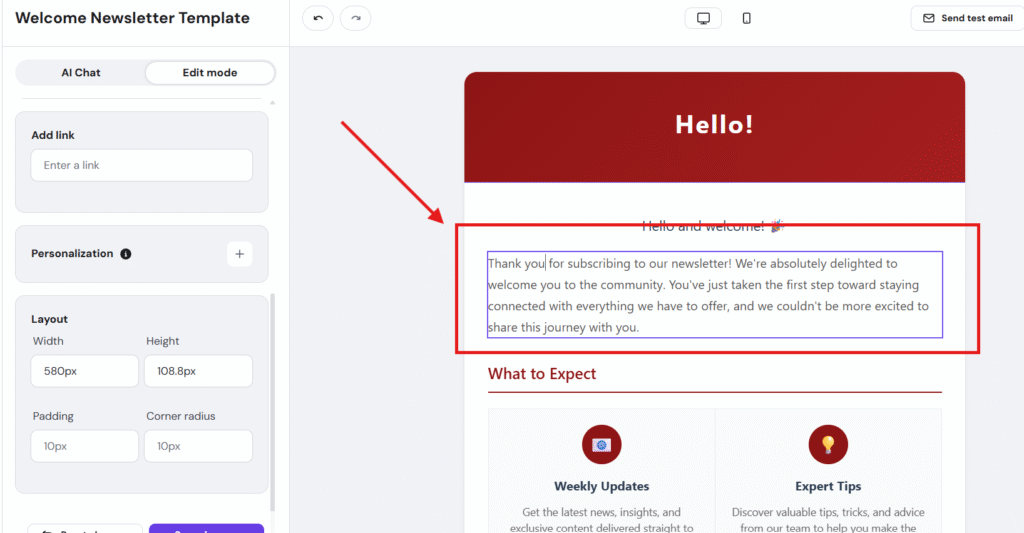
- Select the text you want to personalize
Click on the text area where you’d like to insert a subscriber’s information.

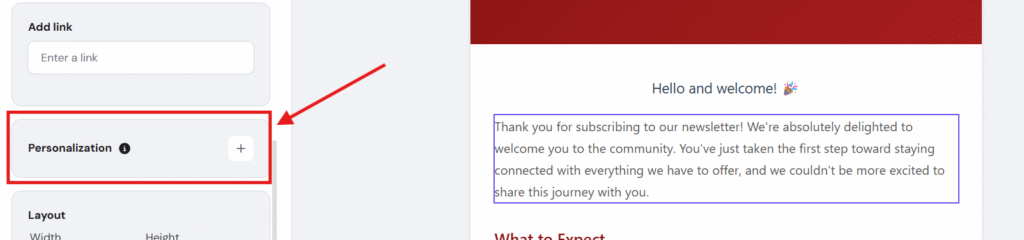
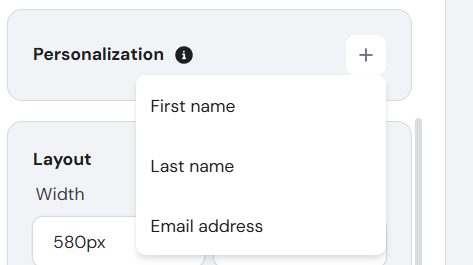
- Insert personalization
Click the Personalization button and then the plus (+) icon.

- Choose your personalization field.
Select the data you want to include — for example, First name, Last name, or Email address.

- Add fallback text (Optional)
You can edit or leave the default fallback text that appears if the subscriber’s data is missing.
For example: {{name, There}}
If a contact doesn’t have a name saved, the word There will be displayed instead.
- Leave a space to skip personalization (Optional)
If you prefer to skip the personalization entirely when no data is available, simply add a space in the fallback area.
Important notes
- You’ll see text in your template that looks like {{name, There}}. Do not delete or modify this placeholder, as it’s essential for personalization to work correctly.
- You can preview your email before sending to ensure your personalization appears as expected.
Example
Before personalization:
Hello there, we’ve got something special for you!
After personalization:
Hello Anna, we’ve got something special for you!
That’s it! Your email templates are now more personal and engaging — all with just a few clicks. 🎉