The Drip Campaign Automation feature makes it easy to create and manage multi-email sequences that help you stay connected with your subscribers over time.
You can set up automated campaigns that fit your goals, with the flexibility to expand, shorten, or adjust the sequence whenever needed.
You’ll be able to:
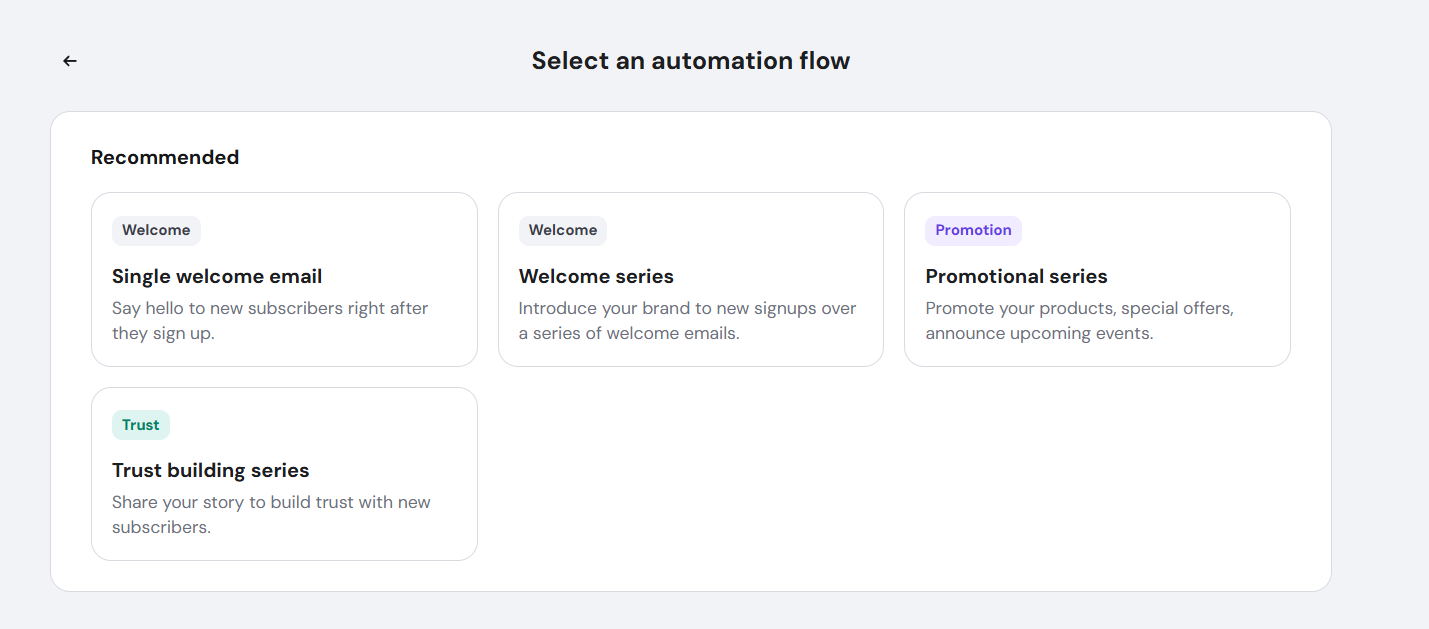
- Choose an automation workflow with a clear preview and description for each option.
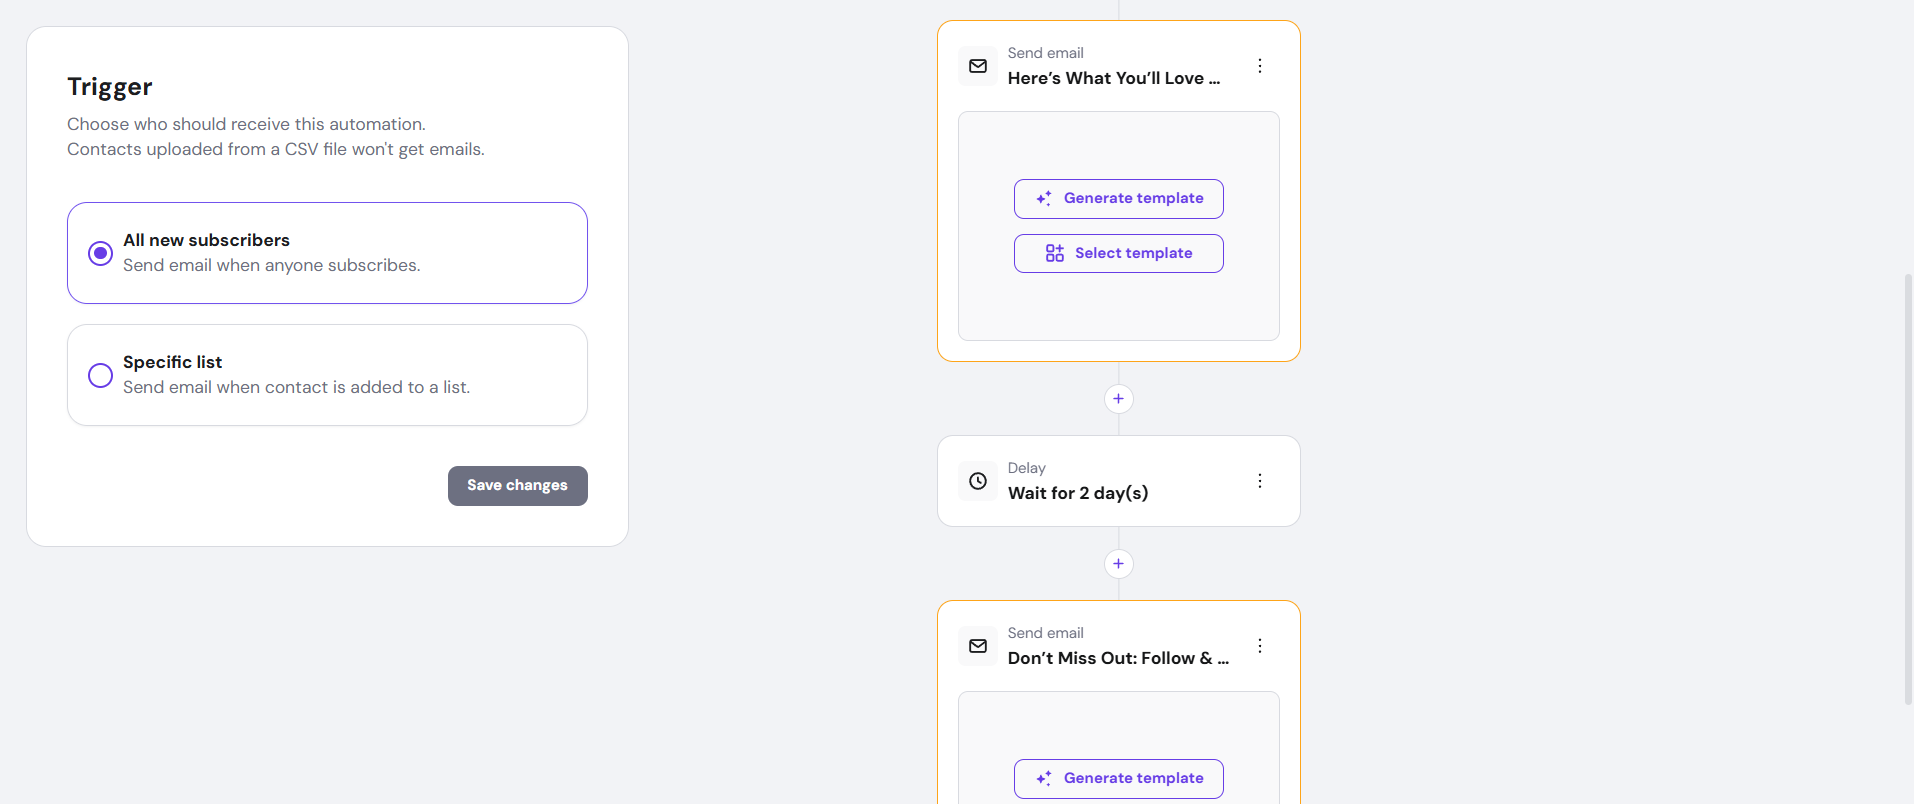
- Add or remove steps directly on the create/edit page.
- Use a new Delay step to add time gaps between emails for better timing.
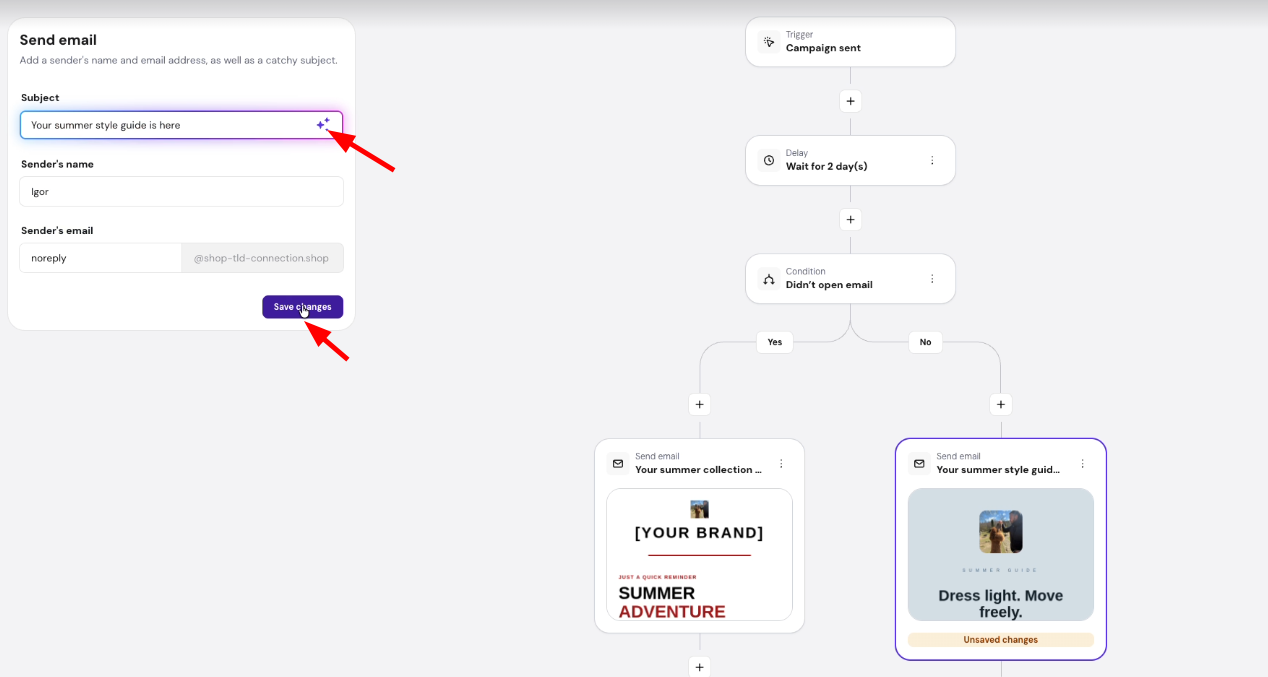
- Get help from predefined AI chat prompts in every “send email” step to create strong, engaging messages.
How to enable it
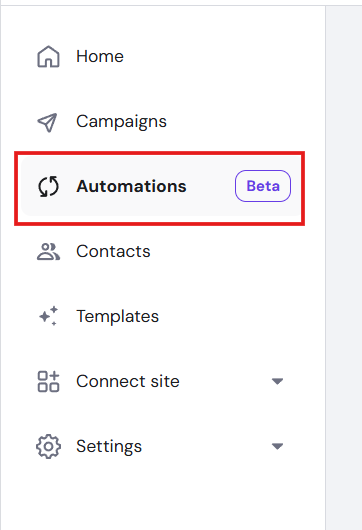
- Open the sidebar and select the Automations tab.

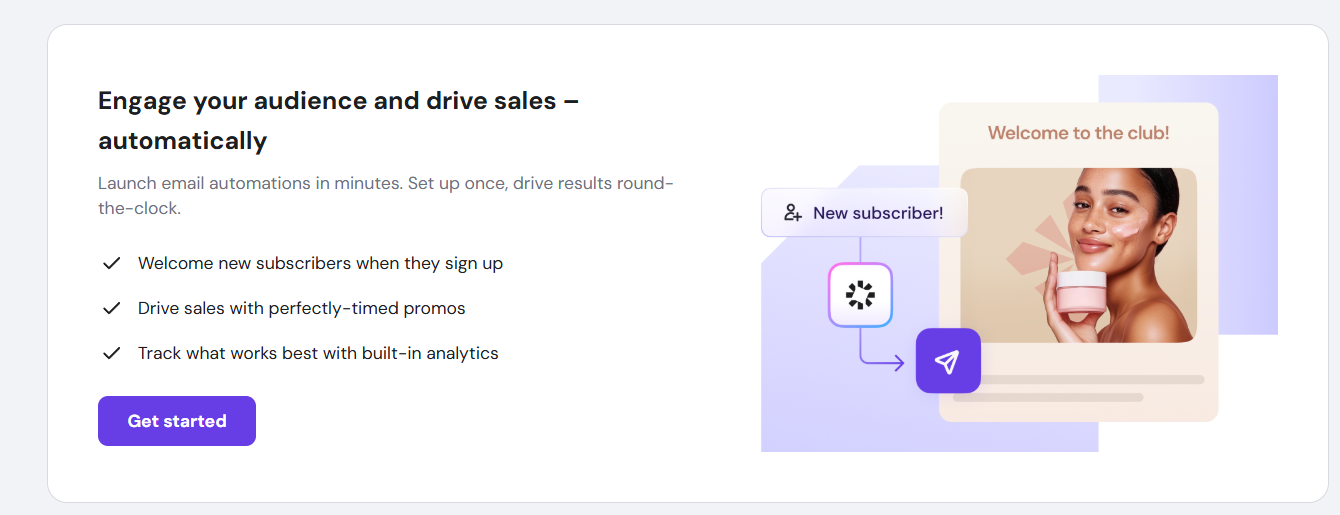
- Click Get Started.

- Select Welcome Series automation.

- Begin customizing your automation.

Once set up, drip campaigns will automatically and consistently engage your subscribers, helping you build stronger relationships and prepare for more advanced automations in Reach.
Build a custom automation
Instead of starting from a template, you can build an automation from scratch and choose your own trigger and steps.
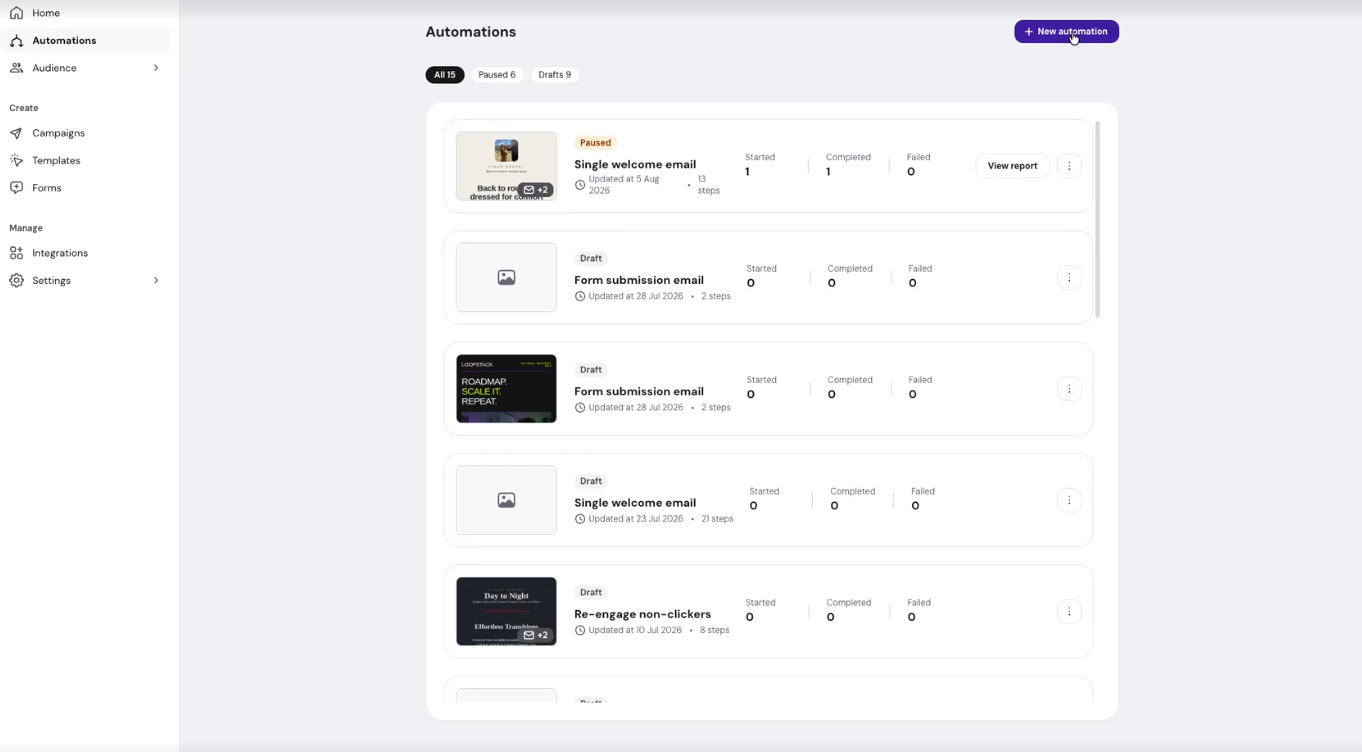
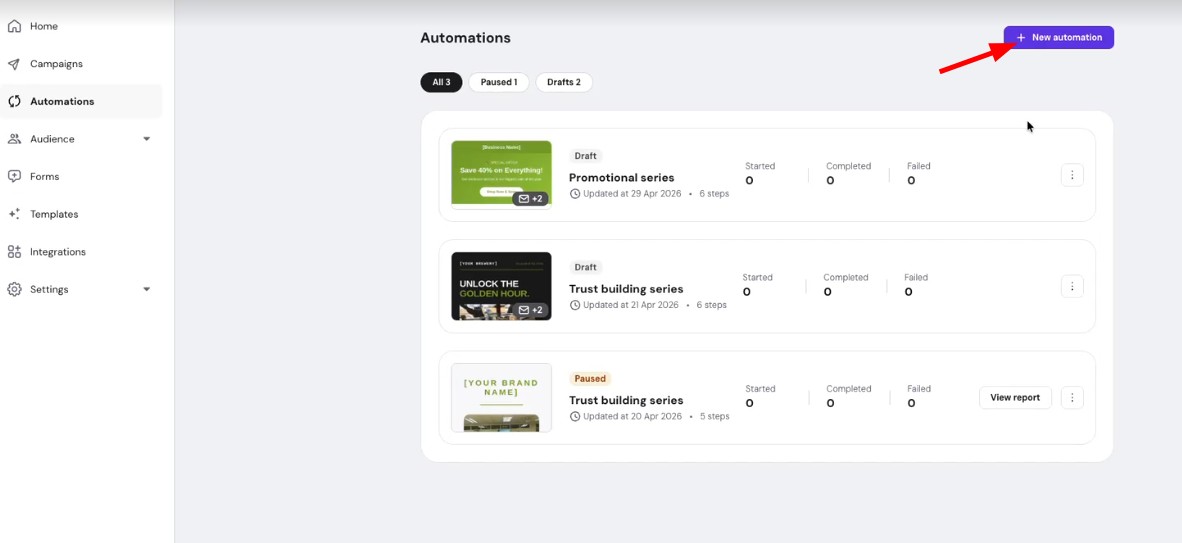
- Go to Automations, click New automation.

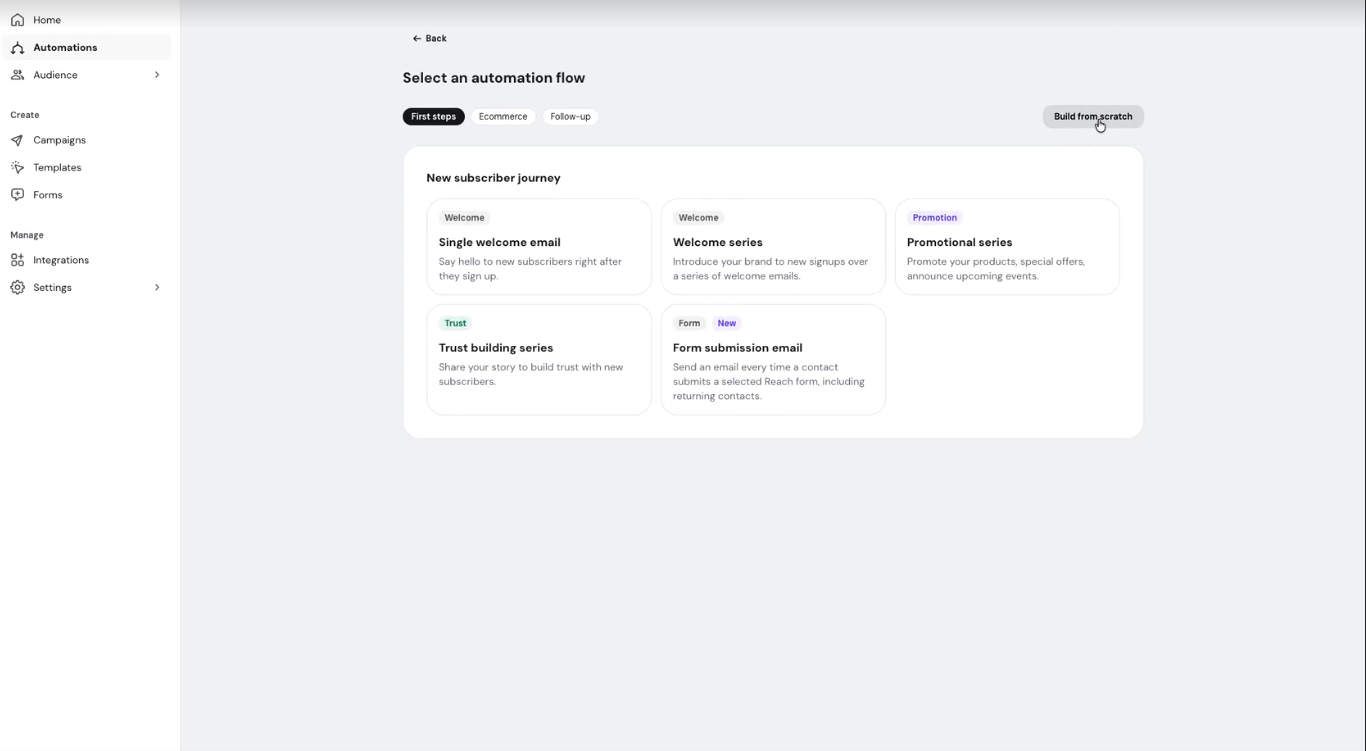
- On the Select an automation flow screen, click Build from scratch.

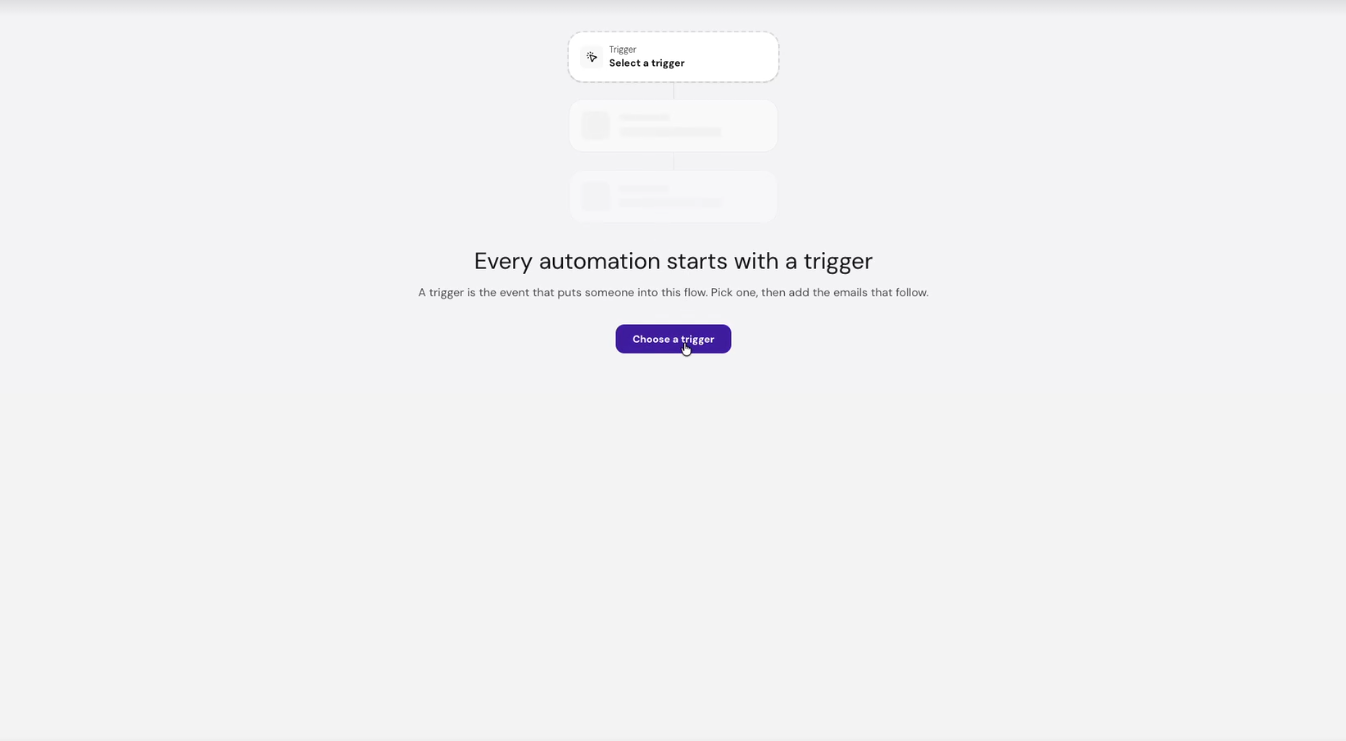
- Click Choose a trigger.

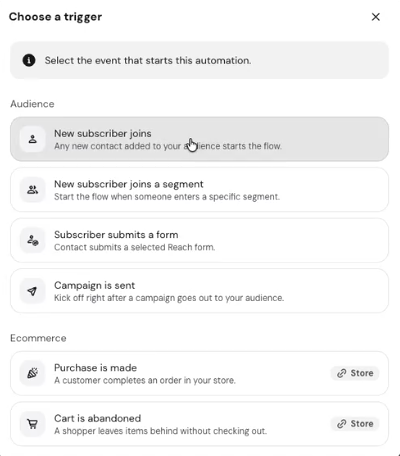
- Select the event that starts the automation, such as New subscriber joins, Subscriber submits a form, or Purchase is made.

- Click the + icon below the trigger to add Delay, Email, or Condition steps, and assemble the flow to match your goal.

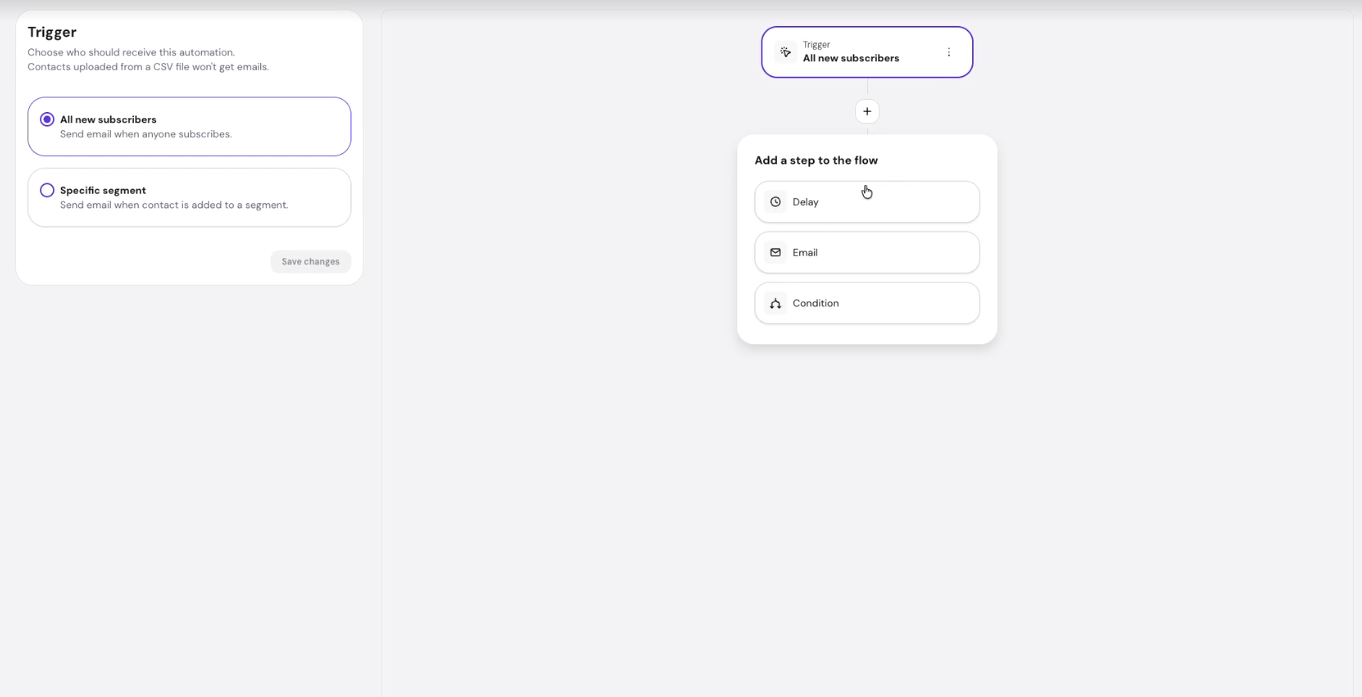
To use a different trigger after your automation is already built, click the options icon (⋮) next to the trigger step and select Change trigger.
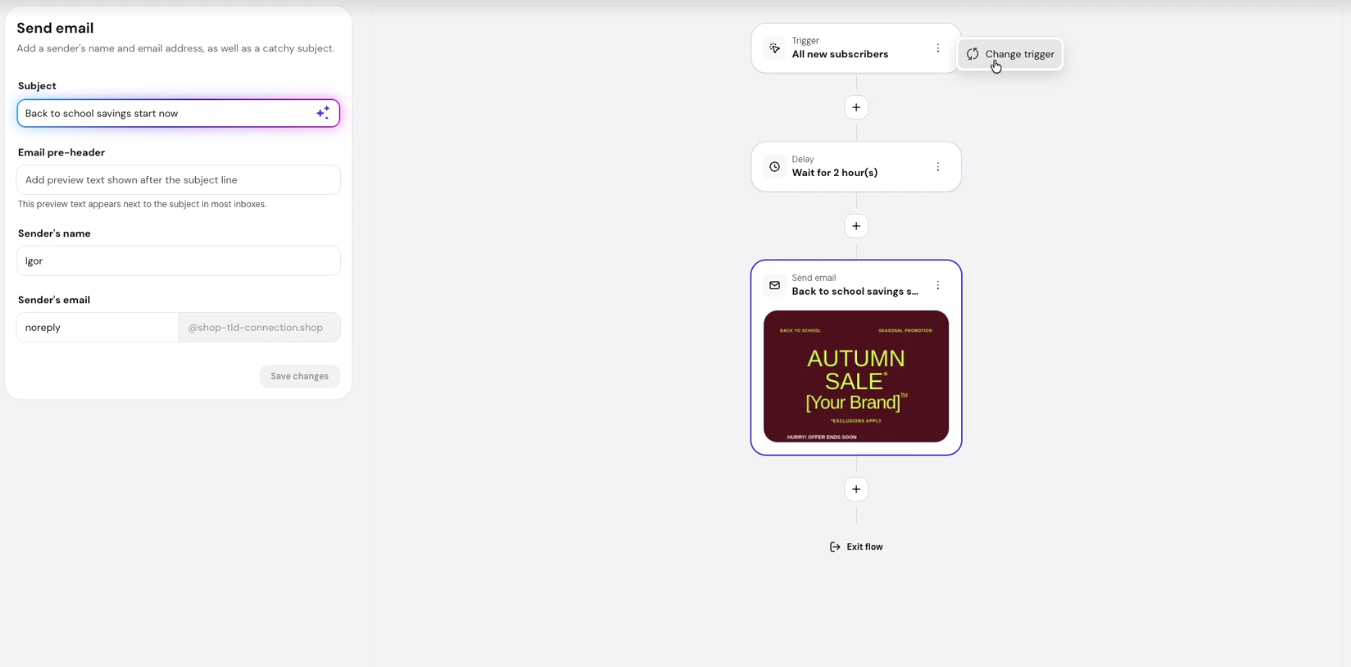
Delay step
The Delay step lets you control how long the automation waits before sending the next email in the sequence.
There are two options:
- Delay for — pauses the automation for a set duration before moving to the next step.
- Choose from hours, days, or weeks
- Best for ongoing drip sequences where timing is relative to when each subscriber enrolled
- Until specific date and time — pauses the automation until a fixed date and time you select using the date picker.
- Best for time-bound sequences tied to a real event, like sending a reminder before a webinar or holding off until a promotion goes live
To configure the Delay step:
- Open the Delay step in the workflow editor.
- Choose Delay for or Until specific date and time.
- Set the duration or select the target date and time.
- Save the step.
Condition step
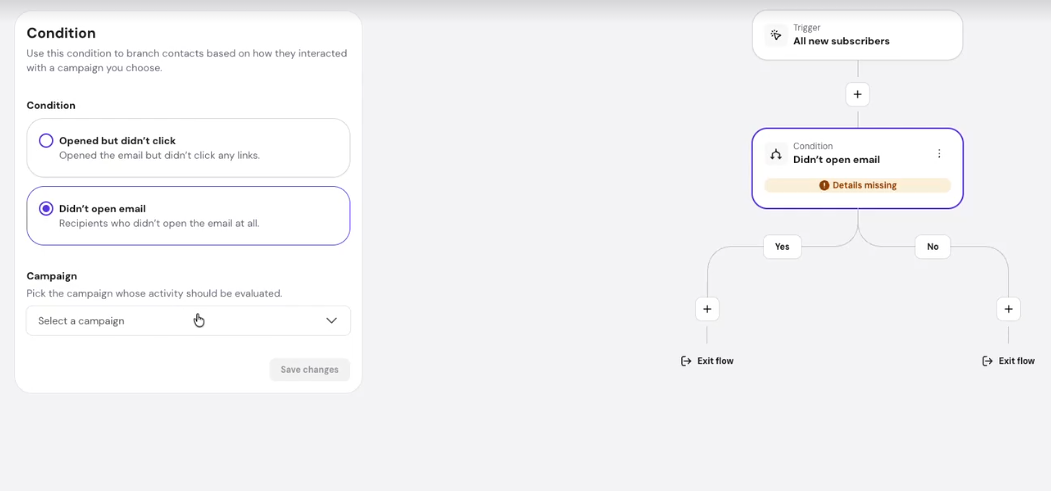
The Condition step lets you branch your automation based on subscriber behavior, such as whether they opened or clicked a campaign. You can add multiple Condition steps within one automation, and place them anywhere in the workflow, including inside other condition paths.
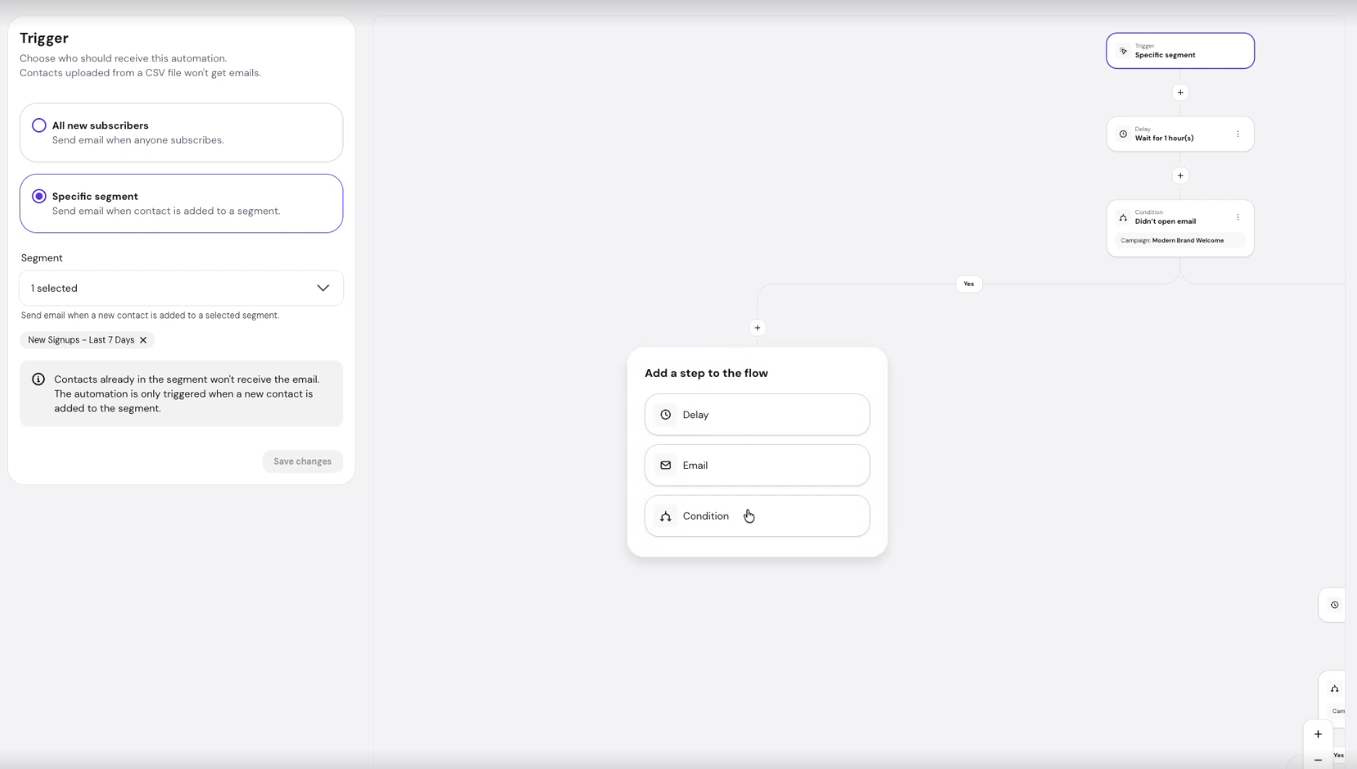
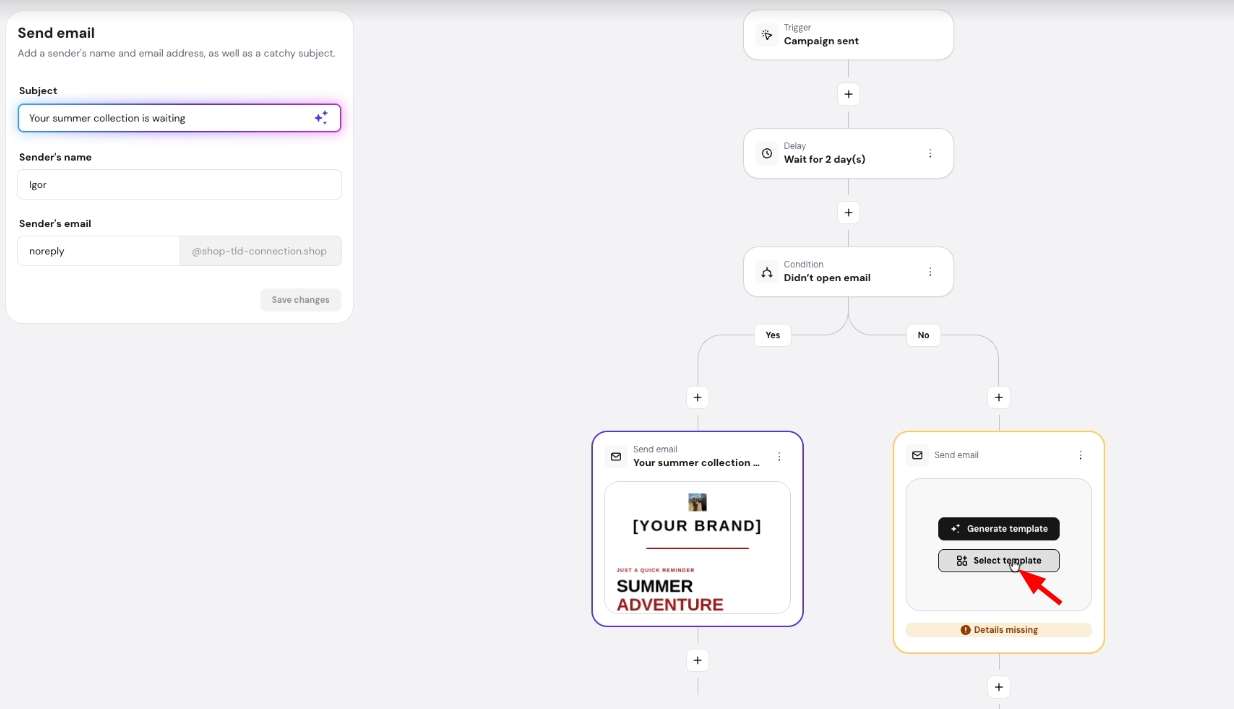
Each Condition step creates two paths, Yes and No, so you can send different emails or add different delays depending on how a subscriber responds. Steps such as Send Email and Delay can be added within either path.
As your automation grows, use the zoom in, zoom out, and Fit workflow controls in the workflow editor to navigate it more easily. You can also drag to pan across the canvas to move between steps without losing your place.
Re-engagement automation templates
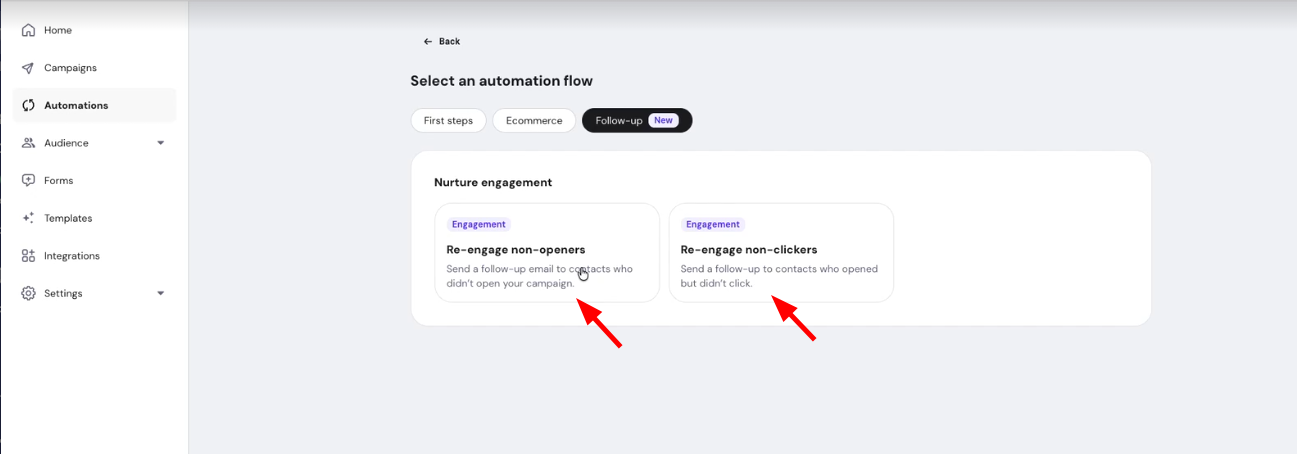
Hostinger Reach includes two pre-built re-engagement automation templates to follow up with subscribers who did not engage with a specific campaign:
- Re-engage non-openers — sends a follow-up email to subscribers who received but did not open a selected campaign.
- Re-engage non-clickers — sends a follow-up email to subscribers who opened but did not click a selected campaign.
How to set up:
- Go to Reach Dashboard → Automations.

- Select Re-engage non-openers or Re-engage non-clickers.

- In the Campaign Sent trigger, select the campaign you want to follow up on. Draft and Scheduled campaigns are available, with a preview on selection.

- Configure the Condition step. A campaign selector lets you choose which campaign the condition evaluates — by default it auto-populates with the trigger’s campaign, but you can change it to any campaign. Choose the Yes path (did not open / did not click) to target non-engaged subscribers.

- Add a Send Email action. Use the pre-suggested AI prompt to generate a follow-up email based on the selected campaign.

- Activate the automation.
Only subscribed contacts who match the condition will receive the follow-up email.
Check automation performance
Once your automation is active, you can review how each email step is performing, including opens, clicks, and recipient-level detail.
To view automation performance:
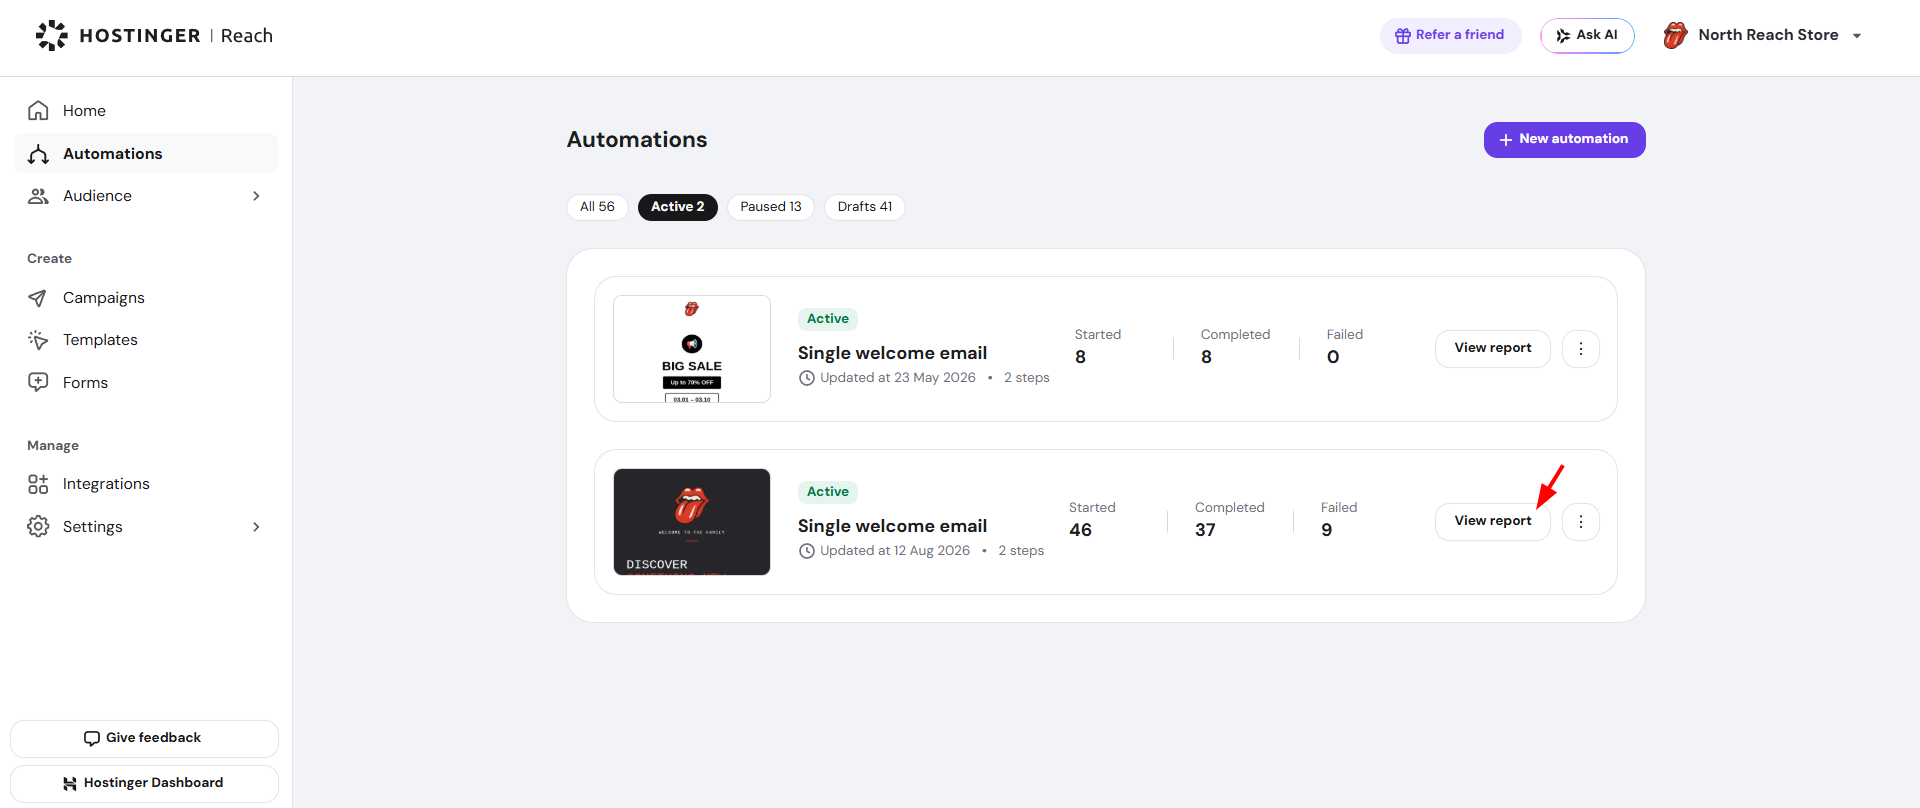
- Go to Automations.
- Click View report next to the automation you want to check.

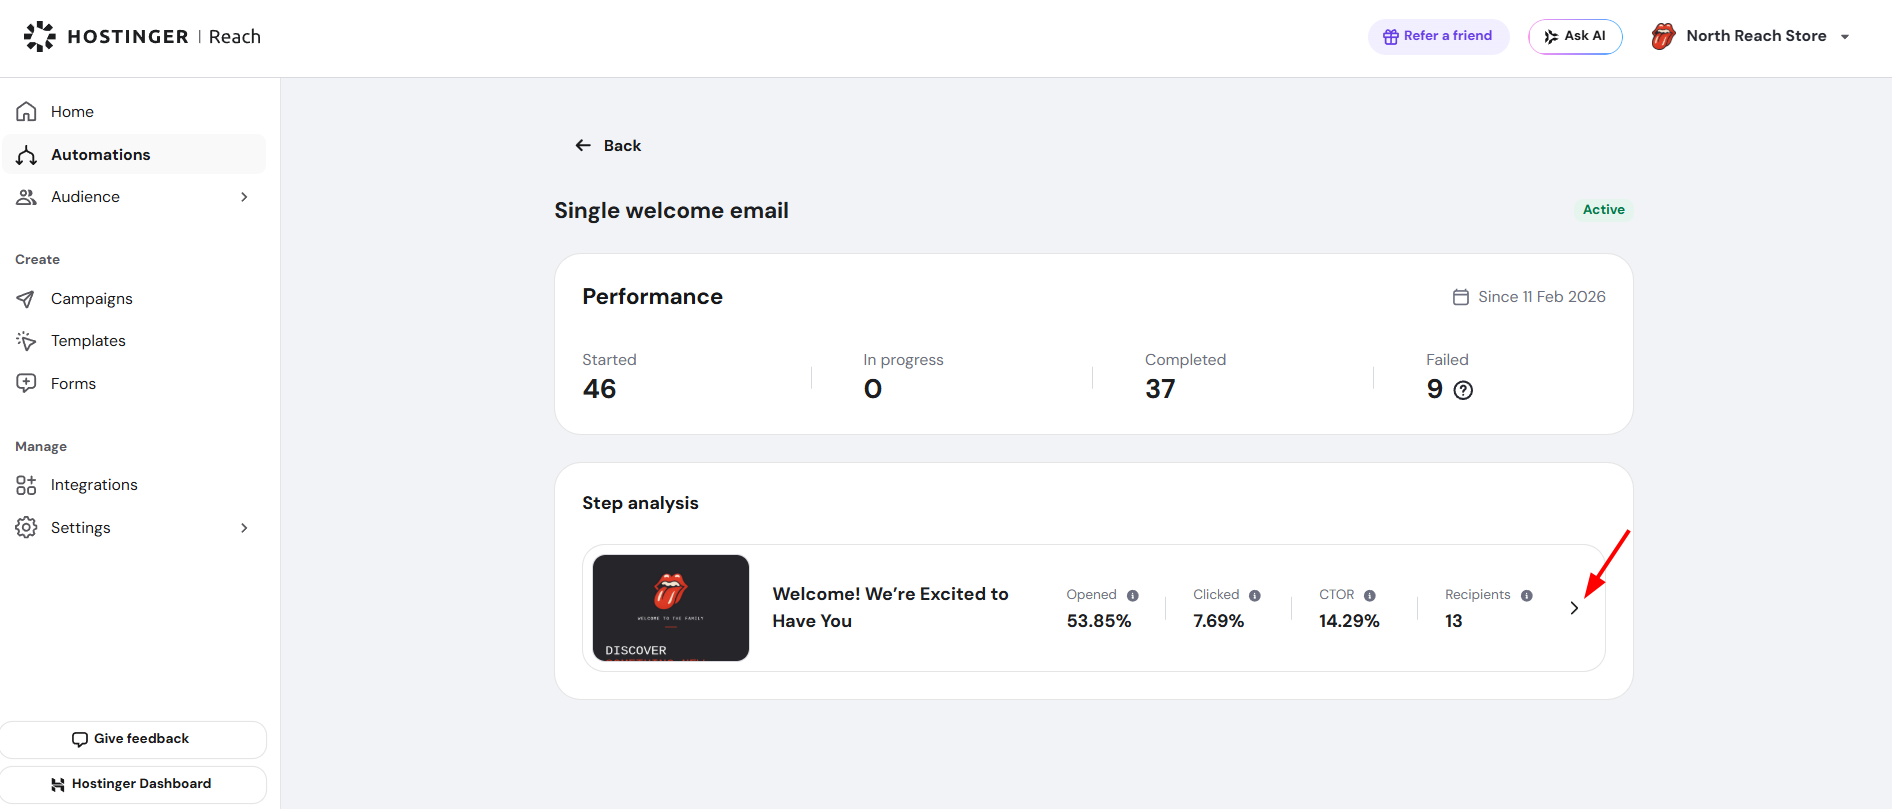
- Under Performance, review the overall Started, In progress, Completed, and Failed counts for the automation.

- Click > under Step analysis to open its detailed report.

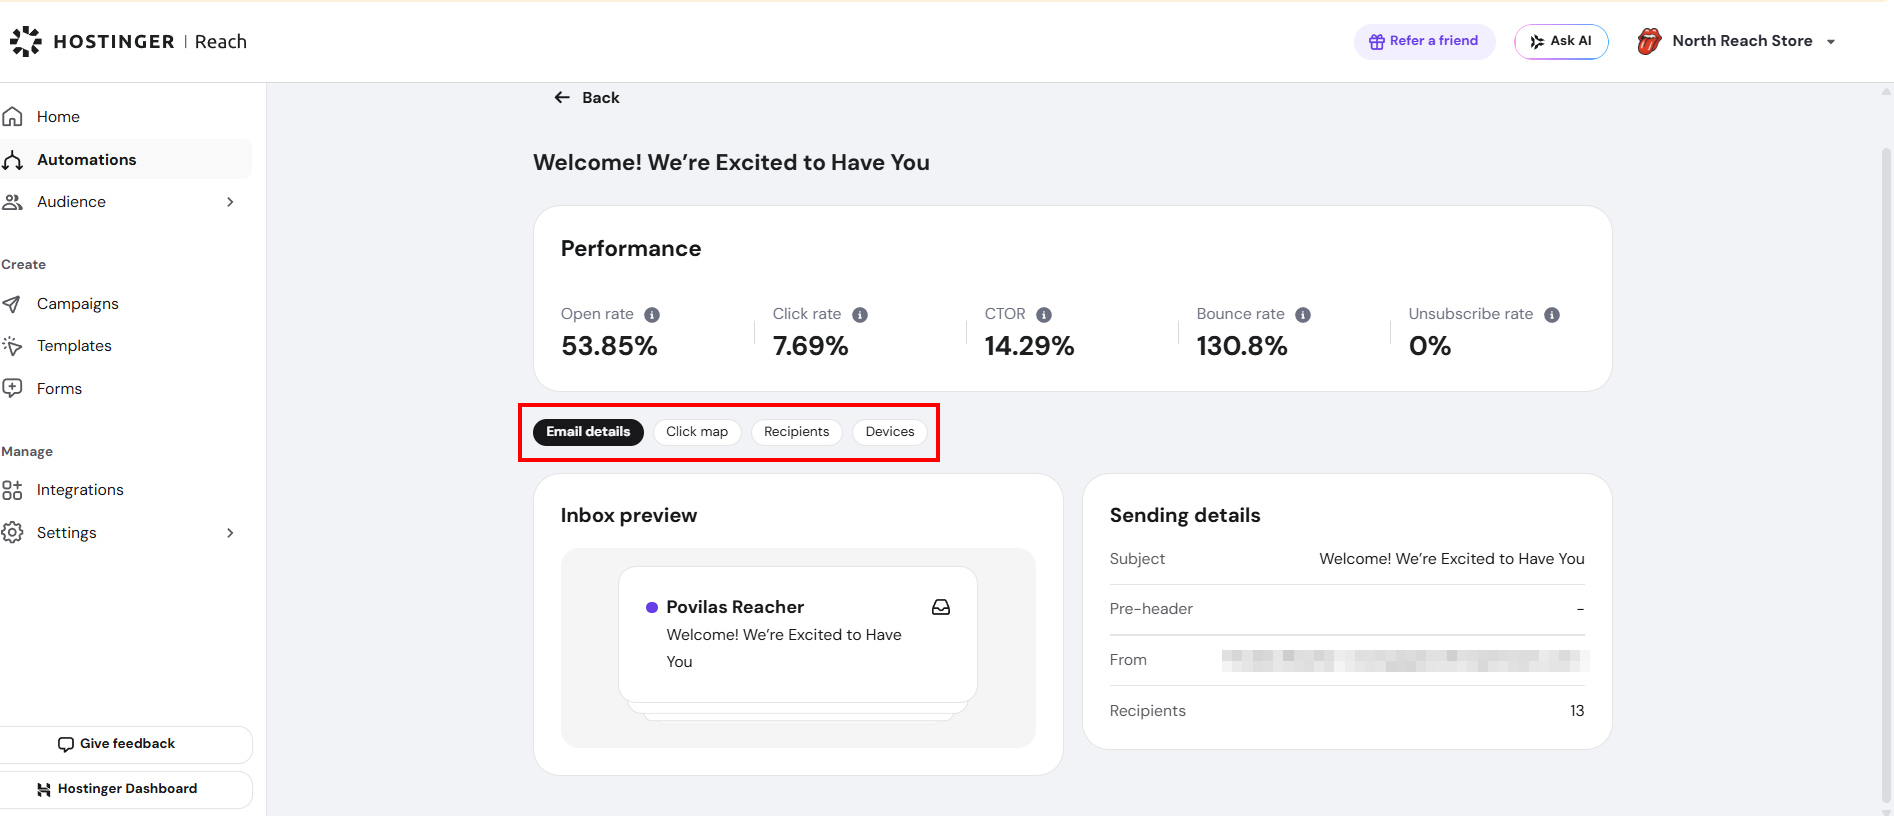
Each step’s detailed report includes:
- A performance summary with open rate, click rate, CTOR, bounce rate, and unsubscribe rate.
- Email details — an inbox preview of the email along with its sending details, such as subject, pre-header, sender, and recipient count.
- Click map — highlights each link in the email by click volume (High, Medium, Low, None), along with a Most-clicked links list.
- Recipients — a list of individual message data, including email address, name, number of opens, number of clicks, and delivery status.
- Devices — an Opens by device breakdown and an Operating system breakdown, similar to campaign-level device reporting.
Use these reports to see which steps in your automation are performing well and which may need a stronger subject line, send time, or content.