Immich is an open-source, self-hosted photo and video backup solution that gives you full control over your media library. Similar to Google Photos, it lets you securely store, organize, and share your memories – but on your own server. With the Ubuntu 24.04 with Immich VPS template, Immich comes pre-installed, so you can get started immediately.
Accessing Immich
Once your VPS is deployed, you don’t need to use SSH for setup. Simply:
-
Open your VPS dashboard in hPanel.
-
Click the Manage App button.
This will take you to the Immich web interface in your browser.
Initial setup
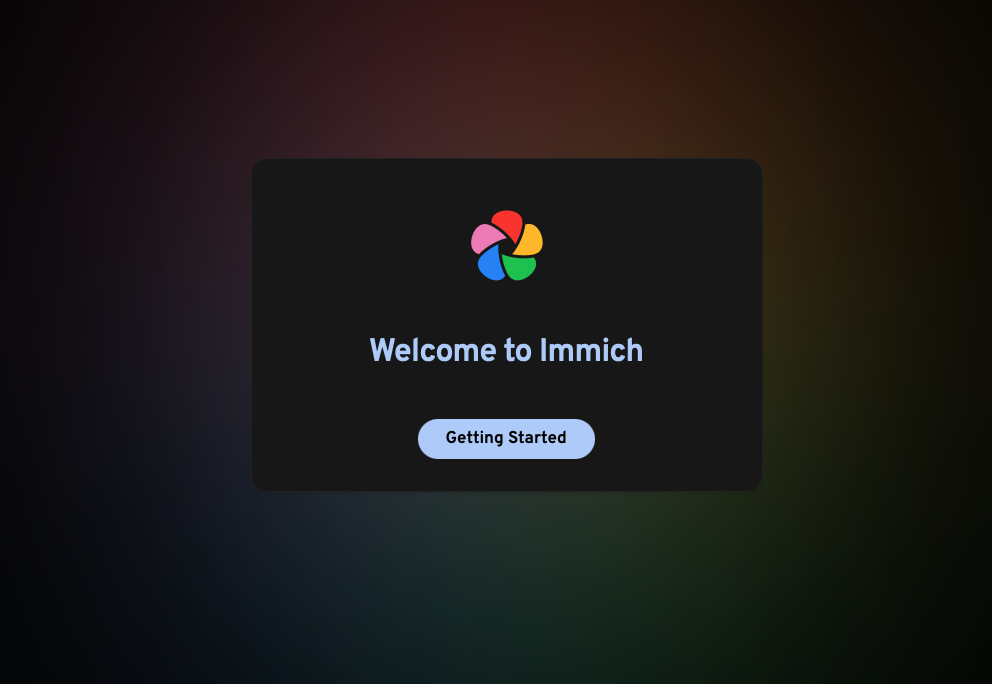
On your first visit, Immich will guide you through the onboarding process:
-
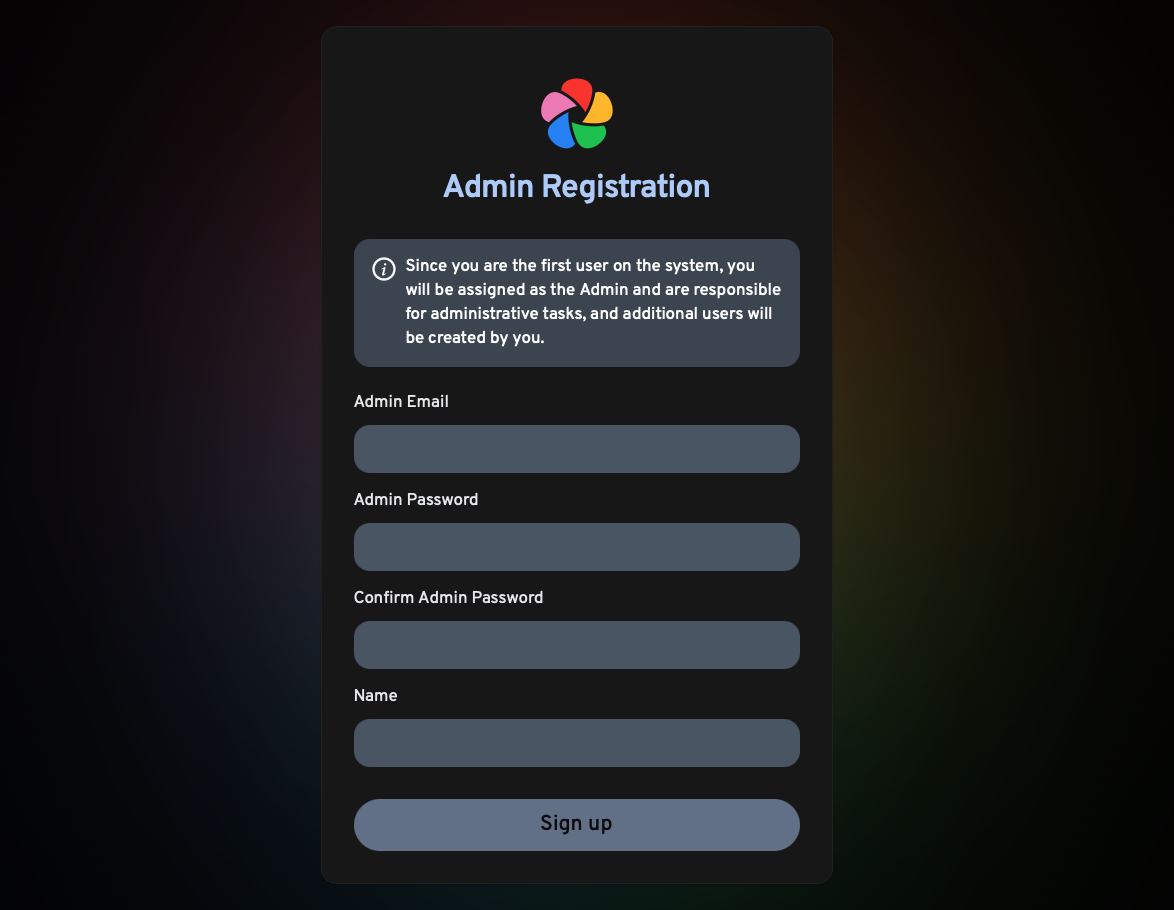
You’ll be prompted to create an Admin account by entering your email, password, and name.
-
This Admin account will be used to log in and manage all aspects of Immich.
-
Once set up, you can begin uploading photos and videos, create albums, and invite additional users if needed.
Using Immich
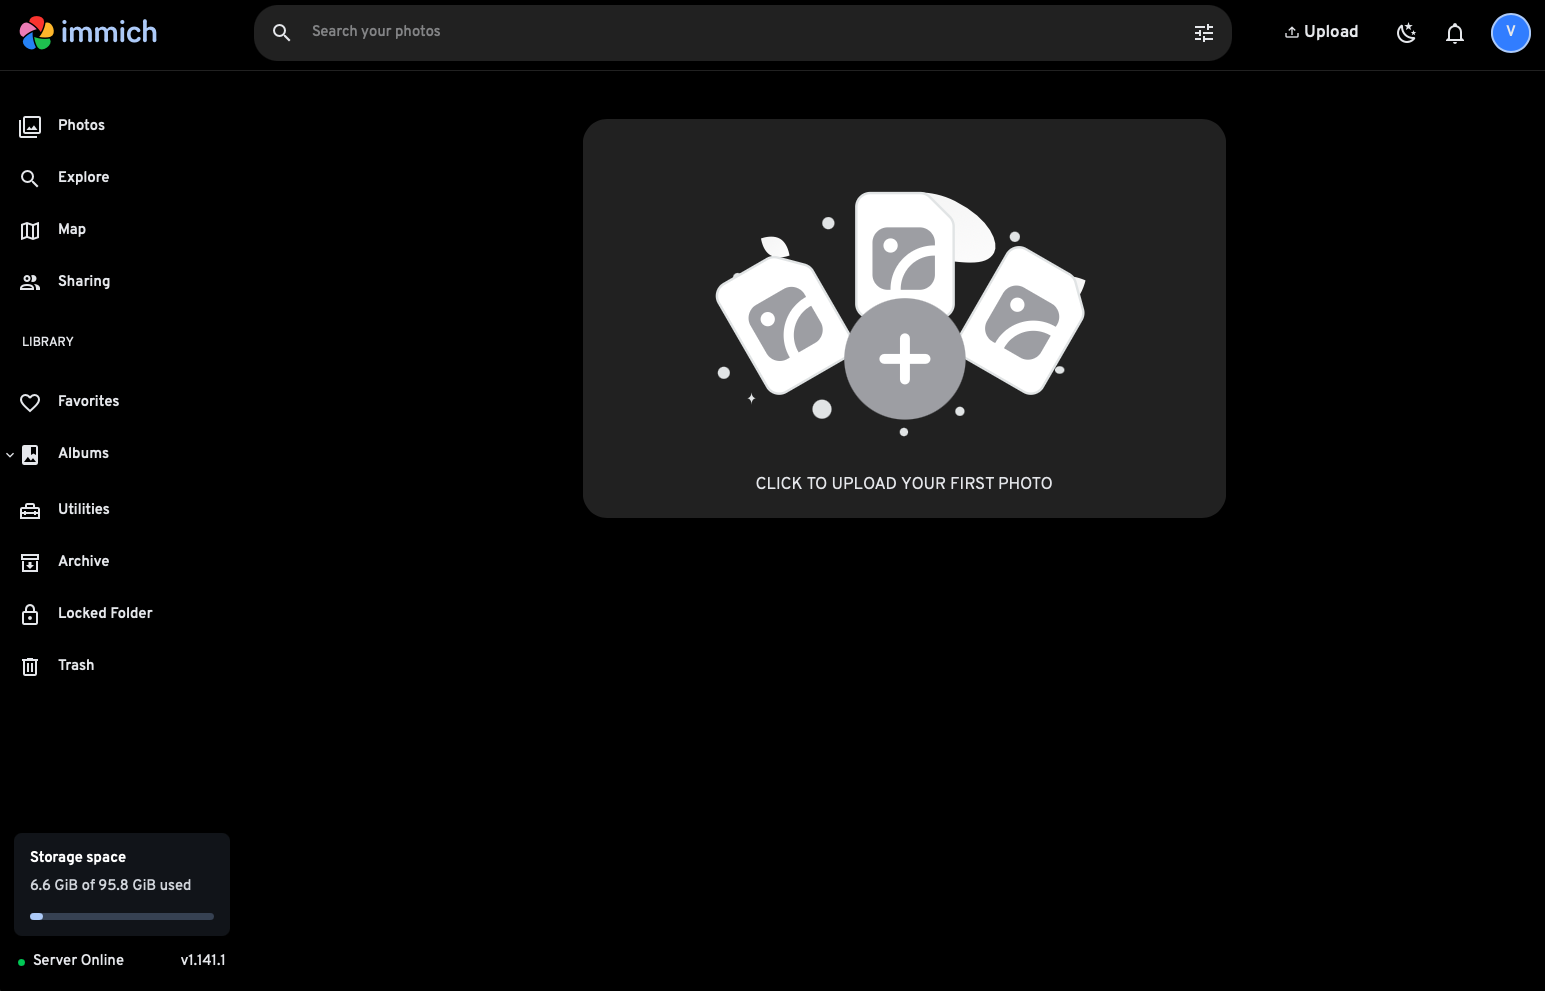
After setup, the Immich dashboard will provide access to:
-
Photo and Video Uploads – Add media from your computer or mobile app.
-
Albums and Favorites – Organize and highlight your best memories.
-
Sharing Features – Share specific albums or media securely with others.
-
Map and Explore – Browse your media library by location and timeline.
With Ubuntu 24.04 with Immich template from Hostinger, you can easily launch a private, self-hosted media library. Just one click from your VPS dashboard gets you into Immich, where you can set up your admin account and organize your memories securely. For advanced configurations and mobile apps, visit the official Immich documentation.