For domains registered in Hostinger, changing nameservers allows you to point your domain from Hostinger to any service, moving the DNS zone management to that service. Here’s how you can do it:
Step 1 – Access the DNS / Nameservers
Navigate to the Domains section on your hPanel, and click on Manage next to the domain that you want to update.
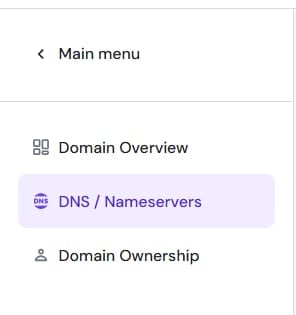
Select on DNS/Nameservers on the sidebar:
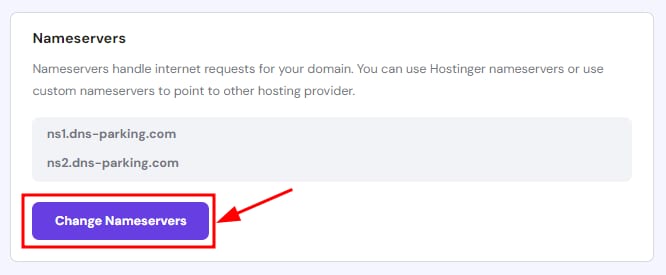
And click on Change Nameservers:
Step 2 – Update Nameservers
There are two alternatives:
-
Use Hostinger nameservers (recommended) – choose this option to keep your domain pointed to Hostinger
-
Change nameservers – select this option to point your domain elsewhere. Enter the values of up to 4 nameservers
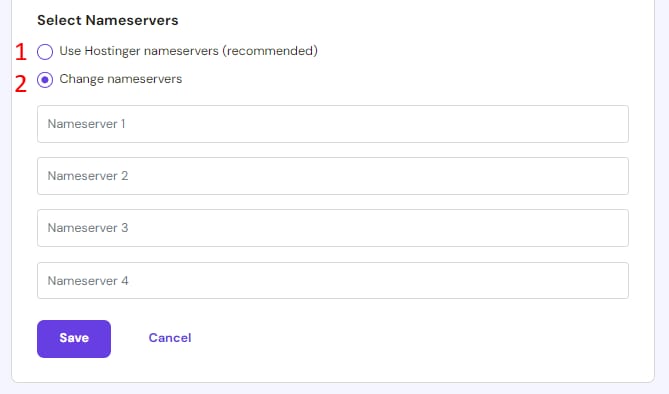
Once ready, click on Save. Changing nameservers will transfer your DNS Zone management to the new service provider – any further DNS changes should be done there.
After making DNS changes, such as updating nameservers, allow up to 24 hours for propagation. During this time, your website and domain management may be temporarily unavailable. Typically, changes take effect within a few hours 😊
For additional guidance, you can refer to the following video tutorial:
Note:
-
If your domain is registered with an external provider, you will need to make any changes directly from your domain provider’s platform.
-
If your domain is added to a Hostinger hosting plan or VPS but is not pointing to Hostinger nameservers, the DNS zone will not be managed from Hostinger.
-
Pointing your domain to Hostinger nameservers sets your email-related records for Hostinger Email. If you already use a different email service, make sure to update the MX records with those of your email provider after the nameserver change has fully propagated.