Follow the steps below to set up a Node.js application using CloudPanel on your Hostinger VPS.
Step 1 – Preparation
While some basic knowledge of Node.js and server management is recommended, the basic requirements are:
-
A Hostinger VPS with CloudPanel installed. If you don’t have one yet, you can check the available options here: CloudPanel VPS hosting.
-
A domain name pointed to the IP address of your VPS (recommended for production environments).
Step 2 – Access CloudPanel
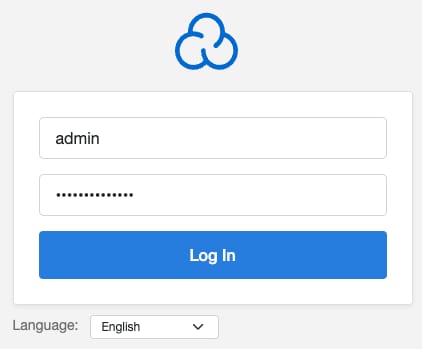
Open a web browser and navigate to your CloudPanel installation by entering your VPS IP followed by the CloudPanel port:
https://your-vps-ip:8443Replace your-vps-ip with the IP address of your VPS.
Enter the login credentials provided during the CloudPanel setup:
Step 3 – Create a Node.js application
-
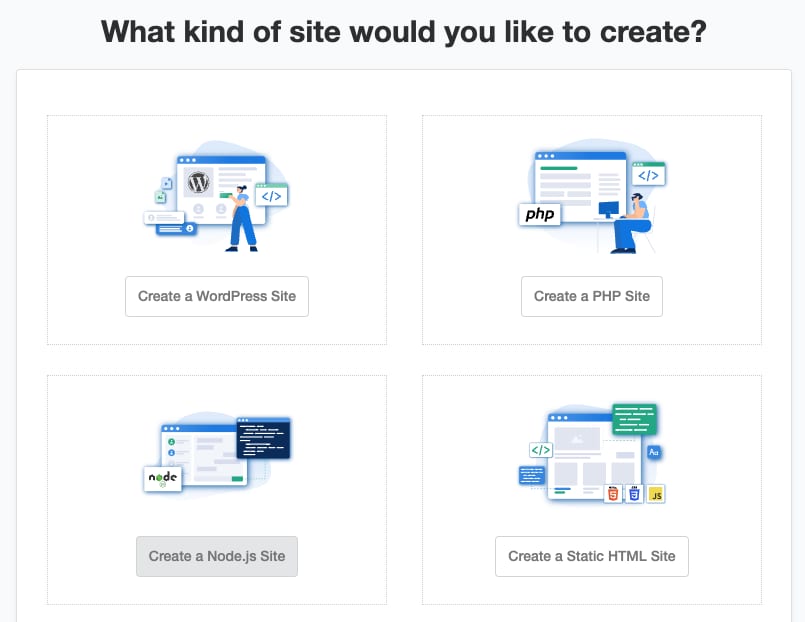
Create a new application by navigating to the Sites section in CloudPanel and clicking on Add Site. Select Node.js from the application type options:
-
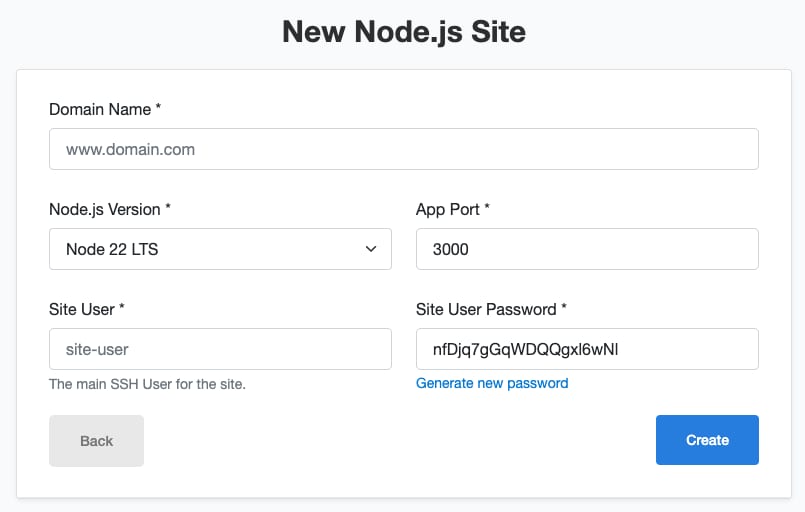
Configure the application settings
-
Domain name – Enter the domain name for your application.
-
Node.js version – Select the Node.js version your application will be running on.
-
App port – Select the port for your application.
-
-
Deploy your application
-
After configuring the application settings, deploy your application by uploading your Node.js application files through the file manager or by using Git.
-
Step 4 – Start your Node.js application
Log in via SSH with the site user:
ssh user@your-vps-ipReplace your-vps-ip with the IP address of your VPS.
Next, go to the root directory of your application:
cd htdocs/domain.tld/Replace domain.tld with your domian name.
Once there, install the latest pm2 via npm:
npm install pm2@latest -gAnd start your application by executing:
pm2 start server.jsThat’s all. Now your Node.js application is working within CloudPanel on your Hostinger VPS.
Additional Resources