When you set up your first Minecraft server, it starts off with a freshly generated world. In case you already have your own world and want to import it to your server, you can easily do it by following these steps:
Step 1 – Prepare your world file
First, locate your world file according to your operating system:
Windows 10
-
Press the Windows Key (Start)
-
Type in %appdata% and press enter
-
Open the .minecraft folder and then go to the saves folder
-
Find your save and drag the folder to your desktop
Mac OS
-
Click on the Spotlight button in the menu bar. It looks like a magnifying glass. Or, use the Command+Space keyboard shortcut
-
Paste ~/Library/Application Support/minecraft into the search bar
-
Open the saves folder and drag the world to your desktop
Once you have located your world folder and copied it to an accessible location, rename it to a name that will help you easily locate it, using only lowercase letters.
Then, archive or compress it into a .zip file so it can be uploaded in the next step.
Step 2- Upload your world
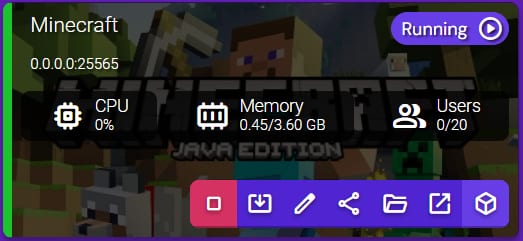
Log in to your Game Panel and stop the instance. Next, double-click the instance to Manage:
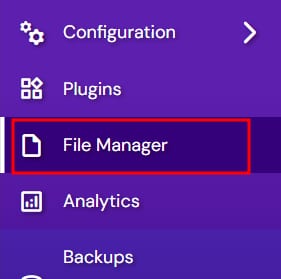
Choose File Manager from the left side menu:
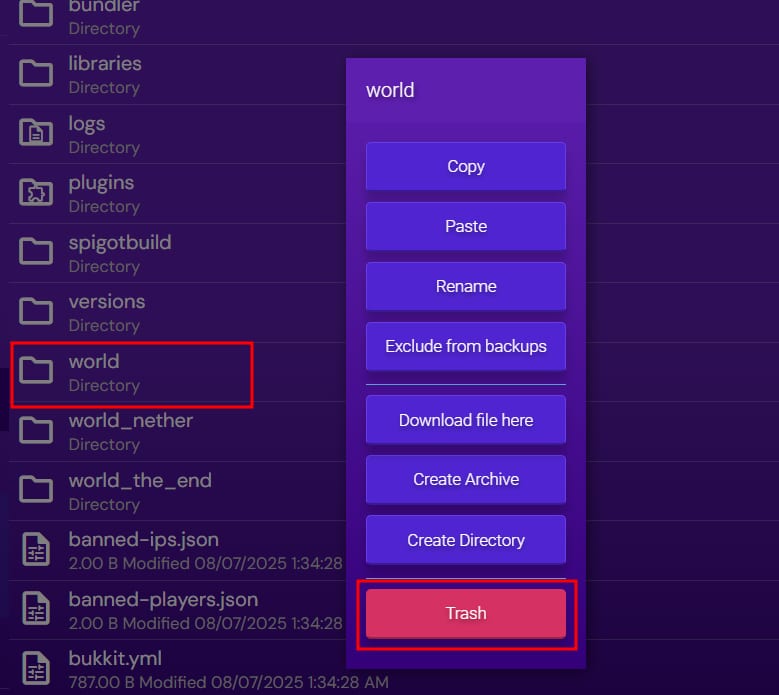
Next, right-click the current world folder and choose Trash to delete it:
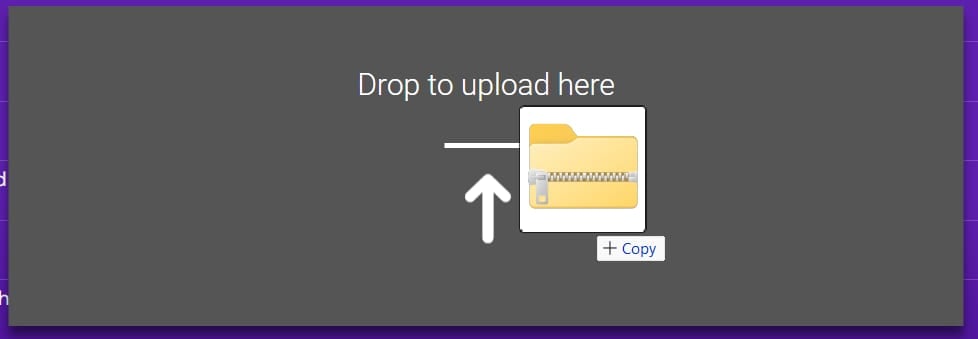
Grab your new world’s .zip file and drag it to the File Manager window:
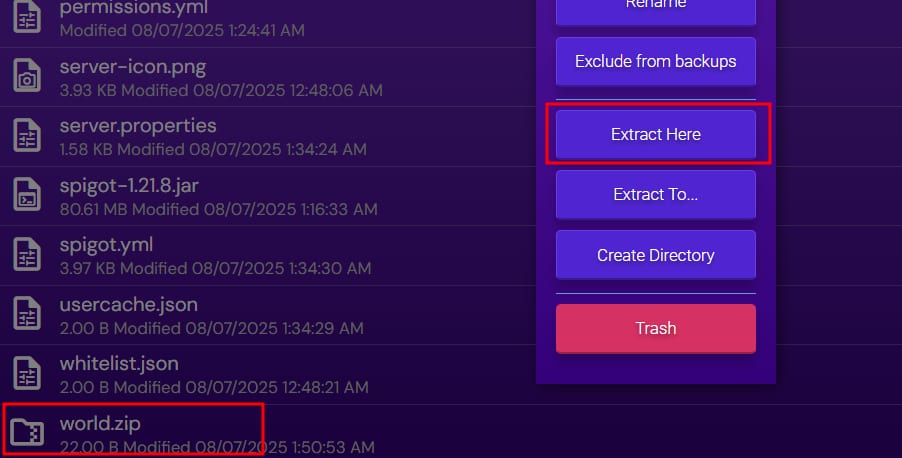
Once your world .zip file is uploaded, you’ll need to extract it by using right-click and then Extract:
Start your instance, log in to your server, and the new map should be loaded 😊