Cloudflare is a content delivery network (CDN) that can help increase your website’s loading speed by storing copies of your website on their servers distributed across the globe while also providing DDoS protection for your domain.
If you want to start using Cloudflare with your domain, follow the steps below:
It is recommended to have only one CDN enabled at a time – If you’re currently using a different CDN, such as Hostinger CDN, make sure to disable it before activating Cloudflare 💡
-
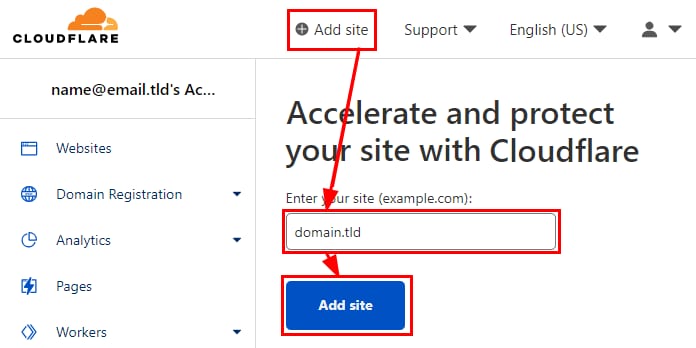
Click on Add site and enter your domain name to add it to Cloudflare:
-
Select a plan: There is a free option available – it covers all basic needs for the majority of websites
-
Review the DNS records: Cloudflare will automatically import most of your existing DNS records and alert you if there are any issues. You can add additional records now or later. Make sure the A record for your root domain points to your account’s IP address. Once all required records are correct, proceed to the next step.
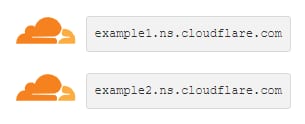
- Cloudflare will generate a pair of custom nameservers for your domain. Copy them and update the nameservers in your domain’s DNS settings.
After updating your DNS records, propagation will begin and may take up to 24 hours to complete.
Once your DNS zone is set up in Cloudflare, check for any records that were not imported automatically and add them manually, such as:
- The A records subdomains pointing to your account’s IP
-
MX records for email delivery
-
DKIM records for improved email authentication
That’s it, your domain is now using Cloudflare CDN. From now on, make sure to manage and update DNS records directly in Cloudflare.