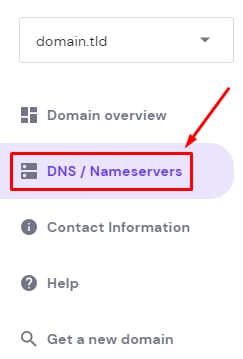
You can manage your DNS records via DNS Zone Editor. To add a new child nameservers records, open the Domains tab, choose the domain for which you want to apply changes, and reach DNS / Nameservers page:
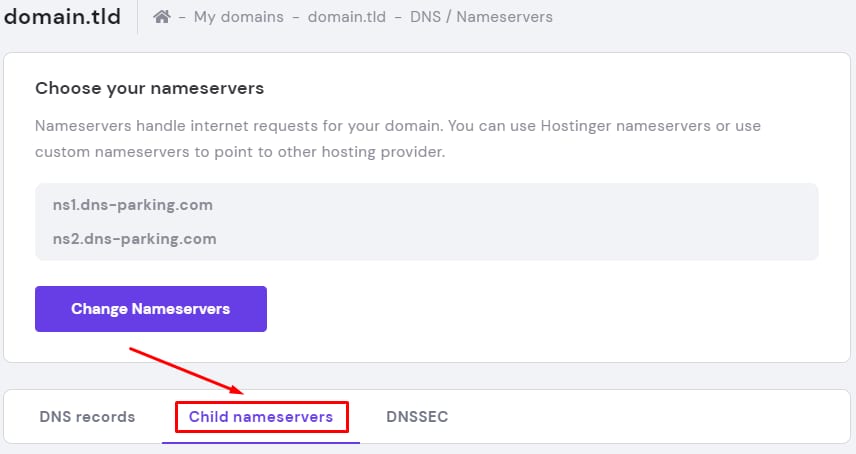
There select Child nameservers:
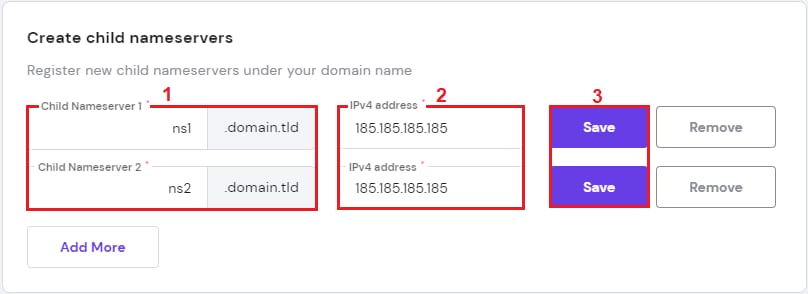
To create child nameservers, all you need to do:
-
Insert nameservers name
-
Insert nameservers IP
-
Save changes
Once that’s done, you will need to create A records for your new child nameservers. For that, follow this procedure:
-
Copy your child nameserver IP or IPs (if you used different ones)
-
Create new A records for each different IP child nameserver used:
|
NS 1 record |
NS 2 record |
NS 3 record (optional) |
NS 4 record (optional) |
|
Name: ns1 Points to: your child nameserver IP TTL: Default |
Name: ns2 Points to: your child nameserver IP TTL: Default |
Name: ns3 Points to: your child nameserver IP TTL: Default |
Name: ns4 Points to: your child nameserver IP TTL: Default |
Any DNS Record changes trigger propagation, which can last up to 24 hours to fully propagate.
NOTES
-
Keep in mind that not all domains support child nameservers
-
You can use the same IP for several child nameservers as well
-
Child nameservers are a great way of pointing your domain to VPS
-
You can create up to 4 child nameservers