How to insert an image in HTML in 7 easy steps
May 07, 2026
/
Linas L. & Ariffud M.
/
5 min Read

Learning how to insert an image in HTML is important when you need to place a logo or graphic in a specific spot, like a header or footer, where your theme or content editor doesn’t allow it.
Adding images directly with HTML gives you full control over your site’s visual presentation. This enhances user engagement by breaking up text and improves branding by letting you place elements like logos exactly where they belong.
Here are the seven main steps to get your image live on your website:
- Set up and upload the image. Get your image file ready and upload it to your website’s server so it has a web-accessible URL.
- Open your theme’s HTML file. Find the correct template file, like header.php or footer.php, where you want the image to appear.
- Insert the img src attribute. Write the basic HTML <img> tag and use the src attribute to point to your image’s URL.
- Specify the image dimensions. Define the image’s width and height to prevent your page layout from shifting as it loads.
- Add an alt attribute. Provide alternative text for accessibility and SEO, describing the image for screen readers and search engines.
- Check for errors and save the changes. Review your code for typos and save the file to make your changes live.
- Insert a link to the image. Make your image clickable by wrapping it in an anchor (<a>) tag, linking it to your homepage or another relevant page.
TL;DR
- To insert an image in HTML, upload the image to your server or Media Library and copy its web-accessible URL.
- Open the HTML or theme file where the image should appear, then add an
<img>tag withsrc,width,height, andaltattributes. - Save the file, test whether the image displays correctly, and wrap the
<img>tag in an<a>tag to make it clickable.
1. Prepare and upload your image
Before you can add an image with code, that image needs to exist on your web server. This step involves optimizing your image file and uploading it to a location where it gets a direct, web-accessible URL, which you’ll need for the src attribute later.
For WordPress users, the most common way to do this is through the Media Library:
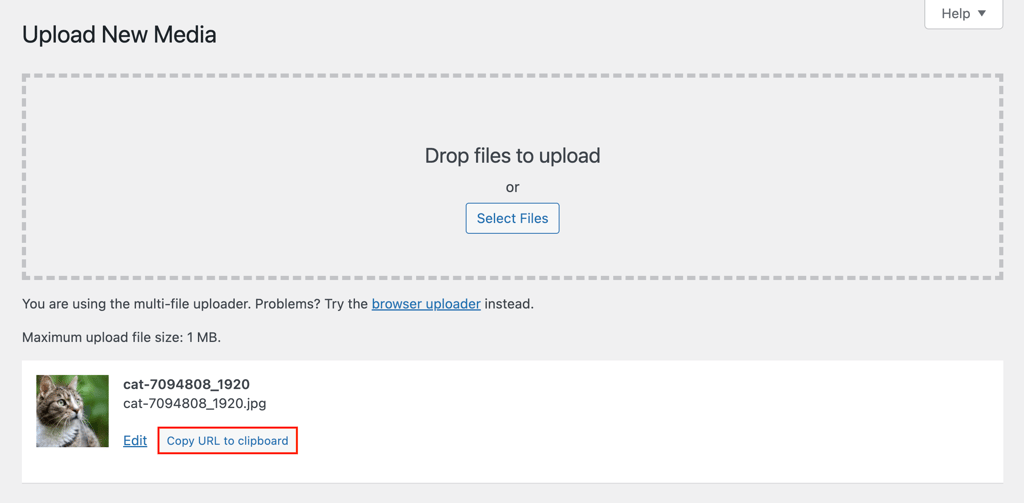
- From your WordPress dashboard, navigate to Media → Add New.
- Drag and drop or select your image file to upload it.
- Once uploaded, click the Copy URL to Clipboard button next to the picture. Keep this URL handy for the next steps.
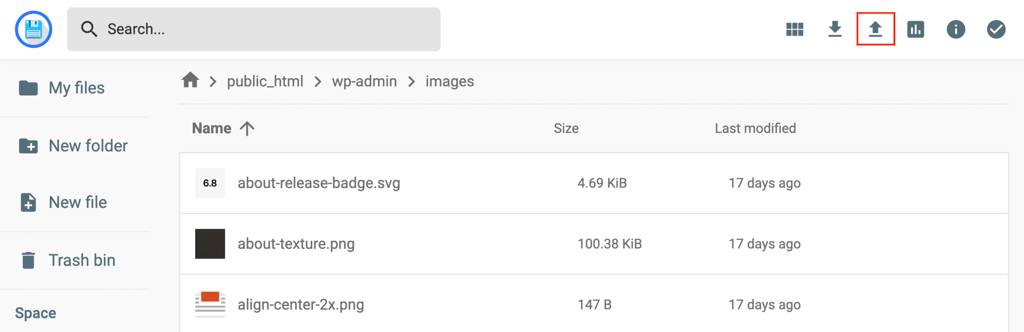
Alternatively, you can use your hosting control panel’s file manager. This method is great for static sites or for placing images outside the standard WordPress uploads folder.
For example, Hostinger users can use our intuitive File Manager. This tool gives you direct control over your site’s file structure. Simply navigate to your public_html directory (or a subfolder like images), and use the Upload button to add your file.

2. Access your theme’s HTML file
Accessing your theme’s HTML file involves editing the core template files, like header.php or footer.php, which control your site’s layout. To make your image appear on every page (like a header logo), you must edit these files rather than a single post.
Before editing theme files, always create a backup of your website. A small mistake here could break your site, and a backup means you can restore it quickly.
We also strongly recommend making these changes in a child theme to prevent your customizations from being overwritten when you update your main theme.
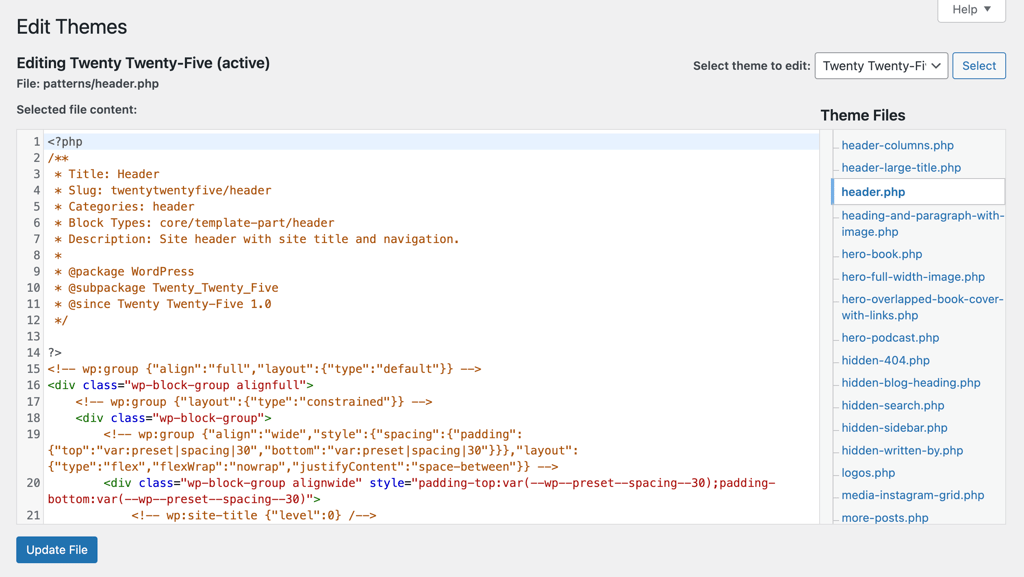
Once you have a backup, follow these steps in the WordPress theme editor:
- From the WordPress dashboard, go to Appearance → Theme File Editor.
- On the right, select the active theme you’re using.
- Find the file you want to edit. For a logo in the header, this is typically header.php. For an item in the footer, it’s footer.php.
- Click the file to open it in the editor.
3. Add the img src attribute to the image
To add the img src attribute, you will add the <img> tag to your HTML file and use the src attribute to define the image’s URL. The <img> tag is what tells the browser to display an image. It’s an “empty” tag, meaning it doesn’t need a closing tag (like </img>).
The src attribute (short for “source”) is the most crucial part, as it tells the browser where to find the image. This is where you’ll paste the File URL you copied from your Media Library in step 1.
Find the right spot in your code (for example, inside the <header> section in header.php) and add the following code snippet. Be sure to replace the placeholder URL with your actual image URL:
<img src="https://your-domain.tld/wp-content/uploads/2025/11/your-image.png">
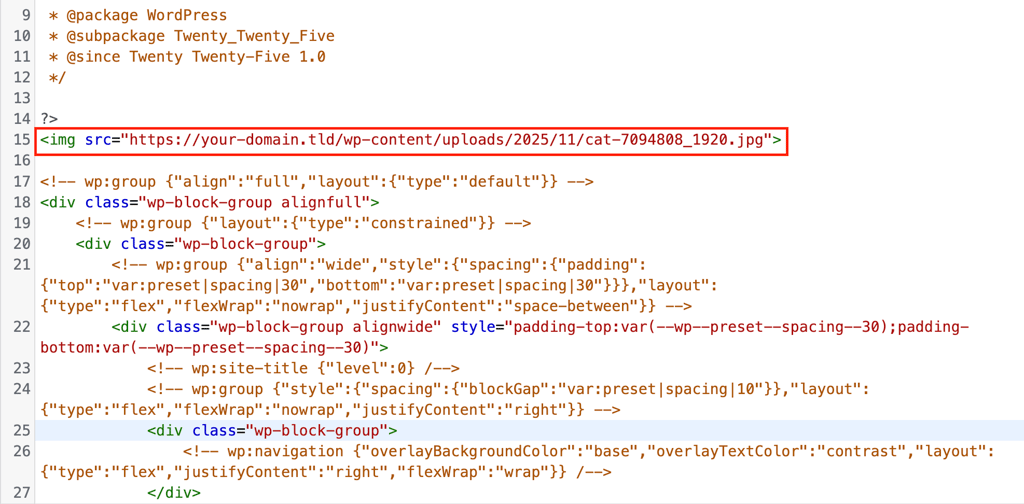
This full URL is called an absolute path, which is the most reliable method to use when editing theme files.
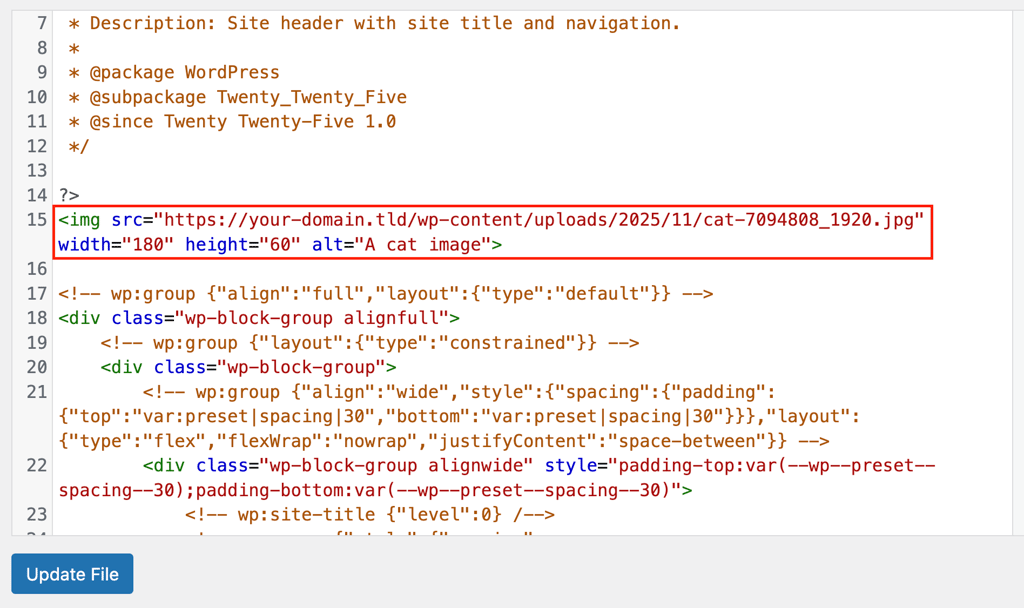
4. Define the image width and height
You define the image width and height by adding the width and height attributes directly to your <img> tag. These attributes are critical for web performance and user experience because they tell the browser exactly how much space to reserve for the image before it even loads.
This practice prevents Cumulative Layout Shift (CLS), an annoying issue where page content “jumps around” as images load.
Add the width and height attributes to your <img> tag, specifying the image’s original dimensions in pixels.
<img src="https://your-domain.tld/wp-content/uploads/2025/11/your-image.png" width="180" height="60">
Please note that you only need to add the numbers. Do not add px inside the HTML attributes. Even if you use CSS to make the image responsive, setting these HTML attributes is still a best practice to define the image’s original aspect ratio.
5. Write a descriptive alt attribute
The alt attribute (or alt text) is a short text description of your image. It’s essential for two main reasons:
- Accessibility. Screen readers use the alt text to describe the image to visually impaired users, making your site accessible to everyone.
- SEO. Search engines use alt text to understand the image’s content and context, which can help your images rank in search results.
Your alt text should be concise and descriptive. If the image is simply your logo, the alt text should be your company name followed by “logo”.
<img src="https://your-domain.tld/wp-content/uploads/2025/11/your-image.png" width="180" height="60" alt="A cat image">
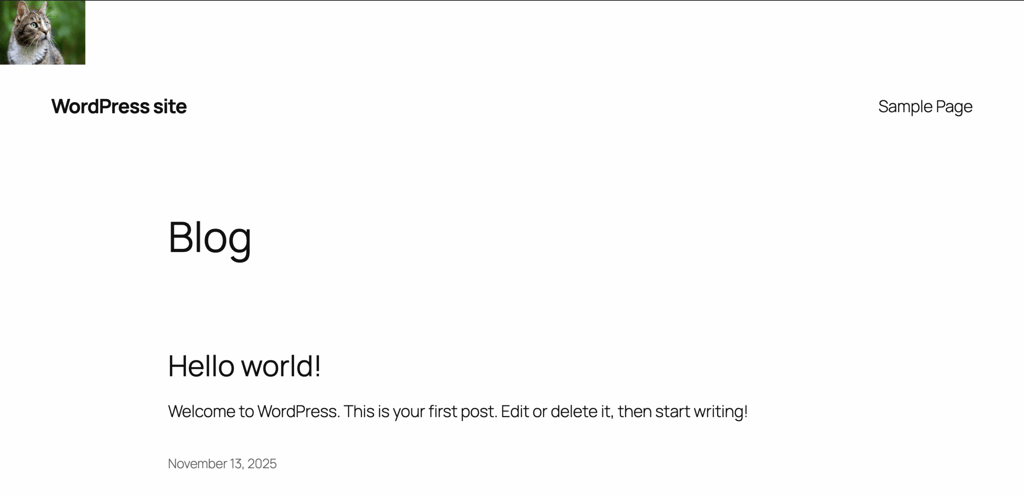
6. Check for errors and save the changes
To check for errors and save changes, you must review your <img> tag for typos and then click the Update File button in the WordPress editor. A single misplaced character or unclosed quote in your <img> tag can cause the image to break or affect the page layout.
Review your line of code one more time. Your complete <img> tag should look something like this:
<img src="https://your-domain.tld/wp-content/uploads/2025/11/your-logo.png" width="180" height="60" alt="A cat image">
Once you’re confident it’s correct, click the Update File button at the bottom of the Theme File Editor. Open your website in a new tab or a private browsing window and reload the page to see your new image.
7. Add a link to the image
You can add a link to an image by wrapping your <img> tag with an anchor (<a>) tag. An image in your header or footer, especially a logo, should almost always be a clickable link.
Users instinctively click on the logo to return to the homepage. Making your image a link is a “must-do” step for good site navigation and user experience.
The <a> tag uses the href attribute to define its destination URL. Here’s how to link your new logo to your website’s homepage:
<a href="https://your-domain.tld/">
   <img src="https://your-domain.tld/wp-content/uploads/2025/11/your-logo.png" width="180" height="60" alt="A cat image">
</a>
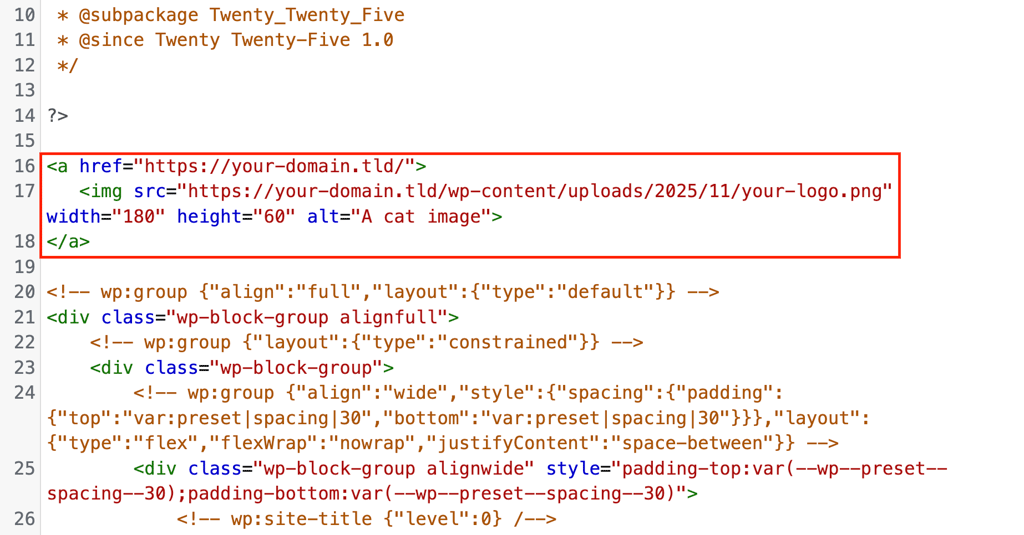
After adding this code, click Update File again. Now, when you visit your site, your logo will not only be visible but will also function as a link.
Next steps: Organize your images in the WordPress Media Library
Manually inserting an image using HTML is perfect for theme elements like logos. But as your site grows, you’ll be uploading dozens or even hundreds of images for your posts and pages.
This is where managing your assets becomes critical. A messy WordPress Media Library makes it hard to find images, reuse content, and get the correct URLs.
To organize your WordPress Media Library, you can install a plugin like FileBird to create virtual folders, and then simply drag and drop your media files into them.
By organizing your media with folders, you create a much faster and more reliable workflow for all your future content.
All of the tutorial content on this website is subject to Hostinger's rigorous editorial standards and values.

Linas started as a customer success agent and is now a full-stack web developer and Technical Team Lead at Hostinger. He is passionate about presenting people with top-notch technical solutions, but as much as he enjoys coding, he secretly dreams of becoming a rock star.

Ariffud is a Technical Content Writer with an educational background in Informatics. He has extensive expertise in Linux and VPS, authoring over 200 articles on server management and web development. Follow him on LinkedIn.