How to create an email address with your domain name
May 22, 2026
/
Bruno S.
/
7 min Read

To create an email address with a domain name, you need to register a domain, choose an email hosting provider, configure DNS records, and set up the address through the provider’s dashboard.
Setting up domain email requires four DNS record types – MX, SPF, DKIM, and DMARC – each serving a distinct role in routing and authenticating mail. Choosing the right provider, whether bundled hosting, a dedicated service, or a free option, depends on team size, budget, and whether you need productivity tools included.
Here are the five steps to create an email address with your domain name:
- Secure your domain name. Register a domain that reflects your name or business before anything else.
- Pick an email hosting provider. Choose between bundled hosting, dedicated services like Google Workspace, or free entry-level options.
- Update DNS settings. Add MX, SPF, DKIM, and DMARC records to route and authenticate your mail correctly.
- Create your email address. Set up your username, password, and mailbox settings through your provider’s dashboard.
- Connect email clients and test. Link your address to Outlook, Apple Mail, or another client and confirm it sends and receives properly.
1. Register your domain name
Before you can create a custom email address, you need an email domain to attach it to. Everything you set up – your inbox, your DNS records, your professional image – builds on this first step, so it’s worth getting it right.
Pick a domain that reflects your name or business, rolls off the tongue easily, and uses an extension people recognize. The .com extension is still the most universally used option, but .org, .net, and industry-specific extensions are all solid choices.
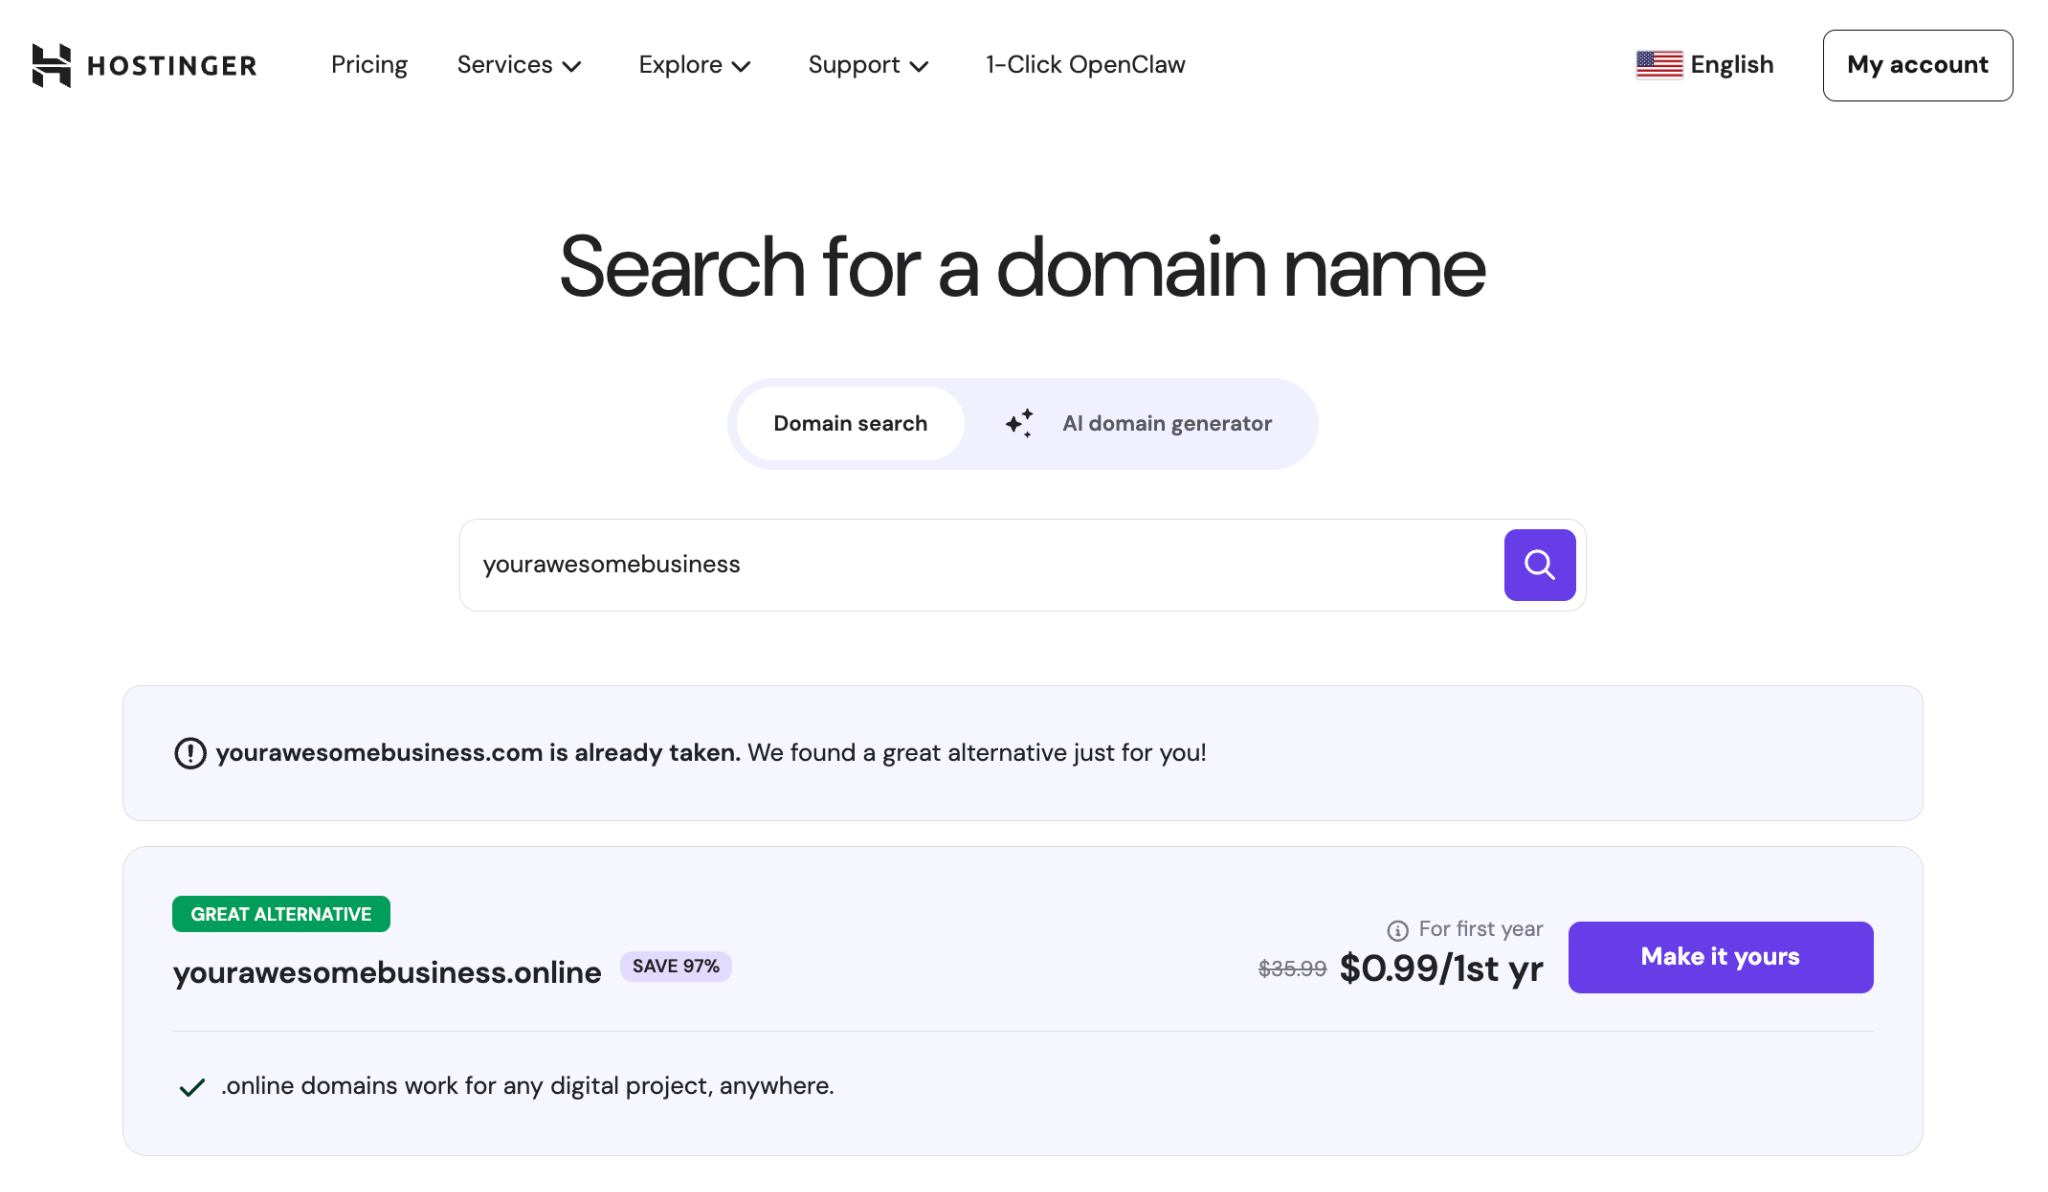
To register a domain with Hostinger, head to the domain search page, pick an available name, and complete the checkout. If you’re still deciding on a name, read our guide on how to choose a domain name before you commit.
A .com domain typically costs $9–$15/year on renewal, with .org and .net in a similar range. Newer or premium extensions can go quite a bit higher. Renewal costs are easy to overlook when buying a domain name, but a lapsed domain takes your email and website down at the same time, so factor that in early.
If you already own a domain registered elsewhere, you don’t need to transfer it. You just need access to its DNS settings, which is covered in step 3.
Domain Name Checker
Instantly check domain name availability.
2. Select an email hosting provider
An email hosting provider is a service that stores your messages and handles sending and receiving on your domain’s behalf. Without one, there’s nowhere to store your incoming mail or send outgoing messages – registering a domain alone doesn’t give you an inbox.
The good news is that there are solid options for every budget:
- Bundled hosting is probably the easiest starting point. Most web hosting plans, including Hostinger’s, come with email hosting included. Hostinger’s Business Email supports custom domain addresses, two-factor authentication (2FA), and works with all major email clients. If you want email and website hosting sorted in one go, this is the path of least resistance.
- All-in-one productivity platforms like Google Workspace and Microsoft 365 go deeper, bundling email with full productivity suites – Docs, Sheets, and Drive, or Word, Excel, and OneDrive. They’re a great fit if your team already works with those tools or needs proper file collaboration alongside email. Pricing shifts fairly often for both, so check each provider’s site directly for current rates.
- Free or entry-level options like Zoho Mail offer a free tier for a limited number of users with custom domain support. Hostinger also offers an affordable business email plan starting at RM2.99/month.
The right choice depends on three factors: how many users need addresses, whether you need integrated productivity tools, and your monthly budget. For most small businesses or personal brands just getting started, bundled email hosting through your web host is the most cost-effective path.
3. Configure DNS settings for email
DNS (Domain Name System) records tell the internet where to send your domain’s email. Without the right records in place, messages either bounce back or end up in spam.
All of this lives in your domain registrar’s or hosting provider’s dashboard, usually under DNS Zone Editor or DNS Management. Your email provider will give you the exact values to enter – you’re essentially just copying them across.
There are four record types you’ll need to understand.
- MX records are the most important. They point your domain’s incoming mail to your email provider’s servers. Your provider gives you a list of MX records with specific values and priority numbers.
- SPF (Sender Policy Framework) is a TXT record that lists which mail servers are authorized to send email on your domain’s behalf. Without it, receiving servers have no way to verify your messages are legitimate, and many will mark them as spam.
- DKIM (DomainKeys Identified Mail) adds a cryptographic signature to every outgoing message. Receiving servers use it to confirm the message wasn’t altered in transit. Your email provider generates your DKIM key – you add it to DNS as a TXT record. Read our full guide on the DKIM record for setup instructions specific to common providers.
- DMARC ties SPF and DKIM together. It tells receiving servers what to do when a message fails those checks – reject it, quarantine it, or let it through with a report.
To add or edit these records in your DNS panel, navigate to your registrar’s dashboard and look for DNS Zone Editor or DNS Management. The exact path varies by registrar but follows a consistent pattern: find your domain, open its DNS settings, and add each record type with the values your email provider supplies.
If you buy a domain and hosting plan together through Hostinger, the platform automatically links the domain to your hosting account and pre-configures the DNS for you.
Once you’ve saved your records, give it up to 48 hours for propagation. In practice, most records kick in within a few hours. Your provider’s dashboard will show you a verification status so you can keep an eye on it.
For a more detailed walkthrough of each record type, including provider-specific setup instructions, see our DNS setup guide.
4. Create your email address using your domain
With your DNS records saved, head to your email provider’s dashboard to create the actual address. Look for a section called Email Accounts, Mailboxes, or Create New Address. In Hostinger’s hPanel, the path is Emails → Email Accounts → Create.
Log in to your provider’s dashboard and look for an option labeled Email Accounts, Mailboxes, or Create New Address. The exact label depends on the provider. In hPanel, navigate to Emails → Email Accounts → Create.
When creating your address:
- Set the username – for example, alex creates alex@domain.tld.
- Choose a strong password. Use at least 12 characters with a mix of uppercase, lowercase, numbers, and symbols. Most providers also offer 2FA at this stage – enable it.
- Set the mailbox storage quota if your plan allows multiple sizes.
If you need multiple addresses, repeat the process for each one. Most hosted plans allow at least 2–10 addresses on entry-level tiers, with higher-tier plans offering more.
Keep in mind that conventions matter more than most people realize. Generic addresses like info@, support@, billing@, and hello@ are professional and immediately signal purpose to the person receiving the email.
Personal addresses like alex@domain.tld work well for direct correspondence. Avoid addresses that are difficult to spell verbally or that include numbers and hyphens unless they’re part of your brand name; these create friction on business cards and in conversation.
5. Set up email clients and test your new email
Connecting your new address to an email client lets you send and receive without logging into your provider’s web dashboard each time. Every major client – Outlook, Apple Mail, the Gmail app, Thunderbird – supports custom domain email through either automatic setup or manual configuration.
Automatic setup works when your provider publishes automatic configuration records. Open your email client, choose Add Account, enter your full email address and password, and the client detects the settings automatically. Hostinger Business Email supports this in most clients.
Manual setup requires entering server details directly. Your provider’s help documentation lists these, but the general structure is:
- IMAP (incoming mail): Keeps messages synced across all your devices. Use this unless you have a specific reason not to.
- Server: provided by your host (e.g., imap.hostinger.com)
- Port: 993 (SSL)
- POP3 (incoming mail): Downloads messages to one device and removes them from the server. Only use POP3 if you access email from a single device and don’t need your messages synced elsewhere.
- SMTP (outgoing mail): Handles every message you send out and it’s required for your client to deliver mail.
- Server: provided by your host (e.g., smtp.hostinger.com)
- Port: 465 (SSL) or 587 (STARTTLS – a method that upgrades your connection to encrypted before sending)
Once everything’s configured, run a quick test: send an email from your new address to a personal Gmail or Outlook account, then reply back. Make sure both arrive. While you’re at it, check the spam folder – if your test ended up there, your SPF, DKIM, or DMARC records may still be propagating, or there may be a small error in one of them.
Here are some common connection issues and their fixes:
- “Authentication failed” – double-check your password and confirm 2FA isn’t requiring an app-specific password for third-party clients.
- “Cannot connect to server” – verify the port numbers and that SSL/TLS is enabled.
- Messages send but replies don’t arrive – check that your MX records are correct and fully propagated.
Common mistakes to avoid when creating domain emails
Most damaging email setup mistakes fall into four categories: DNS errors, weak security practices, poor naming choices, and neglected inbox organization.
DNS errors cause more deliverability headaches than anything else. A single extra space or missing period in an MX record value can break incoming mail.
If you skip SPF and DKIM, your messages go out unauthenticated – Gmail, Yahoo, and Microsoft all treat that as a red flag for spam. Since 2024, Google and Yahoo have required SPF, DKIM, and DMARC for anyone sending more than 5,000 messages a day, with Microsoft joining them in May 2025.
Even if you’re nowhere near that volume, setting all three up is just good practice. A missing DKIM record can quietly route legitimate messages to spam for months before you notice.
Weak passwords are an easy vulnerability to fix, but often overlooked. A compromised mailbox gets used to send spam, which tanks your domain’s sending reputation – the score email providers use to decide whether your messages are trustworthy. Unique passwords per mailbox and 2FA are the minimum.
Poor naming conventions undermine the credibility that a custom domain is meant to establish. Addresses like info123@domain.tld or myname2@domain.tld signal carelessness and work against your professional image. Stick to clean, role-based addresses (support@, billing@, hello@) or first-name formats (alex@).
Neglected inbox organization slows response time and buries important messages. Set up folders and filters from the start:
- Create folders for key categories: Clients, Invoices, Support, and Internal.
- Use filters to auto-sort incoming mail by sender domain or subject keywords.
- Apply labels or tags in providers that support them (Google Workspace, Zoho Mail) to flag urgent messages.
These habits are far easier to build at setup than to retrofit once an inbox has thousands of messages.
How to protect your email with regular backups
Setting up your email is one thing – making sure you don’t lose everything is another.
Hardware failures, accidental deletions, and account compromises can all wipe out email data permanently, and that often means losing client correspondence, contracts, and transaction records you can’t get back. Most email hosting plans only restore deleted messages within a short window, so assuming your provider has it covered is a risk not worth taking.
Once your email is up and running, learning how to back up your emails protects everything you’ve built – even if your account gets suspended or your provider has an outage, your messages stay intact.
All of the tutorial content on this website is subject to Hostinger's rigorous editorial standards and values.

Bruno is a Content Writer at Hostinger, focused on creating and optimizing helpful, engaging articles about web development and marketing. With a background in journalism, he combines storytelling with practical insights to make complex topics easier to understand. He has also contributed to publications like MacMagazine and Jornal A Tarde. Outside of work, Bruno enjoys exploring art, cooking, and technology.