What are WordPress widgets and how to use them?
Mar 15, 2026
/
Larassatti D.
/
7 min Read
WordPress widgets are standalone, modular elements – search bars, recent posts lists, social media feeds – that you can drop into areas like sidebars, footers, and headers without writing any code. Their main purpose is to add and enhance website functionality and layout.
How widgets work depends on your theme. Classic themes use a dedicated widget interface, while block themes replace widgets entirely with the Full Site Editor. WordPress includes several built-in widgets, but you can also use plugins to add more.
To use widgets strategically, keep widget areas focused, avoid visual clutter, check compatibility with your theme, and monitor their impact on WordPress site performance.
What are WordPress widgets?
A WordPress widget is a small, self-contained content element that can be placed in widget-ready areas of your site. These areas are layout sections defined by your chosen WordPress theme, typically in sidebars and footers, but sometimes also in headers, above or below content, or in spots inside page templates.
Widgets are modular by design, meaning each one can be added, removed, or reused independently while editing a WordPress site, without affecting the rest of your layout.
WordPress widgets have been around since version 2.2 in 2007. Early on, themes defined dedicated widget areas, allowing you to drag and drop pre-built widgets from the dashboard.
With the WordPress 5.8 release in 2021, block-based widgets were introduced to classic themes. Instead of being limited to traditional widgets, you can add blocks such as images, galleries, buttons, or custom HTML to widget areas. This brought the block editor’s flexibility to parts of the site layout that were previously very rigid.
With block themes like Twenty Twenty-Five, the Site Editor replaces the classic widget system. Headers, footers, sidebars, and other layout elements are all managed as WordPress blocks in the Site Editor, so you won’t see a separate menu.
Each widget has its own settings, which are saved per widget instance, so the same widget can behave differently in different areas.
For instance, a Recent Posts widget lets you control how many posts appear and whether dates are shown. A Text or Custom HTML widget accepts custom markup, making it useful for forms, ads, or embedded tools.
Types and examples of WordPress widgets
WordPress widgets fall into three main categories: default widgets included out of the box, third-party widgets added via plugins, and custom WordPress widgets built specifically for a site.
Each category serves a different purpose, but all are designed to enhance site functionality and improve the visitor experience.
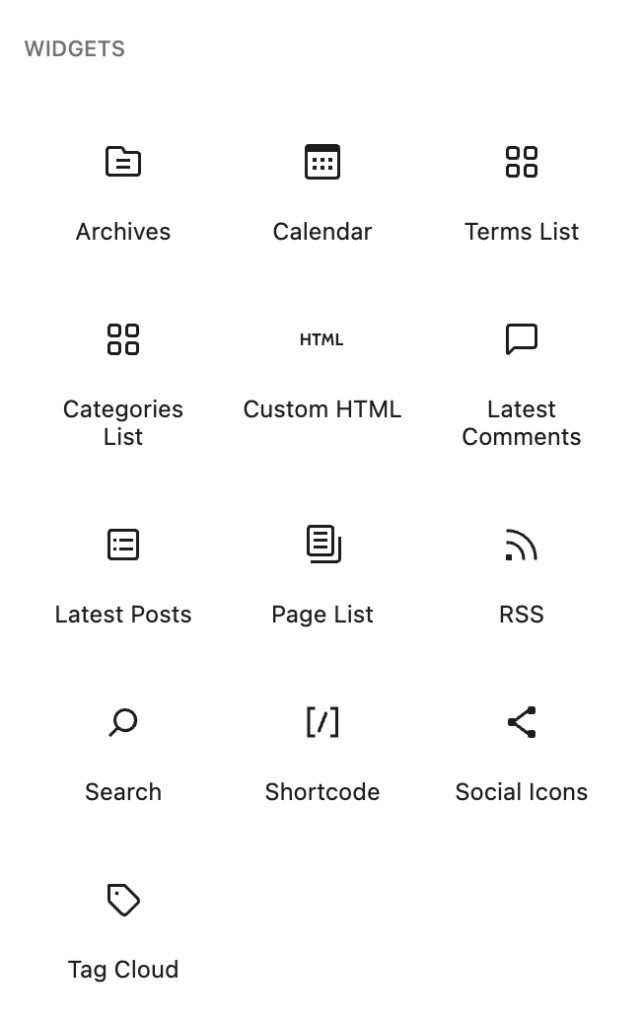
Default core widgets
Core widgets handle the most common site needs and are available on every WordPress installation. Some of the core widgets are:
- Search. Adds a search bar so visitors can quickly find content.
- Latest Posts. Automatically displays your latest articles, helping keep sidebars up to date.
- Categories List and Archives. Lets visitors browse content by topic or publication date.
- Calendar. Shows a monthly view with links to posts by date.
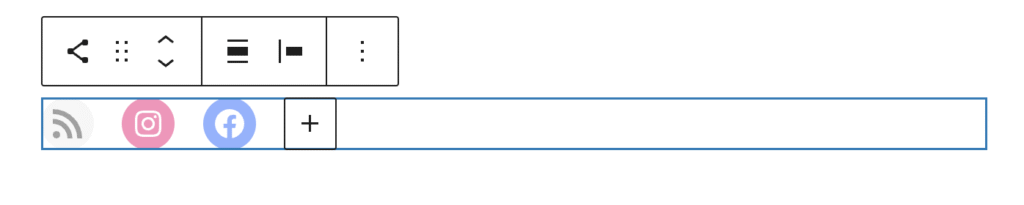
- Custom HTML. Commonly used to embed newsletter signup forms, ad scripts, or third-party tools.
Third-party widgets
Third-party widgets are widgets you add by installing a plugin and are designed to surface specific features in widget-ready areas. This type of widget enhances user experience by making key actions easier to access throughout the site.
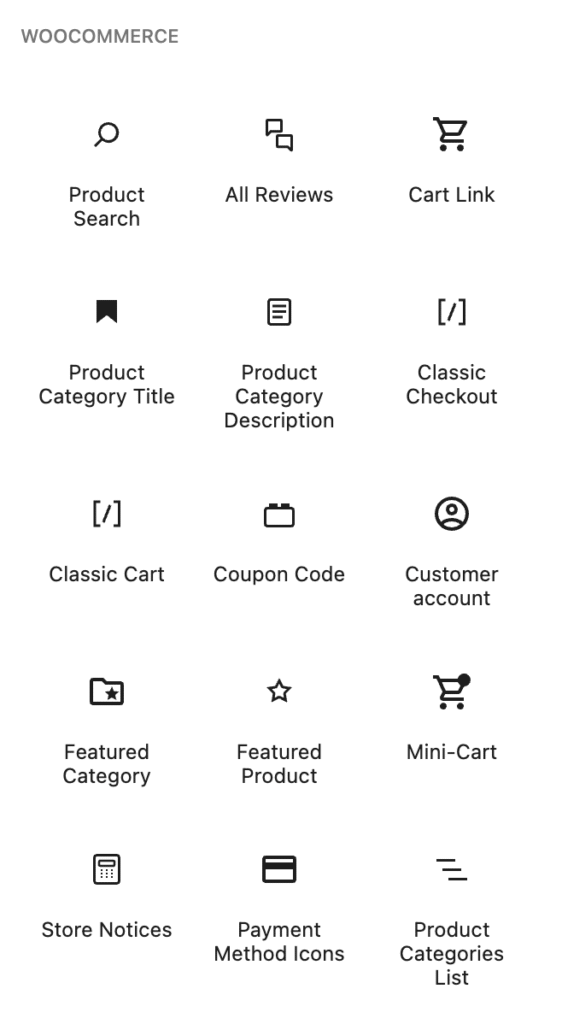
For example, ecommerce plugins add product category widgets or cart previews, while social media plugins provide social media icons or feed widgets that encourage visitors to follow or share content. Meanwhile, form plugins add widgets that embed contact or subscription forms directly into sidebars or footers.
Custom WordPress widgets
Custom WordPress widgets are built by developers using code and are tailored to very specific site needs. They’re often used when default widgets or plugins don’t provide the required functionality.
Examples include widgets that display business hours, location-specific contact details, staff directories, or dynamic promotional content.
While custom widgets require development effort, they offer complete control over layout, behavior, and performance, making them ideal for businesses with unique requirements.
Differences between WordPress widgets and plugins
A WordPress plugin adds or changes functionality at the site level. A widget, by contrast, is a modular user interface component that displays a specific piece of content or functionality in a defined area of your layout, such as a sidebar, footer, or header.
Plugins can introduce entirely new systems, such as SEO tools, ecommerce platforms, security features, or custom post types, and their effects apply across your whole website.
For example, to start selling products on your site, you’d install an ecommerce plugin.
Meanwhile, widgets rely on either core WordPress features or plugin-provided functionality to work. So, use a widget when you already have the functionality and just need to display it in a specific area. For example, to show your latest posts in a sidebar, use the Recent Posts widget.
In most cases, a WordPress site will need both plugins and widgets.
How to add WordPress widgets
WordPress widgets can only be placed inside widget-ready areas, which are the layout sections defined by your theme, such as sidebars, footers, or other designated containers. These areas act as holding spaces where widgets can be added, arranged, and configured individually.
How you add WordPress widgets depends on your chosen WordPress theme. Classic themes use a dedicated Widgets screen in the WordPress dashboard, while block themes manage layout elements through the Site Editor.
Because the systems work differently, the steps for adding widgets vary accordingly.
How to add widgets in block themes
If you’re using a block theme, follow these steps to add any of the pre-installed widgets to your WordPress website:
- From the WordPress admin panel, go to Appearance → Editor.
- Select the page you want to edit from the Pages menu.
- Hover over the location where you want to add a widget until the plus (+) button appears.
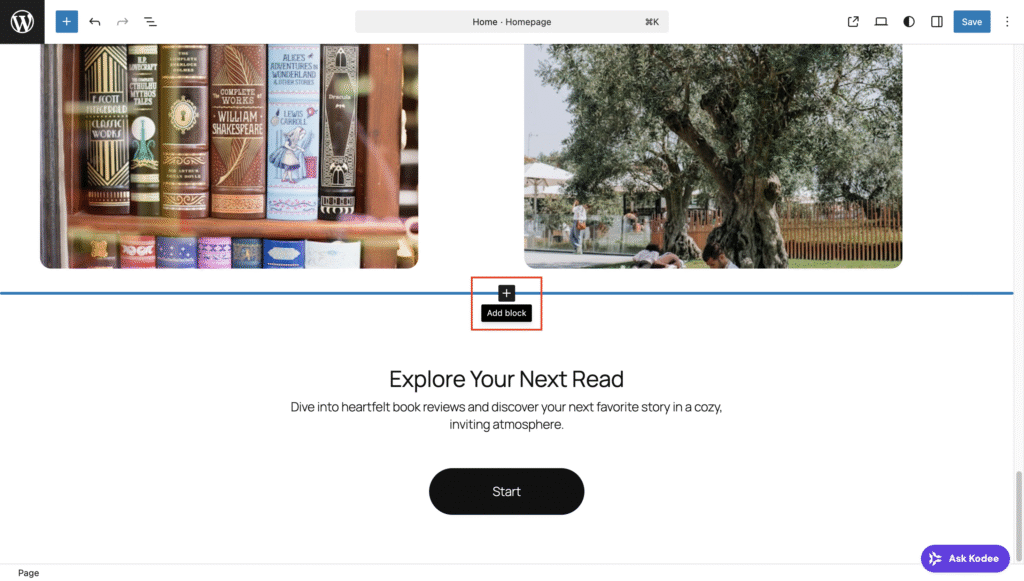
- Click the + button to open the block list. You can select Browse all to open the full block panel.
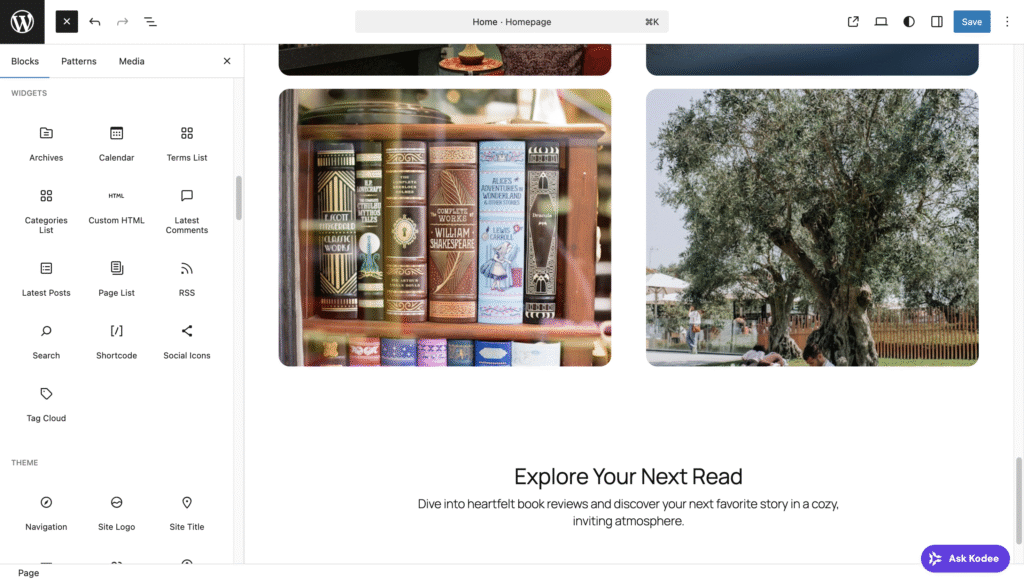
- Pick your widget, and you’ll see what it will look like in the page preview area.
- Customize the widget using the settings panel that appears when you click on it.
- Once you’re done customizing, click Save.
How to add widgets in classic themes
Classic themes still use a dedicated widget system. Widgets are added and managed through the WordPress dashboard, and you can only add them in widget-ready areas defined by your theme.
Here’s how to add a widget in a classic WordPress theme:
- Navigate to Appearance → Widgets on your WordPress dashboard.
- You’ll see the available widget area from your theme in the preview panel. Click the + button to add a widget.
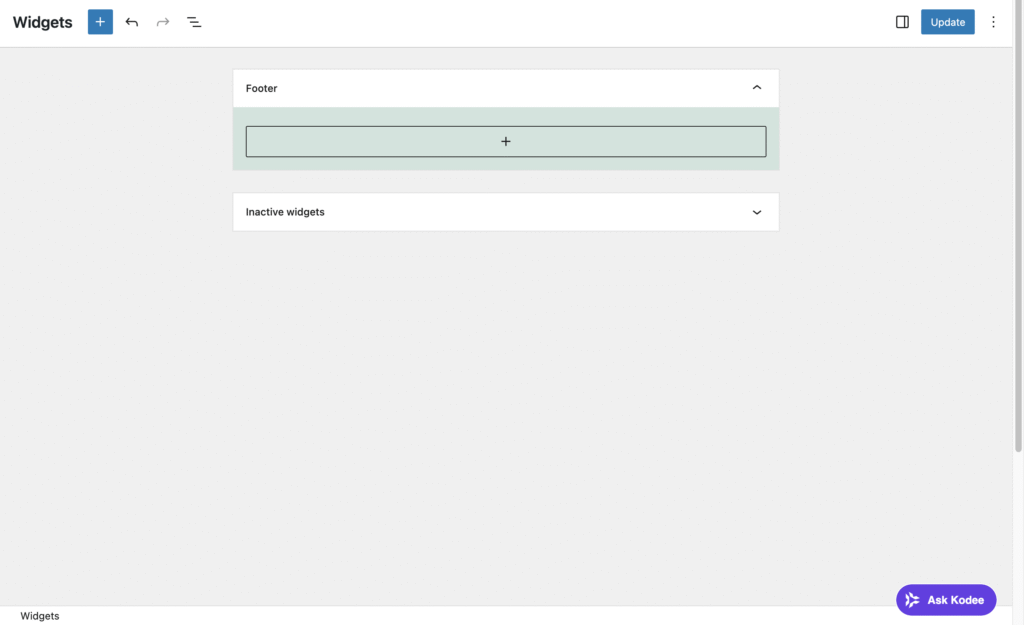
- Select the widget you want, and customize it as needed.
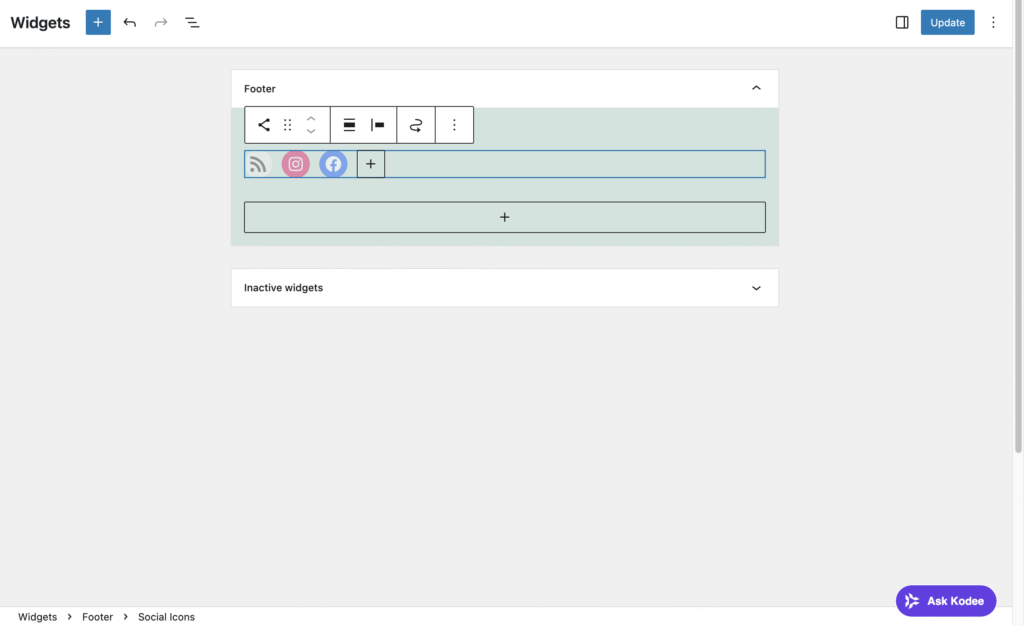
- Finish by clicking Update.
How to add widgets using a plugin
Some WordPress plugins extend the default widget system by adding new widgets or providing more control over existing ones, such as visibility rules or display settings.
If you’re using a classic theme, theme companion plugins like Widget Options, RaraTheme Companion, or Custom Sidebars can help expand how WordPress widgets work on your site.
In block themes, where layouts are built entirely with blocks in the Site Editor, widget-based features may be limited or unavailable. In these cases, it’s better to use block plugins like Spectra, Kadence Blocks, or Stackable to expand functionality.
Once you find your preferred option, install the plugin. Then, you can add and configure the additional widgets using the same steps covered in the previous sections.
Best practices for using WordPress widgets
Widgets can improve your site when used intentionally. If overused or poorly configured, they can clutter your layout and negatively affect your WordPress site performance.
The following tips will help you use widgets strategically and avoid common pitfalls.
Prioritize relevance and minimalism
Every widget should serve a clear purpose for the visitor. If it doesn’t improve navigation, highlight important content, or support conversions, it likely doesn’t belong there.
For example, a sidebar with a Search bar, a short About blurb, and a Categories list provides useful navigation. But stacking them just for the sake of having them can create visual noise, and most visitors won’t scroll through it all.
It’s best to adopt a minimalist approach:
- Focus on utility, not decoration.
- Limit widgets to three to five per area.
- Maintain visual consistency with spacing, alignment, and typography so widgets don’t look like disconnected add-ons.
Well-placed widgets should support your content, not compete with it.
Consider performance impact
Each widget adds markup, scripts, or external requests. Widgets that load social media feeds, embedded maps, or third-party ad scripts make additional server calls every time a page loads. This directly affects WordPress site performance, especially on mobile devices.
To help identify which elements increase load time, test your site speed using tools like Google PageSpeed Insights or GTmetrix before and after adding widgets.
Widgets that pull external resources are among the first areas to audit when encountering poor site performance, as they are among the common reasons why your WordPress site is slow.
Keep in mind that some widgets, like Related Products, display dynamic content that may require cache exclusions to function correctly. Poor caching configuration can either break functionality or slow down your site.
Check compatibility before publishing
Not every widget works seamlessly with every theme or in every widget area.
For instance, widgets designed for wide footer areas may look awkward in narrow sidebars, and third-party widgets can conflict with your theme’s CSS or JavaScript.
Always preview widgets using the Customizer, Site Editor, or a staging environment before publishing changes. This allows you to catch layout issues, styling conflicts, or unexpected behavior before they affect your live site.
Think mobile-first
Many themes move sidebar widgets below the main content on smaller screens. That means mobile visitors may need to scroll through an entire article before seeing any sidebar content.
Ask yourself:
- Does this widget need to appear on mobile?
- Is it still useful when placed below the content?
If necessary, use visibility controls to hide certain widgets on specific devices.
Common mistakes to avoid when using WordPress widgets
To make sure your widgets enhance your site instead of harming it, watch out for these common mistakes:
- Overcrowding widget areas. Too many widgets create visual clutter and slow load times.
- Poor widget order. Place the most important widgets at the top. Users rarely scroll to the bottom of a sidebar.
- Neglecting mobile responsiveness. Always test widgets on phones and tablets, not just desktop screens.
- Using outdated plugins. Check the last updated date and the number of active installations before installing a widget plugin.
- Skipping performance checks. Always evaluate how new widgets affect WordPress site performance.
- Misconfigured caching. Ensure dynamic widgets are properly excluded from cache when necessary.
Next step: Create a custom WordPress widget
Default widgets and plugin-powered widgets cover most common needs. But when you need something more tailored to your website, building a custom widget lets you add exactly the functionality you need.
For example, you might want to display business hours, a dynamic list based on custom post types, or a reusable call to action tailored to your brand. With a custom widget, you control the output, layout, and behavior completely.
Creating a custom widget requires working knowledge of PHP, since WordPress is built on it. You’ll also need to understand how the WP_Widget class works, as well as basic HTML and CSS to structure and style the widget’s output.
Familiarity with how themes and plugins interact in WordPress will make the process smoother, but you don’t need to be an advanced developer to get started.
If you’re interested in trying to build one yourself, follow our step-by-step tutorial on how to create a custom widget in WordPress.

Larassatti Dharma is a content writer with 4+ years of experience in the web hosting industry. She has populated the internet with over 100 YouTube scripts and articles around web hosting, digital marketing, and email marketing. When she's not writing, Laras enjoys solo traveling around the globe or trying new recipes in her kitchen. Follow her on LinkedIn