What is SELinux? How does it enhance Linux security?
Mar 10, 2026
/
Ariffud M.
/
8 min Read

Security-Enhanced Linux (SELinux) is a security module that adds an extra layer of protection to your system. It enforces strict access control between processes and system resources, allowing only explicitly permitted actions.
SELinux helps maintain strong and reliable Linux server security by preventing unauthorized access and limiting the impact of compromised services.
This makes it especially useful for production-grade VPS setups or enterprise-scale deployments where strict policy enforcement is critical.
In this guide, you’ll learn what SELinux is, how it works, how to configure it, and how to use it to secure your system effectively.
What is SELinux?
SELinux is a security module integrated into the Linux kernel that enforces access control policies to govern how processes interact with system resources.
The United States National Security Agency (NSA) developed SELinux and released it to the open-source community in 2000.
Its architecture is based on the Linux Security Modules (LSM) framework, which adds hooks to the kernel to enforce security decisions.
This setup lets SELinux intercept and evaluate access requests at the kernel level, so that every operation complies with the defined security policies.
SELinux is commonly used in Red Hat Enterprise Linux (RHEL), CentOS, Fedora, and other RHEL-based distros.
That’s because these systems provide full support for SELinux, making it easier to configure and manage compared to Debian and its derivatives, which limit or don’t enable SELinux support by default.
How does SELinux work?
SELinux assigns a security context to every interaction between processes (subjects) and system resources (objects). Each security context includes details like the user, role, type, and, optionally, a sensitivity level.
When a process tries to access a resource, the SELinux policy engine checks the security contexts of both the subject and the object against the defined policy rules.
If the policy allows the action, SELinux grants access. If not, it blocks the action and – depending on the mode – logs the event to the audit log for review.
This mechanism ensures that processes run with only the minimum privileges they need, following the principle of least privilege. It maintains system integrity and reduces the risk of damage from compromised or misbehaving apps.
What is mandatory access control (MAC) in SELinux?
Mandatory access control (MAC) is a security framework that enforces strict policies on how subjects, such as user apps or system services, interact with objects like files, directories, and network ports in a Linux system.
Unlike discretionary access control (DAC), where users can set permissions on the files they own, MAC policies are centrally defined and enforced by the system – meaning even privileged users can’t override them.
For example, under DAC, a system administrator might accidentally grant a web server process read and write access to a sensitive configuration file.
With MAC in place, the SELinux policy can explicitly prevent that process from writing to system files, even if DAC permissions allow it.
In other words, if DAC and MAC rules conflict, SELinux applies the most restrictive rule. This strict control is one key reason why SELinux provides such a powerful layer of defense in Linux environments.
What are SELinux policies?
SELinux policies are collections of access rules that define the permissions granted to subjects over objects. These policies form the core of SELinux’s implementation of MAC.
For example, a policy might allow a process labeled httpd_t to read files with the httpd_sys_content_t label but deny access to those marked as user_home_t.
Administrators typically write these policies in a specific policy language, and then compile them into a binary format that the SELinux kernel module can load and enforce.
They use tools like semanage to manage policy components, and audit2allow to generate custom policy modules based on audit logs.
These tools help tailor SELinux policies to meet the specific security requirements of different environments, ensuring both flexibility and strong system protection.
What are the different SELinux modes?
There are three different SELinux modes: enforcing, permissive, and disabled. Each mode dictates how security policies are applied on Linux systems.
Enforcing mode
In enforcing mode, SELinux actively applies its security policies. It blocks any action that violates the policy and logs a corresponding denial message. This mode provides the highest level of security and is recommended for production environments.
For instance, if a web server process tries to access a configuration file it shouldn’t, SELinux in enforcing mode denies the access and logs the event – helping prevent potential security breaches.
Permissive mode
Permissive mode allows all actions, even those that violate SELinux policies, but logs any that would’ve been denied in enforcing mode. This mode is helpful for troubleshooting and policy development, as it provides visibility without interference.
For example, when configuring a new app, an administrator switches SELinux to permissive mode to identify and adjust policy violations so that the final setup works smoothly without triggering enforcement issues.
Disabled mode
Disabled mode means SELinux is turned off entirely – no policies are enforced or logged. This mode is generally discouraged because it removes SELinux’s added layer of protection.
Re-enabling SELinux after it has been disabled requires relabeling the file system to apply policies correctly.
A common use case for this mode is a system running legacy apps that are incompatible with SELinux. In such cases, an administrator temporarily disables SELinux, fully aware of the associated security risks.
How to configure SELinux?
To configure SELinux, start by opening a terminal app – you’ll need it to run Linux commands and apply configuration changes. On a personal computer, simply power it on and launch the app.
If you use a virtual private server (VPS), you’ll need SSH access to connect to your server. For Hostinger’s CentOS hosting users, find your SSH credentials by going to hPanel → VPS → Manage → Overview → VPS details.

Hostinger CentOS VPS users can also use the browser terminal feature, which lets you execute commands directly from a browser tab. This is especially useful if you don’t have a terminal app installed or prefer not to use one.
To access it, hit the designated button in the top-right corner of your VPS Overview page.

Once everything is set up, you’re ready to change SELinux modes and add custom policy modules to your system.

How to set SELinux modes?
Let’s go over how to check your system’s current SELinux mode, change it temporarily for the current session, or set it permanently.
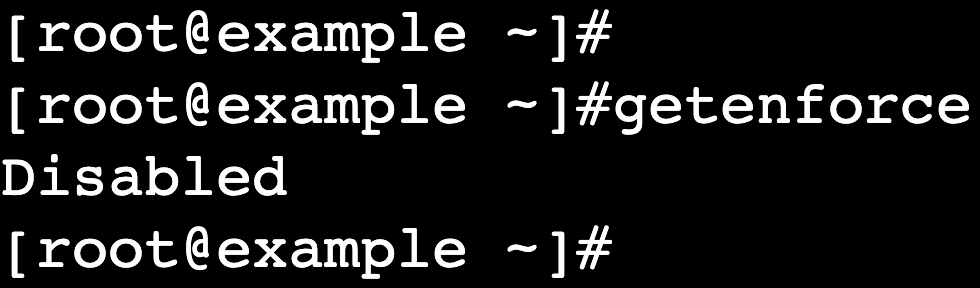
Check the current SELinux mode
Before making any changes, check the current SELinux mode:
getenforce
This command returns the current mode:
Temporarily change SELinux mode
You can switch the SELinux mode for the current session, but the chosen mode won’t persist after a reboot.
- Set to permissive mode:
sudo setenforce 0
- Set to enforcing mode:
sudo setenforce 1
Important! You can’t disable SELinux using the setenforce command. To disable it, you must edit the configuration file and reboot the system.
Permanently change SELinux mode
If you want to make the change permanent, follow these steps:
- Open the SELinux configuration file using a text editor like vi:
sudo vi /etc/selinux/config
- Press I to enter insert mode. Then, modify the SELINUX directive by replacing the existing value with your preferred mode:
# This file controls the state of SELinux on the system.
# SELINUX= can take one of these three values:
#     enforcing - SELinux security policy is enforced.
#     permissive - SELinux prints warnings instead of enforcing.
#     disabled - No SELinux policy is loaded.
...
SELINUX=enforcing
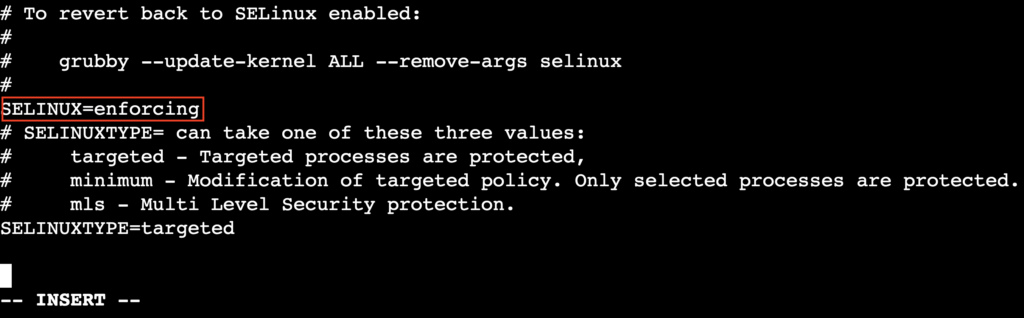
- Save your changes and exit vi by pressing Esc, typing :wq, and hitting Enter.
- Reboot the system to apply the new mode:
sudo reboot
After rebooting, verify the new SELinux mode using the same getenforce command.
💡Relabeling the file system
If SELinux was previously disabled and you’re enabling it again, you need to relabel the file system to assign proper security contexts. To trigger a full relabel on the next reboot, run:
sudo touch /.autorelabel
sudo reboot
How to manage SELinux policies?
You can manage SELinux policies by creating, editing, and loading policy modules to customize access controls for apps and services.
SELinux policies are modular, which means you can add or modify rules through individual policy modules without changing the entire policy set.
Create a custom policy module
When SELinux denies an action that should be permitted, you can generate a custom policy module to allow it:
- Check the audit log for denied operations:
sudo ausearch -m avc -ts recent
This displays all access vector cache (AVC) denial messages from the audit log since the last boot.

- Use audit2allow to create a module based on all recent AVC denials. Replace my_custom_policy with a name of your choice:
sudo audit2allow -a -M my_custom_policy
This command generates two files:
- my_custom_policy.te – the source policy.
- my_custom_policy.pp – the compiled module.
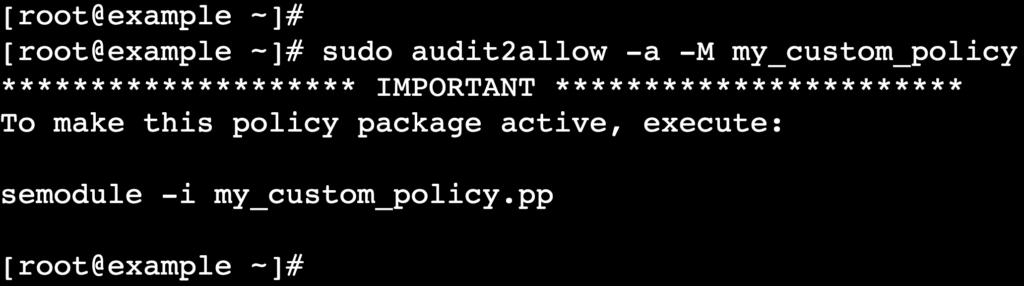
- Load the compiled module into SELinux:
sudo semodule -i my_custom_policy.pp
After installation, the new rules take effect immediately, allowing the previously denied actions.
Edit and manage policy modules
To customize or refine policies further, edit the source policy file:
- Open my_custom_policy.te in vi and modify the rules:
sudo vi my_custom_policy.te
Save your changes when you’re done.
- Convert the edited source into a module:
checkmodule -M -m -o my_custom_policy.mod my_custom_policy.te
- Create a .pp file from the compiled module:
semodule_package -o my_custom_policy.pp -m my_custom_policy.mod
- Install the updated module:
sudo semodule -i my_custom_policy.pp
Manage existing policy modules
Use the semodule command to view or remove SELinux policy modules.
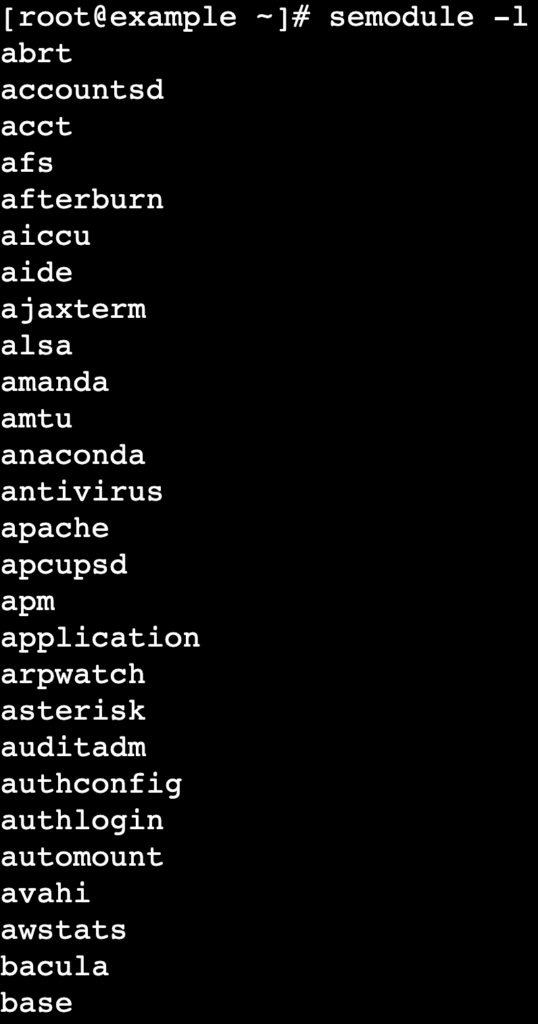
- List all installed modules:
semodule -l
- Remove a specific policy module:
sudo semodule -r my_custom_policy
What tools are available for SELinux troubleshooting?
Several tools are available to diagnose and resolve SELinux denial issues. Two of the most commonly used are sealert and audit2allow.
sealert: Analyze SELinux denials
The sealert tool, part of the setroubleshoot package, provides human-readable summaries of SELinux denial messages. It interprets logs from /var/log/audit/audit.log and offers suggestions for resolving issues.
First, install setroubleshoot if it’s not already installed:
sudo dnf install setroubleshoot
Then, analyze recent SELinux denials:
sudo sealert -a /var/log/audit/audit.log
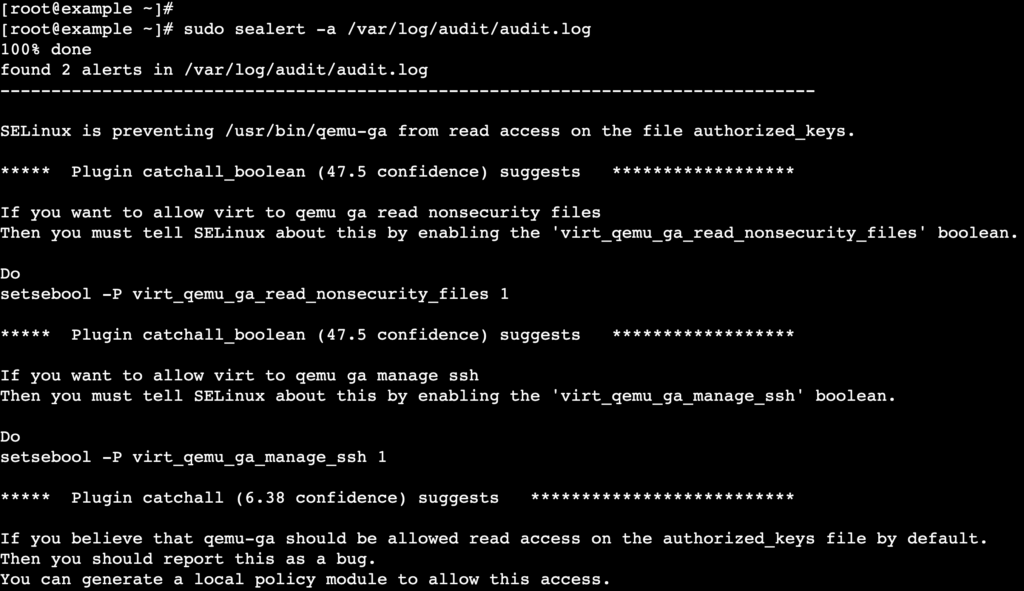
This scans the audit log and provides detailed information about denials, including possible solutions such as adjusting file contexts or enabling specific SELinux booleans.
audit2allow: Generate custom policy modules
When SELinux denies legitimate operations – and adjusting booleans or relabeling files isn’t enough – audit2allow can help. It reads denial messages from the audit log and generates custom policy modules that allow specific actions.
Warning! Use audit2allow carefully. Automatically allowing all denied actions can introduce security vulnerabilities. Always review the generated policy file before installing it.
You can generate a module by collecting AVC denial messages with ausearch, then passing them to audit2allow to create a custom policy module, as shown in the previous section.
Alternatively, combine it with the grep command to create a policy in one go:
sudo grep "avc: denied"/var/log/audit/audit.log | audit2allow -M my_custom_policy
This command filters denial messages using grep, then pipes them into audit2allow, which generates the policy module. Then, you can install the generated module as usual.
Additional troubleshooting tips
- Check file contexts – incorrect file labeling is a common cause of denials. Use restorecon to reset file contexts:
sudo restorecon -Rv /path/to/directory
- Enable necessary booleans – some services require specific SELinux booleans to function properly. For example, to allow Apache to access user home directories:
sudo setsebool -P httpd_enable_homedirs on
- Review audit logs manually – to inspect detailed logs directly:
sudo less /var/log/audit/audit.log
Differences between SELinux and AppArmor
The main difference between these modules is that SELinux uses a label-based access control that assigns security contexts to every process and file, while AppArmor relies on a path-based model that applies policies to specific file paths.
Here’s a comparison table to help you understand how these Linux security modules stack up:
| Feature | SELinux | AppArmor |
| Access control model | Label-based (uses security contexts) | Path-based (uses file paths) |
| Policy enforcement | Deny by default; requires explicit permissions | Allow by default; restricts using profile rules |
| Granularity | High; supports Multi-level security (MLS) and multi-category security (MCS) | Moderate; doesn’t support MLS/MCS |
| Ease of use | Complex; steeper learning curve | Easier to configure and manage |
| Default distros | RHEL, CentOS, Fedora | Ubuntu, Debian, SUSE |
| Tooling | Rich toolset, such as audit2allow, semanage, and sestatus | Simpler toolset; profiles managed via flat files |
When to choose SELinux vs AppArmor?
- Pick SELinux for fine-grained, enterprise-grade security with detailed policy control – especially in environments that require compliance, strict isolation, or MLS/MCS, such as government, military, or large-scale enterprise systems running RHEL or CentOS.
- Go with AppArmor if you want a simpler, faster setup with easier profile management. It’s ideal for development environments, cloud-based deployments, or Ubuntu/Debian systems where usability and flexibility matter more than strict policy enforcement.
What are the benefits of using SELinux?
The benefits of using SELinux are listed below:
- Stronger system security – by implementing MAC, SELinux ensures that processes and users can access only the resources explicitly permitted by policy.
- Granular access control – with its label-based system, SELinux lets administrators define fine-grained access permissions for files, processes, and other system resources.
- Improved compliance – SELinux helps meet regulatory compliance requirements, such as PCI-DSS and HIPAA, by enforcing strict access controls and maintaining detailed audit logs.
- Containment of compromised services – even if a service is compromised, SELinux limits potential damage by restricting the service’s access to only what it truly needs.
- Detailed auditing and logging – SELinux provides comprehensive logging of access attempts and policy violations, making it easier to monitor, troubleshoot, and conduct forensic analysis.
- Flexible policy management – administrators can customize SELinux policies to meet specific organizational needs, supporting a wide range of operational requirements.
Conclusion
SELinux enforces strict access control on your Linux system through clearly defined policies and a label-based security model that assigns specific permissions to each process and resource based on context.
While configuration is a bit complex, the security benefits far outweigh the learning curve – especially in enterprise and VPS environments.
To further strengthen your system’s security, review active SELinux booleans with getsebool -a and enable only those relevant to your setup.
You can also pair SELinux with tools like firewalld for network-level protection or configure fail2ban to block brute-force SSH attacks.

Ariffud is a Technical Content Writer with an educational background in Informatics. He has extensive expertise in Linux and VPS, authoring over 200 articles on server management and web development. Follow him on LinkedIn.