How to run your own Hostinger API MCP server
Mar 10, 2026
/
Aris S. & Valentinas C.
/
5min read
Hostinger provides an application programming interface (API) that lets you interact programmatically with your hosting account and VPS. This enables you to integrate your account with external services.
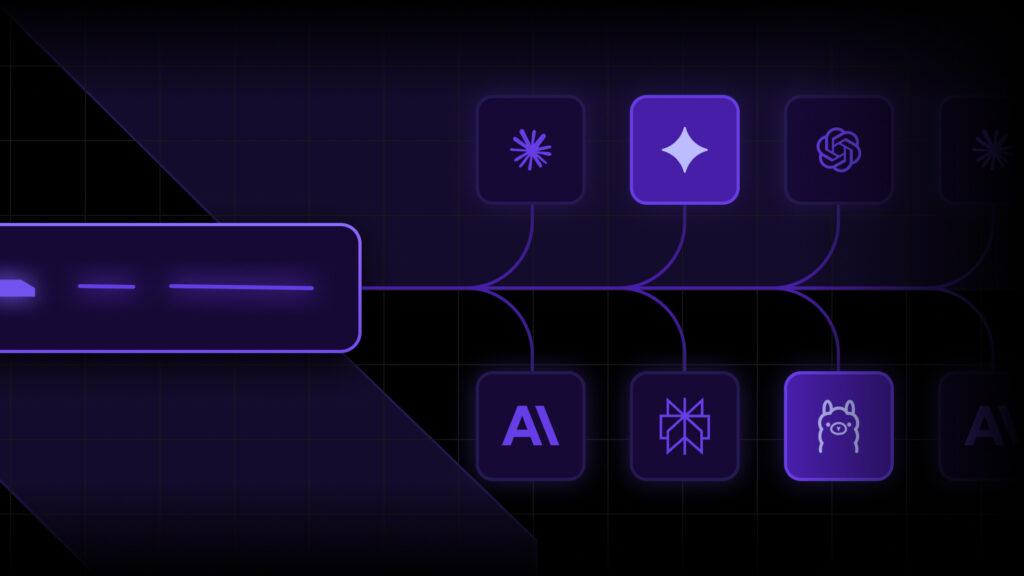
For example, you can create a Model Context Protocol (MCP) server and connect the Hostinger API to leverage AI in your hosting management tasks.
In this article, we’ll explain how to set up an MCP server and connect it with the Hostinger API. We’ll also go over the prerequisites to ensure a smooth configuration process.
What is an MCP server?
MCP is a communication protocol that provides AI agents with a standardized way to integrate and exchange data with various external tools or services.
Meanwhile, an MCP server is an entity that provides tools, prompts, or data resources to the AI agents via the MCP. In a real-world scenario, it gives applications like Cursor access to information from other sources, like your email inbox.
Setting up an MCP server can allow the Hostinger API to provide tools for your AI agent. This enables the AI agent to access your hosting account and perform tasks like fetching information or managing services.
Did you know?
Kodee, Hostinger's AI assistant, is powered with MCP. This enables it to handle various tasks beyond traditional chatbots, including managing WordPress site through MCP and various aspects of your VPS like firewall, SSH keys, or snapshots, all through chat.
Prerequisites
To set up the MCP server at Hostinger, you only need to create an account in hPanel. You will use this account to generate the Hostinger API key, which we will explain how to do later.
Then, install the AI agent you want to connect to the MCP server on your local system. The tool will differ depending on what you want to achieve with the integration. For this tutorial, we will use Claude Desktop.
Important! Make sure the AI agent you want to integrate with your Hostinger API supports MCP. Check the tool’s documentation to learn more about its compatibility.
Setting up a Hostinger API MCP server
Here are the steps to set up a Hostinger API MCP server. We’ll explain how to configure it on a local computer running macOS, Linux, or Windows.
1. Install Node.js and the MCP server CLI
Node.js is an important component that enables the MCP server’s functionality. Depending on the operating system, the steps to install it vary. For Linux and macOS, here’s how to do it:
- Open your system terminal.
- Run the following command to configure the Node Version Manager (NVM), a tool that lets you install and use different versions of Node.js:
curl -o- https://raw.githubusercontent.com/nvm-sh/nvm/v0.39.7/install.sh | bash
- Reload your system’s shell to ensure we can run NVM:
source ~/.bashrc
- Install Node.js via NVM. Note that MCP needs Node.js version 20 or later:
nvm install 20
- Set Node.js version 20 as the default for your system using the following command:
nvm use 20
If you’re on Windows, the easiest way to install Node.js is by using the installer package. Download it from the official Node.js page and run the configuration wizard.
After installing Node.js, configure the MCP server CLI application on your computer. Here’s how to install it using NPM, regardless of the operating system you use:
npm install -g hostinger-api-mcp
2. Generate a Hostinger API token
An API token enables your Hostinger account to integrate with and authorize your MCP server. Here’s how to generate it:
- On hPanel, click your Profile icon and select Account Information.

- Navigate to the sidebar and select API.
- Click Generate token or New token.
- Enter your token name and select an expiration date. Click Generate.
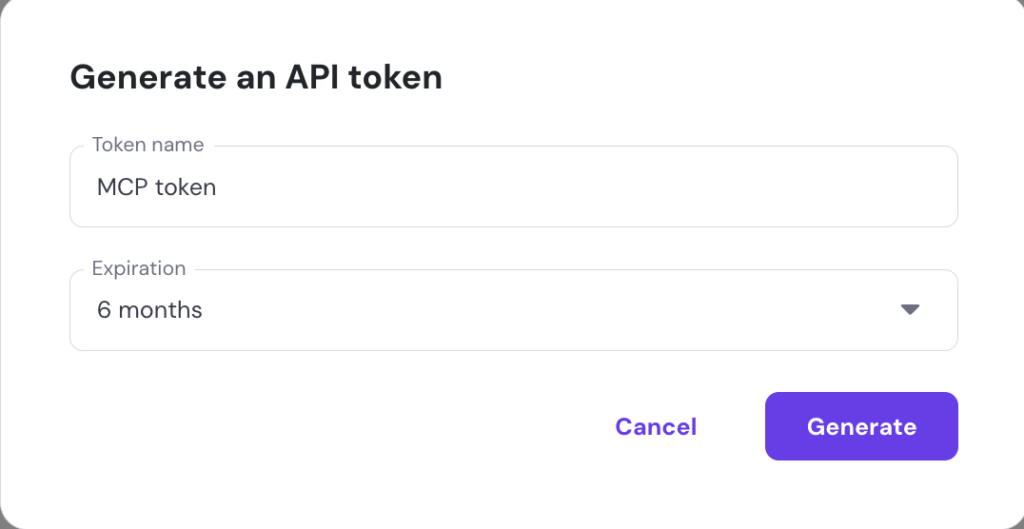
- Copy your API token and store it in a safe location. Remember, you won’t be able to access it again after closing the API menu.
Important! Avoid choosing an overly long expiration date for your API key because it can expose your Hostinger account to security risks in the long term. A short token lifetime requires you to update it periodically.
You should test a token’s availability and reachability after creating it. To do this, run the cURL command provided at the bottom of your API key generation page.
If the test is successful, you’ll see information about your hosting account in the terminal.

3. Set up AI agent Integration
Once the Hostinger MCP server is set, you’ll need to connect it to your AI agent. The steps will differ depending on your AI tool. In this tutorial, we’ll show you how to do it on Claude Desktop:
- Download Claude Desktop and log in to your Anthropic account.
- Navigate to the menu bar → Claude → Settings. If you’re on Windows, go to the burger icon at the top left menu → File → Settings.

- Click the Developer tab and click Edit Config.
- You will see the claude_desktop_config.json file in your file explorer. Open it using a text editor.
- Add the following configuration. Replace YOUR API TOKEN with the Hostinger API key you created earlier, which Claude will send in its authorization header:
{
  "mcpServers": {
    "hostinger-api": {
      "command": "hostinger-api-mcp",
      "env": {
        "DEBUG": "false",
        "APITOKEN": "YOUR API TOKEN"
      }
    }
  }
}- Save the JSON file and restart Claude Desktop. If you go to the Developer menu, you should see your Hostinger API listed as running.

4. Test the MCP and API connection
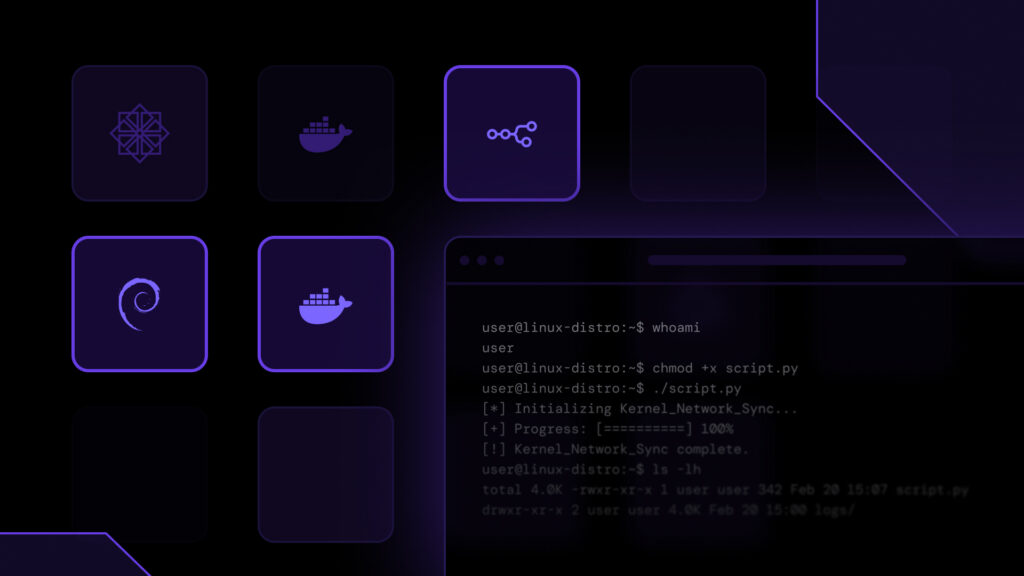
Once the MCP server deployment is completed, test the API by requesting information from your AI agents. Hostinger API can manage various aspects of your hosting account, including:
- Domain names – enables you to register a domain, list the previously purchased ones, query WHOIS information, and manage forwarding data.
- DNS – lets you update, delete, validate, and reset DNS records for your domains. Also, you can create, check, and restore DNS snapshots.
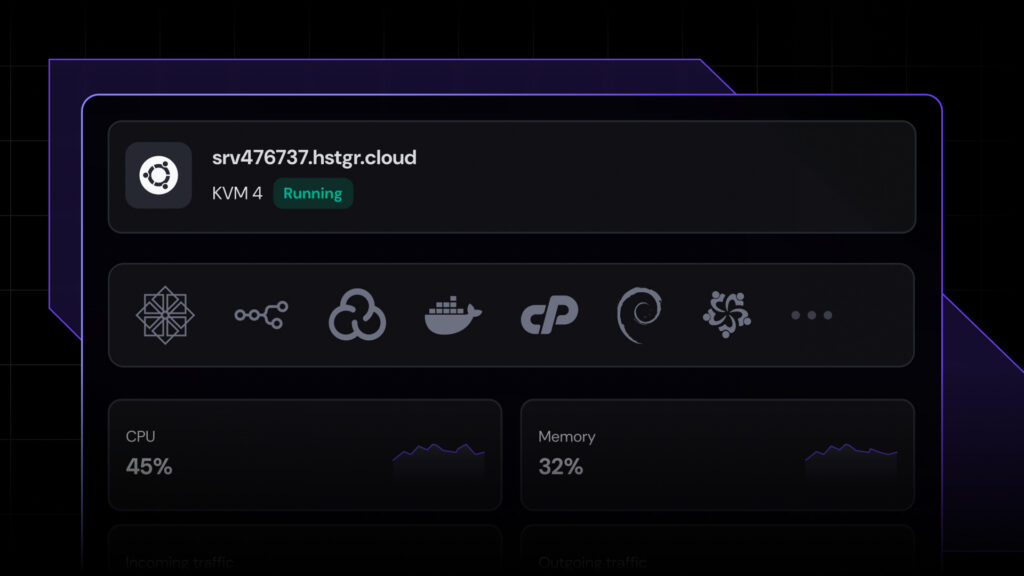
- VPS – allows you to manage all aspects of your server, including purchasing a new VPS plan, recovering data from a backup, listing data center locations, summarizing Monarx malware scanner reports, changing credentials, installing OS templates, and more.
- Account and ordering – streamlines account management and the purchase process. For example, you can check available products to buy, place an order, and change the default account payment method.

Checking the MCP API server functionality is as simple as asking the AI agent to check or manage your hosting account. For example, you can use prompts such as:
What’s the uptime of my newest VPS?
Check the hardware usage of my newest VPS.
Your AI agent will query the API and provide the appropriate information. Receiving a reply means the MCP API server works properly.

Conclusion
MCP enables seamless integration between various tools and AI agents like Claude Desktop. Connecting it with the Hostinger API enables you to manage different aspects of your hosting account using AI prompts, making the process more efficient and streamlined.
Here’s how to set up an MCP server with the Hostinger API:
- Install Node.js and the Hostinger MCP server CLI on your computer.
- Generate a Hostinger API key from your account management page in hPanel.
- Set up your AI agent by adding the API token to its configuration file.
- Test the MCP and API connection by asking your AI agent to perform a task.
That’s it! Once the integration is complete, you can start using the AI agent to manage your hosting account, whether it is purchasing a domain, changing the default payment method, or checking your VPS uptime.
How to run the Hostinger API MCP server FAQ
What is MCP?
The Model Context Protocol (MCP) is a standardized connection method that enables AI agents to connect and exchange data with various external services. It streamlines integration by eliminating the need to write different functions for multiple services and LLMs.
For example, you can connect Gmail with Claude Desktop via MCP to allow the AI tool to access your inbox.
Why should I use Hostinger API with my MCP server?
Connecting the Hostinger API to an MCP server lets you connect various AI tools to your hosting account. This integration allows you to automate tasks that would otherwise require direct interaction via the account management dashboard, saving time and effort. For example, integrating Claude Desktop lets you ask the AI agent to fetch information from your server for a quick monitoring check.
Do I need advanced technical skills to set up the MCP server with Hostinger API?
No, setting up an MCP server with Hostinger API only requires basic technical skills – the process is very straightforward. You only need to install Node.js and the MCP server CLI on your local computer. Then, configure your AI agent to connect to your Hostinger API.

Aris is a Content Writer specializing in Linux and WordPress development. He has a passion for networking, front-end web development, and server administration. By combining his IT and writing experience, Aris creates content that helps people easily understand complex technical topics to start their online journey. Follow him on LinkedIn.

Valentinas Čirba, Hostinger's Head of VPS, is a seasoned product leader specializing in VPS products with over ten years of experience. He's an expert at setting product strategy, leading cross-functional teams, and making smart decisions to deliver innovative solutions. Valentinas is committed to creating products that not only meet business objectives but also truly serve the customer. Follow him on LinkedIn.