WordPress Media Library: A complete guide to managing your site’s media
Mar 10, 2026
/
Aris S. & Ariffud M.
/
10 min Read
The WordPress Media Library is the built-in system for storing and managing images, videos, audio files, and documents on your site.
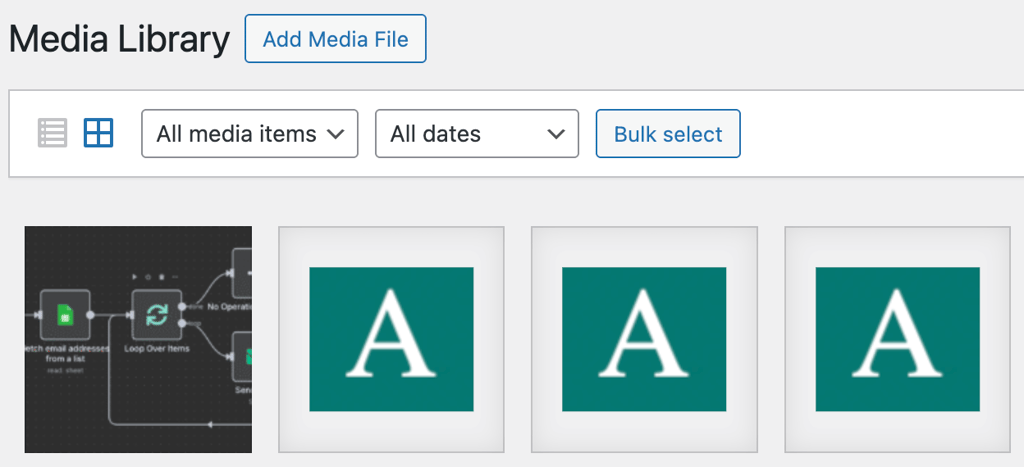
This media manager keeps your files organized and accessible from wp-admin under Media → Library, where you can view them in a grid or list format, browse and search.
The image library includes an editor for cropping photos to exact pixel dimensions, rotating images, and adding alt text or captions without re-uploading files.
For advanced organization, plugins like FileBird add folder structures similar to Windows Explorer, while Enhanced Media Library lets you filter files using custom categories and tags.
Upload limits vary by hosting environment – typically 2MB on shared hosting, higher on managed platforms. You can increase this limit through your php.ini file, .htaccess, or hosting control panel when you need to upload high-resolution photos or videos.
What is the WordPress Media Library?
The WordPress Media Library is a centralized repository that organizes all uploaded media files and displays them in a searchable interface within your WordPress dashboard.
In simpler terms, it’s the interface you use to view and edit files stored in your site’s wp-content/uploads folder.
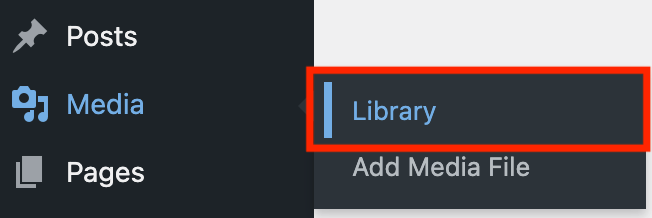
To access the Media Library, open your WordPress admin dashboard and go to Media → Library in the sidebar.
When you upload a file or add an image to WordPress, the platform creates an attachment post type in the database.
This record stores metadata such as alt text, upload date, and uploader details, and links it to the file saved on the server.
The library supports several media file types, each suited to a different content use case:
- Image formats. WordPress supports image files like .jpg, .jpeg, .png, .gif, .ico, and .webp. Most photos use JPG for smaller file sizes or WebP for even better compression. PNG works best for logos and graphics that need transparency, while ICO is specifically for favicons.
- Audio files. Podcasters and musicians can upload audio in formats such as .mp3, .m4a, .ogg, and .wav. WordPress plays these files using built-in HTML5 audio players, so you don’t need extra plugins.
- Video files. You can store videos in formats like .mp4, .m4v, .mov, .wmv, and .avi. That said, it’s better to host videos on platforms like YouTube or Vimeo and use the Media Library only for short clips or background videos.
- Documents. WordPress supports document formats including .pdf, .doc, .docx, .ppt, .pptx, .odt, .xls, and .xlsx. These work well for downloadable resources like white papers, case studies, and product specifications.
Next, let’s see how to upload files to the WordPress Media Library.
How to upload files to the WordPress Media Library via the dashboard
To upload media to WordPress, open the Media Library in your admin dashboard and choose the files you want to add. Follow these steps:
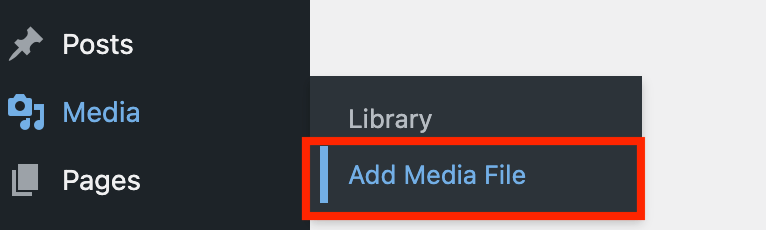
- Open your WordPress admin dashboard and go to Media → Add Media File.
- On the Upload New Media page, click Select Files. A file explorer window will open.
- Choose the file you want to upload. To select multiple files, hold Ctrl and click each one.
- Click Open and wait for the upload to finish.
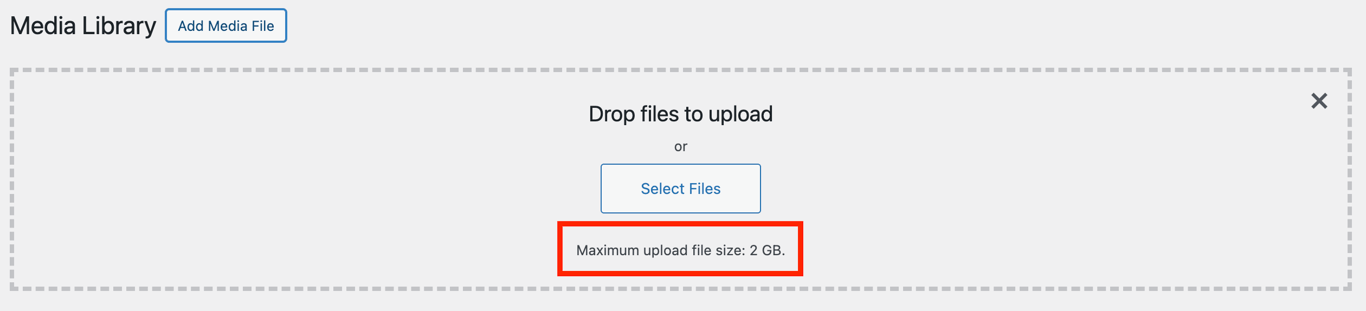
You can also upload files by dragging and dropping them. Open the Upload New Media page and your computer’s file explorer side by side. Then, drag the files into the Drop files to upload area.
Important The maximum file size you can upload to the WordPress Media Library depends on your hosting provider’s settings. On most Hostinger plans that limit is 2GB.
Uploading media from the dashboard comes in handy when you want to prepare assets in advance. If you’re adding files to WordPress while creating a post or page, it’s faster to upload files directly through the block editor instead.
How to upload files to the WordPress Media Library via the block editor
If you’re writing a post or page, the WordPress Gutenberg block editor lets you upload media without leaving the editor. This approach adds the file directly to your content and saves time.
First, open the post or page editor. Go to Posts → All Posts or Pages → All Pages in the WordPress admin sidebar, then click Edit on the item where you want to add media.
Once you’re in the editor, follow these steps:
- In the main editor area, click the + button to add a new block.
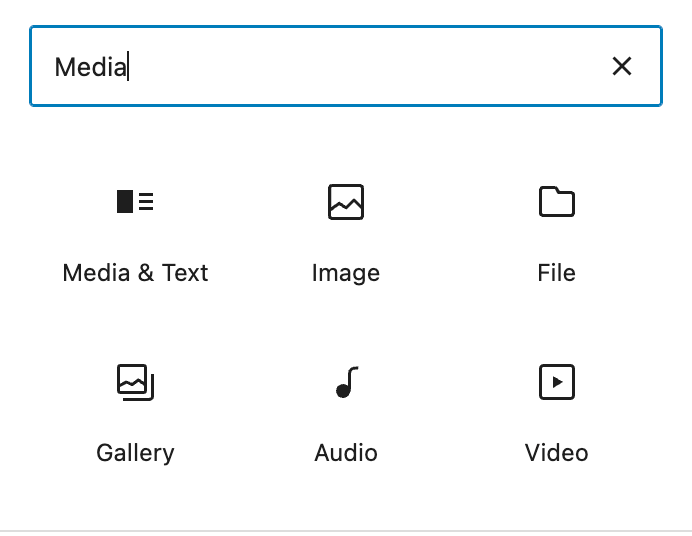
- Choose a Media block based on the file type you want to insert, such as Image, Audio, File, or Video.
- Click Upload.
- Select the file from your computer and click Open.
WordPress uploads the file to the Media Library and inserts it into your post at the same time. As with the dashboard method, you can also drag and drop a file directly into the Media block.
Keep in mind that some Media blocks don’t support bulk uploads. For example, the Image block allows only one image, while the Gallery block lets you upload multiple files at once.
How to edit images in the WordPress Media Library
The WordPress Media Library includes a built-in image editor that lets you crop, rotate, and resize images directly from the dashboard.
Cropping, rotating, and resizing images
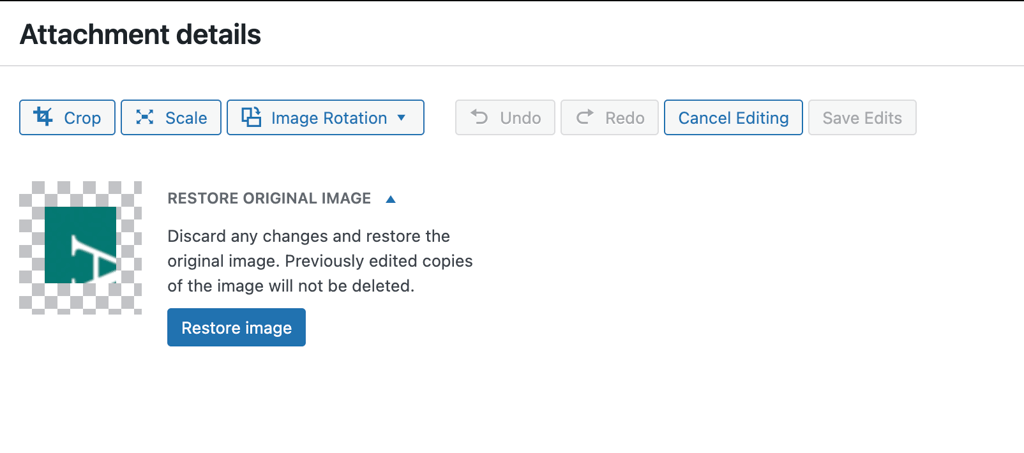
To edit an image, open the Media Library by going to Media → Library in the WordPress admin sidebar. Select the image you want to change, then click Edit image to open the editor.
In the editing screen, use the buttons at the top to crop, scale, or rotate the image. You can also undo, redo, or discard your changes at any time.
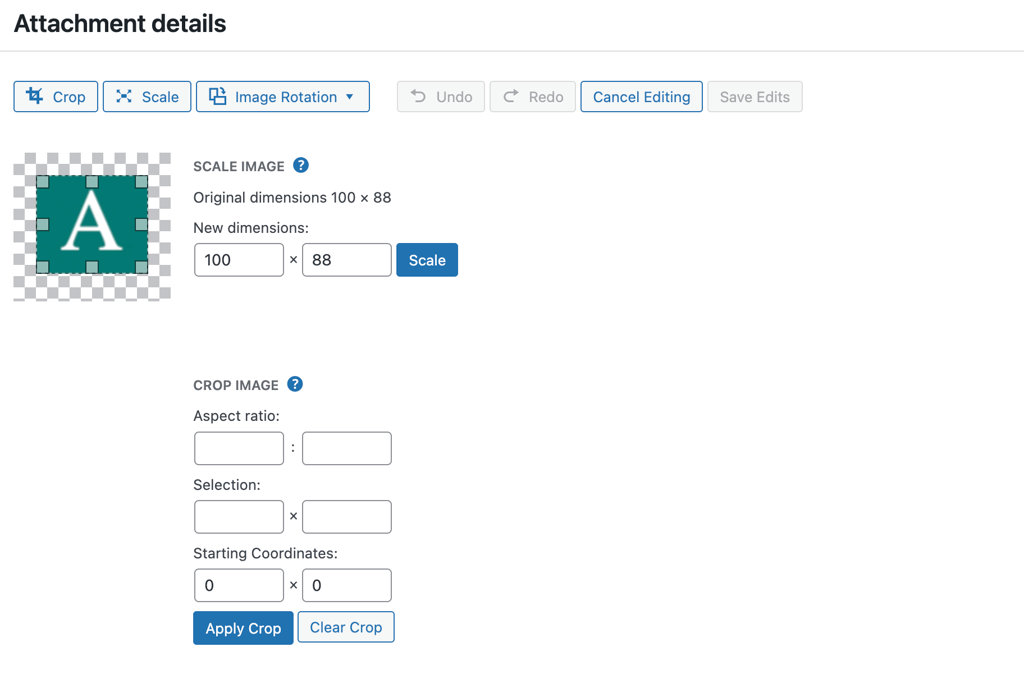
When you’re finished, click Apply and Save Edits. WordPress updates the image used on your site, but it keeps the original file. If you need it later, you can restore the original by clicking Restore Image in the editor.
If you’re working inside a post or page, you can also edit images directly from the Image block. Click the image, then use the toolbar or the block settings panel in the right sidebar to make adjustments.
Adding captions and alternative text
Adding captions and alt text to images helps improve search engine optimization (SEO) and accessibility.
Alt text improves accessibility and search visibility, while captions provide context that can support overall page relevance.
Both are important for accessibility because they describe images to screen readers, which helps visually impaired users understand your content.
To add captions and alt text, open the image from the Media Library. In the Attachment Details panel on the right, enter the caption and alt text in their respective fields. WordPress saves these details automatically.
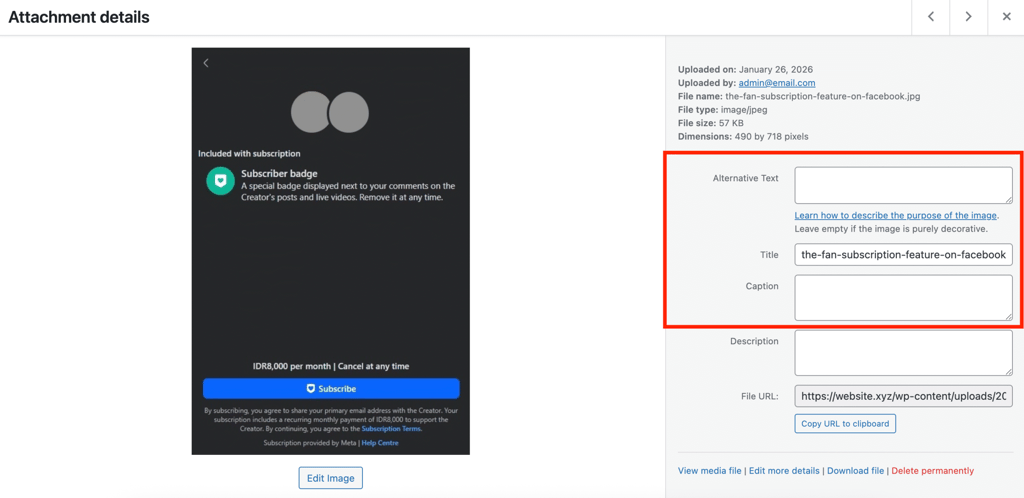
🖼️ Saving image alt text and captions
When you insert an image into a post or page, WordPress automatically loads its alt text and caption. These details are stored as image metadata, so they stay attached to the file wherever you use it.
If you upload an image using the Image block in the block editor, you can add alt text from the block settings panel in the right sidebar. Captions, however, still need to be added through the Media Library.

Replacing media without breaking links
Replacing files in the WordPress Media Library can cause broken links and 404 errors, if you don’t do it properly.
For example, if you delete logo.png and upload a new file with the same name, WordPress assigns it a new database ID. Any post linked to the old file may lose its connection or attachment settings.
To avoid this issue, use a plugin like Enable Media Replace. Here’s how:
- Open your WordPress admin dashboard, then install and activate the plugin.
- Go to Media → Library.
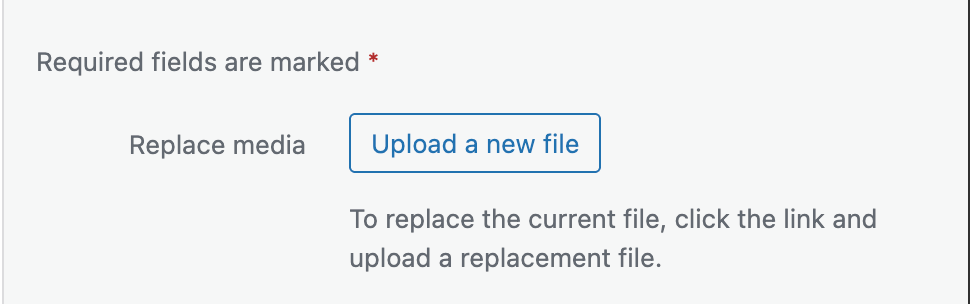
- Select the file to open the Attachment Details panel.
- In the right sidebar, find Replace media and click Upload a new file.
- Drag and drop the replacement image into the upload area.
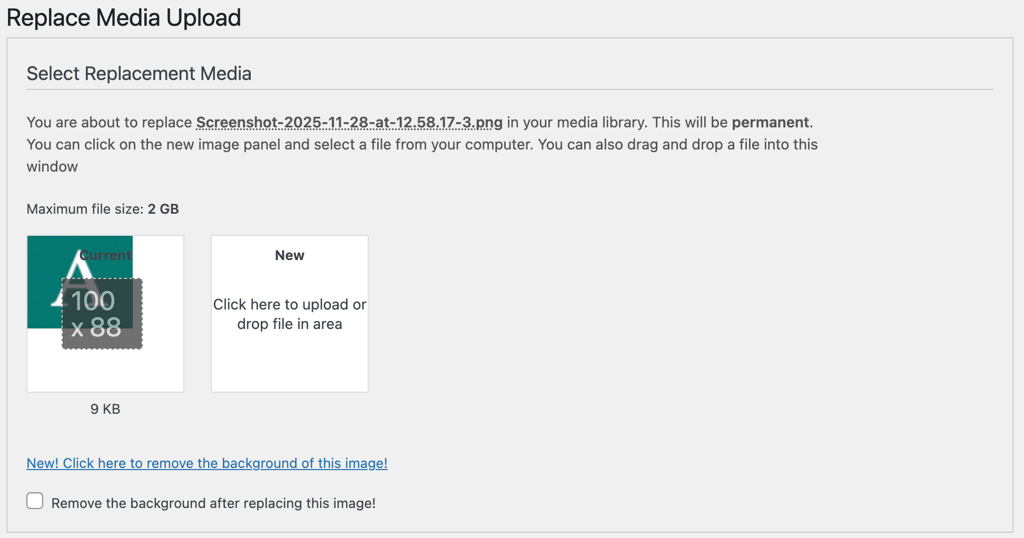
- Scroll down and click Upload.
This method updates every instance of the file across your site, even if it appears in hundreds of posts.
How to organize media files efficiently
Keeping your WordPress Media Library organized helps maintain a smooth workflow, especially as your site grows and starts using thousands of media files. Below are practical ways to stay organized.
List view vs. gallery view
The WordPress Media Library offers two display modes: list view and gallery view. Knowing when to use each one makes it easier to find and manage your files.
Gallery view is the default option. It displays media in a grid with large thumbnails that you can scroll through continuously. This view works best when you want to visually scan assets and quickly spot a specific image.
That said, gallery view can be resource-heavy because it loads many files at once. In larger libraries, this may slow things down.
List view displays files in a table format. It shows useful details like the author, upload date, and the posts or pages where each file appears. It also includes checkboxes and quick actions that make bulk management easier.
Because list view uses pagination, it loads faster than gallery view. However, browsing a large collection can feel slower since you need to move between pages.
In practice, you’ll likely switch between both views depending on the task. You can toggle between them using the icons at the top of the Media Library.
Enable media categories and tags with a plugin
Adding categories and tags to your media files makes them easier to find, even when you can’t remember the file name. It works much like grouping files into folders for better organization.
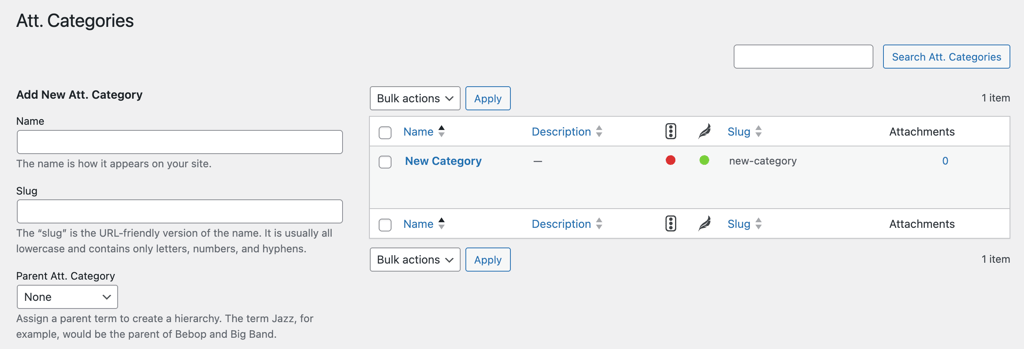
By default, WordPress doesn’t support folders, categories, or tags for media. To add this functionality, you’ll need a plugin such as Enhanced Media Library.
This plugin lets you create and manage media categories or tags from a simple dashboard. These labels also act as filters, which helps you narrow down files faster.
You can assign categories or tags from the Attachment Details panel, though bulk editing isn’t supported.
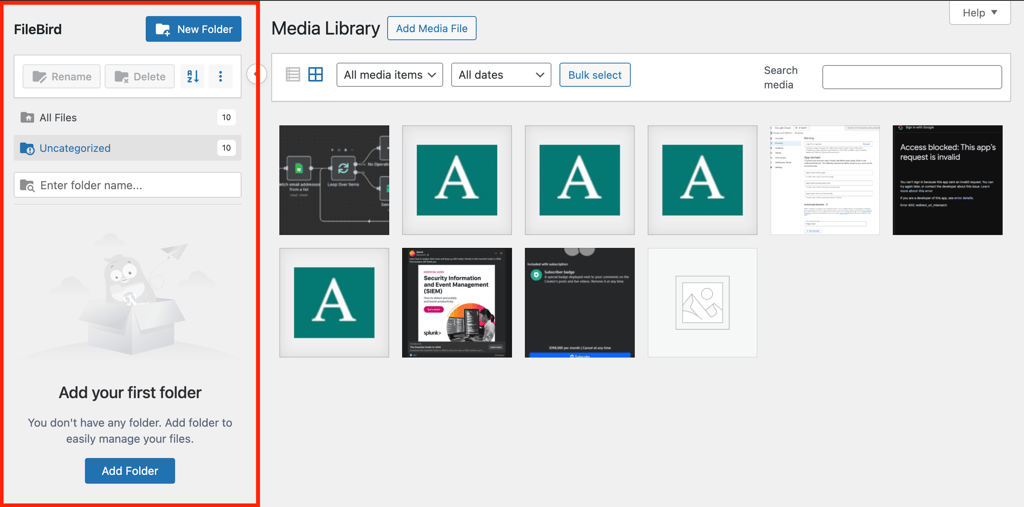
If you prefer a folder-based approach with a more visual interface, FileBird is a better fit. It adds a file explorer-style menu to the Media Library, where you can create folders and move files around just like on your computer.
Bulk actions
Use the WordPress Media Library’s bulk selection features to manage multiple files at once.
In gallery view, click Bulk Select at the top of the screen, then choose the images you want to manage. By default, WordPress only lets you permanently delete files in this view.
In list view, select the checkboxes next to the files, choose an option from the Bulk actions menu, and click Apply. You can select all items quickly by clicking the checkbox in the first row of the table.
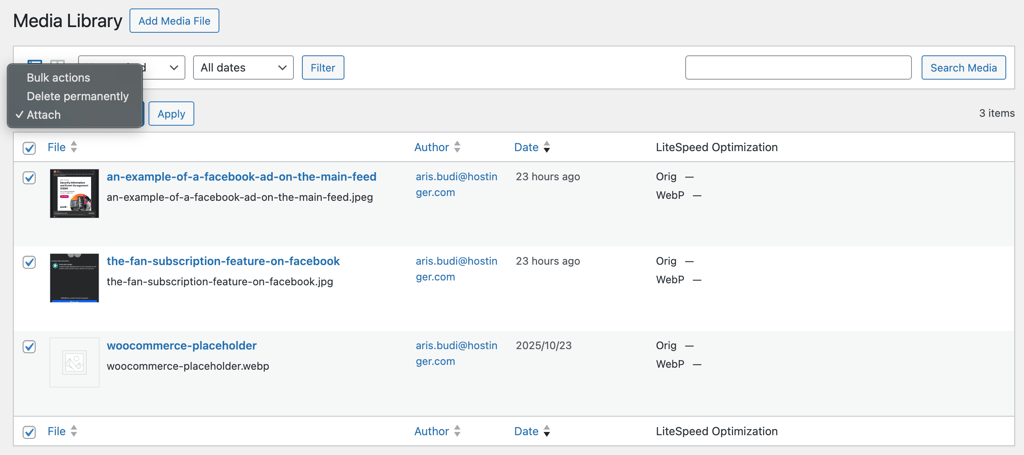
Besides permanent deletion, list view also lets you attach multiple images to a post or page at once. This option appears only when you select unattached files.
Name files clearly
Clear file names make it easier to find specific assets in a large Media Library. They also help search engines understand your page content, which can improve visibility and rankings.
Follow these best practices when naming files:
- Use hyphens. Avoid spaces, since browsers convert them into %20, which makes URLs harder to read. For example, use green-apple.jpeg instead of green apple.jpeg.
- Use lowercase letters. Many servers are case-sensitive, so Image.jpg and image.jpg count as different files. Stick to lowercase to avoid confusion.
- Be descriptive. Use clear, keyword-based names so files are easy to recognize. For example, content-team-photo-2026.png works better than img1.png.
- Keep names short. Long file names are harder to scan and manage. Aim for 30 to 50 characters when possible.
- Avoid special characters. Stick to letters, numbers, and hyphens. Special characters can break URLs and make files harder to locate.
Try to follow these rules every time you upload a file. Consistent naming is one of the easiest ways to keep your Media Library organized and searchable.
How to fix common WordPress Media Library issues
Media Library issues can show up when you upload, manage, or use files in WordPress. Below are some common problems and how to fix them.
Missing Upload button
Sometimes, the Upload button may be missing from the WordPress Media Library or a Media block.
This usually happens when your user role doesn’t allow media uploads. Administrators, Editors, and Authors can upload files, but Contributors and Subscribers can’t.
If you don’t have the right permissions, WordPress hides the Upload button.
Check your assigned role to confirm whether you’re allowed to upload media. If your role is incorrect, contact the site administrator to update it.
A missing Upload button can also come from a plugin conflict. To troubleshoot, check your browser’s console for errors or temporarily deactivate recently installed plugins to find the cause.
Permission errors
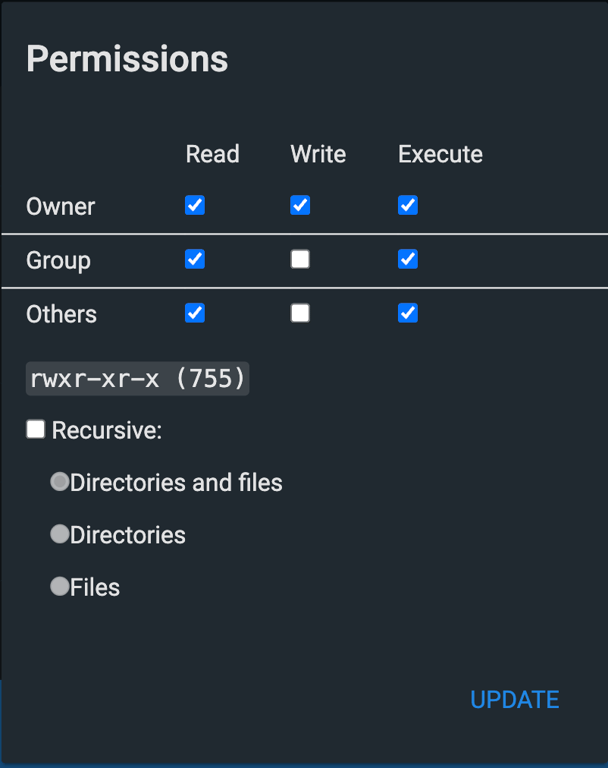
If you can’t upload files to the WordPress Media Library, the issue may be incorrect folder permissions. The wp-content/uploads/ folder should use the 755 permission.
The key number here is 7, which allows WordPress to read, write, and execute files in the folder. Without write access, WordPress can’t upload or modify any files.
🔢 The numbers, Mason, what do they mean?
Check out our tutorial on the chmod command and Linux permissions to learn what 755 means and how to fine-tune permissions.
You should also set all files inside the uploads folder to 644. This allows WordPress and the web server to read and manage media files without security risks.
Here’s how to update permissions using Hostinger File Manager. If you’re using a different hosting panel or an FTP client, the steps may look slightly different, but the process is similar:
- Open hPanel and go to Websites → Websites list.
- Find your WordPress site and click Tools → File Manager.

- Select Access files of yourwebsite.com.
- Navigate to public_html/wp-content.
- Right-click the uploads folder and choose File Permissions.
- Set the numeric value to 755 and make sure Recursive is unchecked.
- Click Update.
- Repeat these steps for files inside the uploads folder, but set their permissions to 644.
Media not displaying on site
Missing media files usually show up as broken icons on the front end. This issue often happens for a few common reasons:
- Theme limitations. Some WordPress themes don’t display media unless you add it in a specific way. For example, a theme may require images to be set as featured images instead of added through blocks, or it may expect specific image dimensions.
- Hotlink protection. If you use a content delivery network (CDN) like Cloudflare, hotlink protection can block images from loading. This feature stops other sites from using your images, but strict settings can also affect your own pages.
- Incorrect file paths. WordPress stores media URLs in the database. If you recently changed your site’s address, such as switching domains or enabling HTTPS, some file paths may no longer match.
Once you identify the cause, try these fixes:
- Switch themes. Check your theme’s documentation to confirm how it handles media. If the theme doesn’t support your use case, consider switching to one that does.
- Adjust hotlink protection. Update your CDN settings to allow your site to load its own media files. If you’re unsure how to do this, contact your CDN or hosting provider.
- Update file paths. Make sure media URLs match your current site address. You can update them manually or use a plugin like Better Search Replace.
After making changes, clear both your site cache and browser cache. Cached data can cause images to appear broken even after you fix the issue.
Large file upload limits
When you upload large files, you may run into size limits. These limits usually range from a few megabytes to 2 GB, and WordPress shows the exact limit in the Media Library upload screen.
If a file exceeds the limit, WordPress displays an error saying the upload is too large. While your hosting provider sets this limit, you can often increase it using one of these methods:
- Use a plugin. Plugins like Big File Uploads let you raise the upload limit through a simple dashboard. This option is the easiest for most users.
- Edit the .htaccess file. If you’re on managed WordPress hosting and don’t want to install a plugin, you can add PHP values to your .htaccess file. This method works best on Apache servers when you don’t have root access.
- Edit the php.ini file. If you have root access, updating values in the php.ini file gives you full control over upload limits. This approach is reliable and works across server setups.
For step-by-step instructions, check our tutorial on how to increase the maximum file upload size in WordPress.
How to optimize WordPress media files
Optimizing media files helps keep your WordPress site fast and improves search rankings. As your library grows, poor media management can slow things down.
Uploading raw, full-resolution images straight from a camera or stock site is one of the quickest ways to hurt site performance.
Large files use more storage and bandwidth, which leads to slower page loads. That frustrates visitors and can impact Google rankings.
To avoid this, compress files before uploading them. Compression reduces file size while keeping image quality intact.
You should also choose the right file format for each use case. For example, icons work best as ICO files because they support transparency and stay sharp at small sizes. JPEG files don’t offer the same results.
Organizing and optimizing your Media Library is just one part of improving site speed. For a deeper, step-by-step approach, check out our complete guide on how to optimize images in WordPress.
All of the tutorial content on this website is subject to Hostinger's rigorous editorial standards and values.

Aris is a Content Writer specializing in Linux and WordPress development. He has a passion for networking, front-end web development, and server administration. By combining his IT and writing experience, Aris creates content that helps people easily understand complex technical topics to start their online journey. Follow him on LinkedIn.

Ariffud is a Technical Content Writer with an educational background in Informatics. He has extensive expertise in Linux and VPS, authoring over 200 articles on server management and web development. Follow him on LinkedIn.