How to build autonomous agent workflows with OpenClaw
Apr 23, 2026
/
Domantas P.
/
7 min Read
To build autonomous agent workflows with OpenClaw, define the agent’s goal, map the workflow logic, deploy the environment, connect tools, and test execution before running it live. These workflows allow an AI agent to read input, decide actions, use tools, and complete tasks end-to-end without manual intervention.
Instead of managing repetitive operations like lead triage, inbox sorting, support routing, or research collection step by step, the agent executes the entire workflow independently.
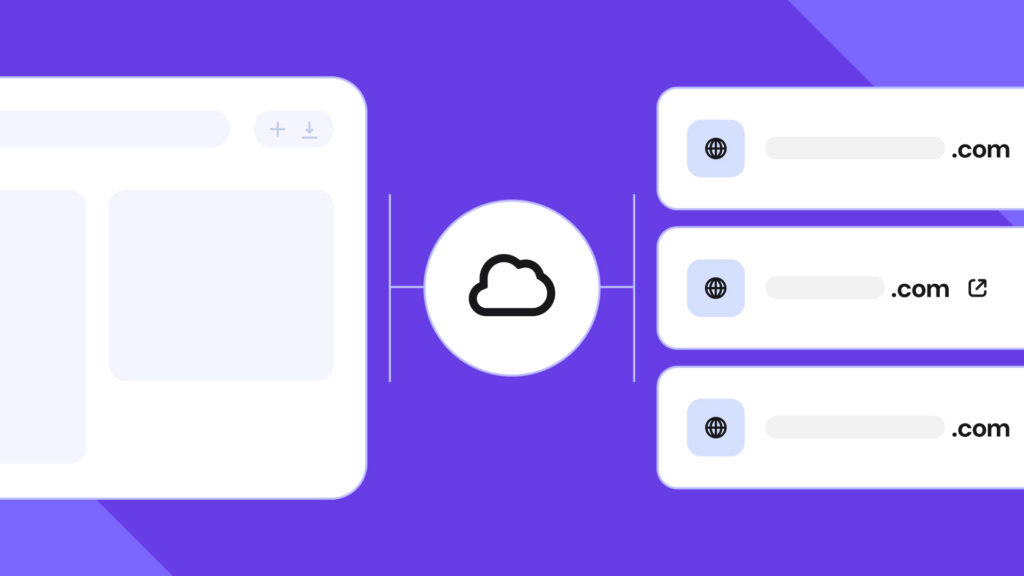
The main challenge has been setting up infrastructure, servers, Docker environments, API keys, model access, and webhook configuration. OpenClaw removes this barrier with 1-click deployment, built-in integrations for WhatsApp, Telegram, Slack, and Discord, and continuous 24/7 execution.
This guide walks through defining the agent, mapping the workflow, deploying OpenClaw, configuring instructions, and testing before going live.
1. Define the task your agent automates
Define a single, specific task your OpenClaw agent will complete from start to finish. An autonomous agent performs reliably when its scope is narrow because it follows a clear objective rather than guessing priorities during execution.
Use this structure to define the task:
This AI agent helps [AUDIENCE] do [TASK] so they can [OUTCOME].
For example:
This AI agent helps a solo consultant qualify inbound leads from Telegram so she can reply only to high-intent prospects.
Choose a task that already consumes time in your daily workflow. The agent should replace a repeatable process, not assist with a vague responsibility.
Here are four high-impact starting points:
- Lead qualification — The agent reads inbound messages, scores intent, tags contacts, and drafts replies. This reduces response time from hours to minutes and keeps CRM data structured.
- Support triage — The agent processes support tickets, answers common questions using documentation, and escalates complex issues. This decreases manual workload and improves resolution speed.
- Inbox sorting — The agent classifies incoming emails by priority and drafts responses for review. This removes repetitive sorting work and saves several hours per week.
- Research monitoring — The agent checks selected sources, summarizes updates, and sends briefings to Slack or email. This replaces daily manual checks with automated summaries.
Focus on one outcome per agent. Broad roles lead to inconsistent results because the agent must decide what matters on each run rather than executing a defined workflow.
2. Map the workflow from trigger to action
Map your autonomous agent workflow as a sequence of five stages: Trigger → Input → Processing → Action → Output. Define each stage clearly for your use case before building the agent, so every step leads to a concrete result.
Each stage represents a specific function in the workflow:
- Trigger — Define the event that starts the workflow.
Example: A new message arrives in a Telegram channel connected to OpenClaw. The agent runs only when this event occurs, which prevents unnecessary execution. - Input — Specify the data the agent receives.
Example: Message text, sender contact details, and form data. Structured input enables accurate decisions without follow-up questions. - Processing — Define how the agent evaluates the input.
Example: The agent extracts company size, identifies budget signals, and scores the lead against predefined criteria. This stage handles reasoning without executing actions. - Action — List the exact operations the agent performs.
Example: The agent creates a contact record, drafts a reply, and tags high-value leads. Each action must produce a measurable change in a system. - Output — Define the workflow’s final result.
Example: A completed CRM entry, a reply in Telegram, or a Slack notification. The workflow ends only when this result exists in the target system.
Mapping these stages before building prevents you from creating a reactive chatbot instead of an autonomous agent. An autonomous agent completes the Action and Output stages independently, without requiring manual follow-up.
3. Set up OpenClaw
Set up OpenClaw to run your agent by deploying the environment, connecting a messaging channel, and adding instructions. This step replaces manual infrastructure setup with a managed configuration.
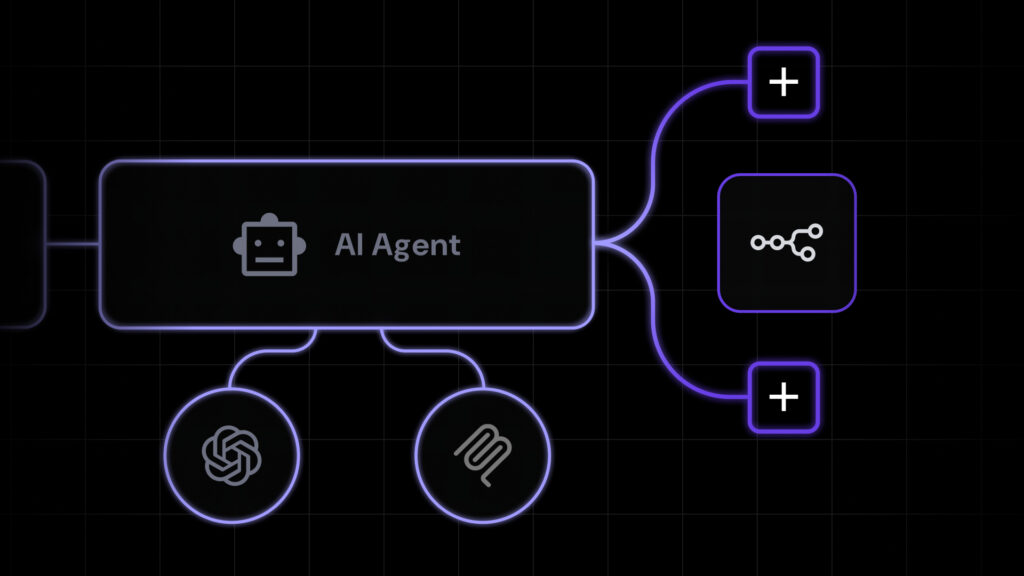
Start by choosing 1-click OpenClaw on Hostinger. The managed plan handles infrastructure, updates, security, and backups, so you don’t need to manually configure servers, Docker, API keys, or model access. AI models like Claude, GPT, and Gemini are available through pre-configured credits.
Next, connect a messaging channel where the agent will receive inputs. Select WhatsApp, Telegram, Slack, or Discord from hPanel. For Telegram, create and link a bot through BotFather. For WhatsApp, connect your account by scanning a QR code. This channel acts as the trigger source for your workflow.
Then, add the agent’s instructions. Open the OpenClaw dashboard, paste your system instruction, and save it. The agent starts running as soon as the instruction is active.
OpenClaw runs continuously in an isolated environment, which keeps conversations, credentials, and workflow data private to your instance while ensuring the agent remains available without local setup.
4. Configure the agent with a clear system instruction
Write a precise system instruction that defines how the agent interprets input, makes decisions, and produces output. A vague instruction leads to inconsistent behavior because the agent fills gaps with assumptions.
A complete system instruction includes four components:
- Role — Define the agent’s purpose in one sentence using audience, task, and outcome.
Example: “You qualify inbound demo requests from Telegram and route high-intent leads to the sales queue.” - Input expectations — Specify what data the agent should identify in each message.
Example: “Each message includes a prospect name, company, and stated need. If any field is missing, ask one clarifying question before scoring.” - Output format — Define the exact structure that the workflow depends on.
Example: “Return a JSON object with fields: score, tag, reply_draft, and next_action.” - Boundaries — Limit what the agent is allowed to do.
Example: “Do not send emails. Do not promise meeting times. Escalate enterprise leads to @sara.”
Each component ensures the agent produces consistent results across runs instead of adapting unpredictably to different inputs.
Connect only the tools required for the task. For lead qualification, this typically includes a CRM lookup and a notification tool. Additional tools increase decision time because the agent must evaluate more options on each step.
Define fallback logic for uncertain cases. If the agent cannot determine key inputs (e.g., missing budget data or unclear intent), route the workflow to manual review rather than forcing a low-confidence decision.
5. Test the agent before going live
Test the agent with realistic inputs before sending it live. This step tests whether your instructions, tools, and output logic work as intended in real conditions.
Use this checklist to validate the workflow:
- Send a clean input — Use a real message you have already classified correctly. The agent should reach the same conclusion. If it does not, revise the system instruction.
- Send a messy input — Use a message with missing details or ambiguous intent. The agent should ask one clarifying question or route the case for review instead of making an unsupported decision.
- Send an edge case — Use a message the agent should refuse, ignore, or escalate, such as spam, off-topic requests, or unsupported scenarios. This test verifies whether the agent adheres to the boundaries you defined.
- Check the output destination — Confirm that the CRM record, Slack alert, or drafted reply appears in the correct system. A run is successful only when the expected output is created in the right place.
- Repeat the same input five times — Measure consistency, not just accuracy. If the agent produces different results from the same message, the instructions are too broad, or the workflow has too many variables.
Most failed tests point to one of three problems: the role is too broad, the output format is too loose, or the agent has access to unnecessary tools. Narrow the task, tighten the output, or remove extra tools, then test again before deployment.
How to choose the right trigger for this workflow
Choose a trigger that starts the workflow at the right moment and delivers relevant input to the agent. The trigger affects both the reliability of the workflow and the usefulness of the incoming data.
Use a webhook trigger to start the workflow immediately after an event, such as a form submission, a new message, or a system update. Webhooks support real-time execution and work best when speed matters.
Use a scheduled trigger for recurring tasks, such as daily summaries, routine checks, or batch analysis. Scheduled runs work best when the workflow depends on time-based intervals instead of user actions.
Use a manual trigger during setup and testing. Manual runs make debugging easier because they isolate variables and let you verify the workflow step by step before exposing it to live traffic.
The trigger payload matters as much as the trigger type. Complete, structured input gives the agent the context it needs to make a correct decision. Weak or incomplete payloads force the agent to fill in gaps, reducing accuracy and leading to inconsistent output.
What are common mistakes to avoid when setting up autonomous agent workflows?
Avoid common setup mistakes that reduce accuracy, slow execution, or break the workflow entirely. Each issue affects a different stage, so fixing one does not prevent failures in others.
- Assigning broad responsibilities to one agent — an agent who qualifies leads, handles support, and drafts emails — cannot prioritize correctly. It produces inconsistent decisions because each task requires different criteria. Split responsibilities into separate agents with one defined outcome.
- Connecting unnecessary tools — Extra tools increase decision complexity. An agent with many options takes longer to select actions and produces less reliable results. Connect only the tools required to complete the task.
- Writing vague system instructions — Instructions like “help users” do not define behavior. Missing details in role, input expectations, output format, or boundaries lead to inconsistent outputs. Every unclear sentence creates variation in results.
- Skipping fallback logic for low-confidence cases — When the agent cannot find required data, it guesses. This lowers accuracy. Add a condition that routes uncertain cases to human review instead of forcing a decision.
- Testing with synthetic data — Clean inputs do not reflect real conditions. Agents perform worse on noisy, incomplete, or ambiguous data. Use real messages from your inbox, CRM, or support queue during testing.
- Measuring only execution success — A workflow that runs without errors can still produce incorrect results. Evaluate outcome quality, such as lead scoring accuracy, reply relevance, or escalation rate.
- Running without timeouts or retries — External tools fail or delay responses. Without limits, the workflow can stall completely. Set retries (for example, 2 attempts) and a timeout (for example, 30 seconds) for each tool call.
How can you scale your OpenClaw workflow?
You can scale an OpenClaw workflow by improving decision accuracy, reducing complexity, and expanding through controlled components instead of adding more responsibility to a single agent. Scaling does not mean making one agent smarter; it means making the system more predictable.
Start by separating reasoning from execution. Let the agent interpret input and produce structured outputs, while deterministic steps handle critical actions such as database updates or message sending. This reduces variability in operations that require consistency.
Next, refine the system instruction. Clear roles, strict output formats, and defined boundaries remove ambiguity and improve consistency across runs. Small improvements in prompt clarity lead to more stable results at scale.
Then, introduce performance monitoring. Track metrics such as completion rate, error frequency, and escalation rate to evaluate real outcomes. These metrics show whether the workflow produces correct decisions, not just whether it runs.
Finally, expand through modular workflows. Add branches for different scenarios or create specialized agents for separate tasks instead of extending one agent’s scope. This keeps each workflow focused and easier to maintain.
OpenClaw supports this modular approach because each workflow can evolve independently without requiring a full rebuild.
All of the tutorial content on this website is subject to Hostinger's rigorous editorial standards and values.

Domantas is a Content SEO Specialist who focuses on researching, writing, and optimizing content for organic growth. He explores content opportunities through keyword, market, and audience research to create search-driven content that matches user intent. Domantas also manages content workflows and timelines, ensuring SEO content initiatives are delivered accurately and on schedule. Follow him on LinkedIn.