How to make Unturned server: set up your own dedicated game server
Mar 10, 2026
/
Paulius Z. & Valentinas C.
/
9 min Read

Unturned is a multiplayer survival game where players navigate through a zombie-infested world, crafting items, building shelters, and fighting zombies and other players for survival. Therefore, setting up your own server is a great idea to elevate your gaming experience.
This article will help you set up an Unturned server on a Linux virtual private server (VPS). Whether you’re a pro or new to internet hosting, our step-by-step instructions will simplify creating your own Unturned server.
Unturned server prerequisites
Before creating an Unturned game server, ensure you have these prerequisites to ensure a smooth and successful installation process:
- Operating system – Windows, Linux, or macOS. For this tutorial, we will focus on Linux for easy setup and enhanced efficiency.
- CPU – at least a quad-core processor.
- RAM – at least 4 GB or more if you wish to host more players.
- Storage – minimum 10 GB.
How to make an Unturned server
From choosing the best VPS provider to launching your own server, this section will guide you through creating an Unturned server hosting environment.
1. Choose a VPS provider
Selecting the suitable Linux VPS for your Unturned server ensures a stable and responsive gaming environment.
Hostinger’s game server hosting plans are an excellent choice for your Unturned server hosting needs. Supporting other popular games such as Minecraft, Counter-Strike 2, and Rust, these plans offer multiple benefits, including:
- High-performance hardware – our gaming VPS plans use Intel Xeon processors and SSD-based storage, ensuring a fast and reliable server performance.
- Multiple server locations – these ensure low latency for your players, optimizing the overall gaming experience.
- Customization and control – full root access allows you to tailor the server to your personal preferences.
- Affordable plans – starting at just $5.99/month, our plans are budget-friendly and easily scalable.
To get Hostinger’s gaming VPS, follow these steps:
- Visit our game server VPS page and choose a plan that best suits your server’s needs.
- Add a selected plan to the cart and complete the checkout process.
- After purchasing, navigate to VPS and click Setup. Name your server, set a password, and select your data center location.

2. Configure the Virtual Private Server
Configuring your VPS is a pivotal step in setting up a publicly accessible internet server for your Unturned game, enabling hosting of either private or public servers.
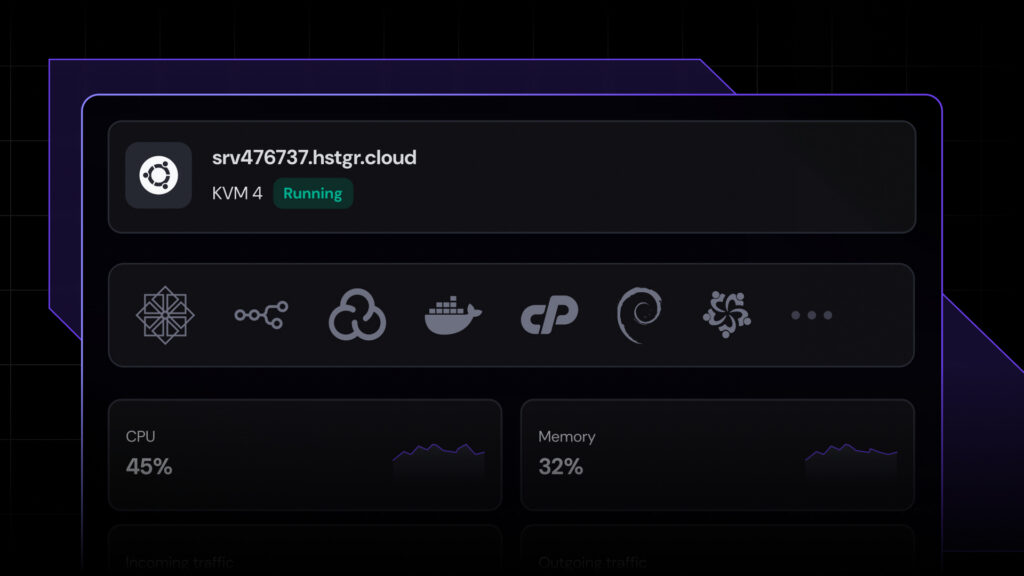
For Hostinger customers, it starts by logging into your Hostinger account. Navigate to the VPS overview page and check its status. It should be set to Running. If not, click Start VPS.
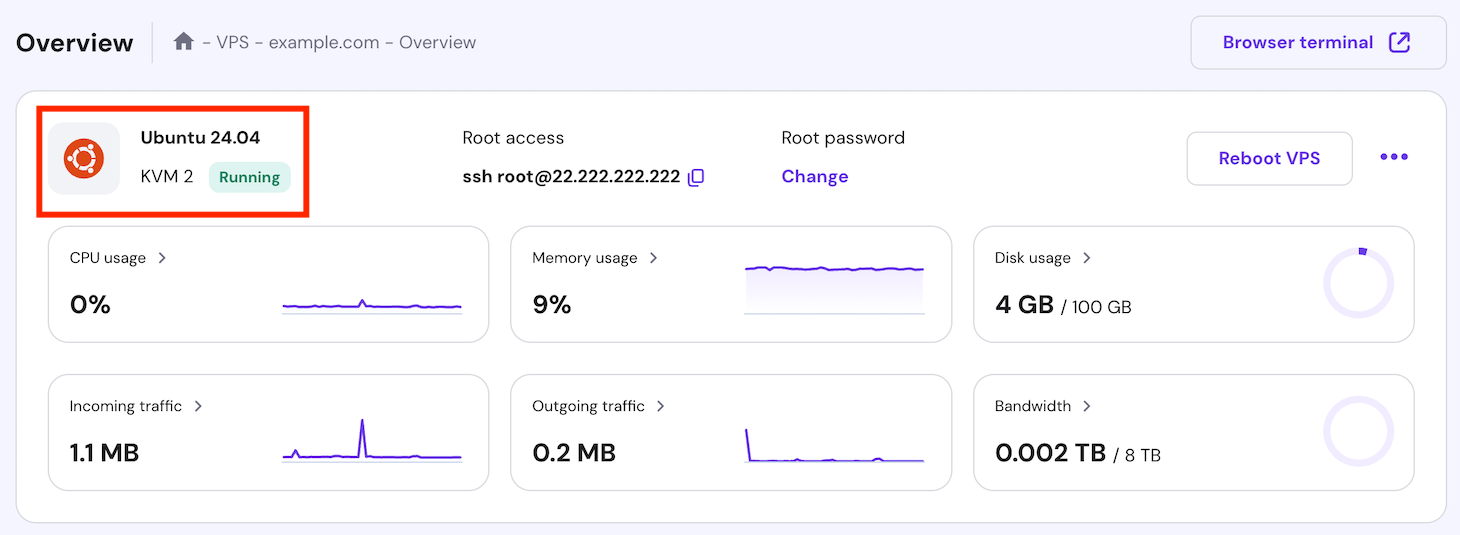
Next, scroll down to the VPS details section. Here, you’ll find the crucial details for accessing your server via SSH commands.
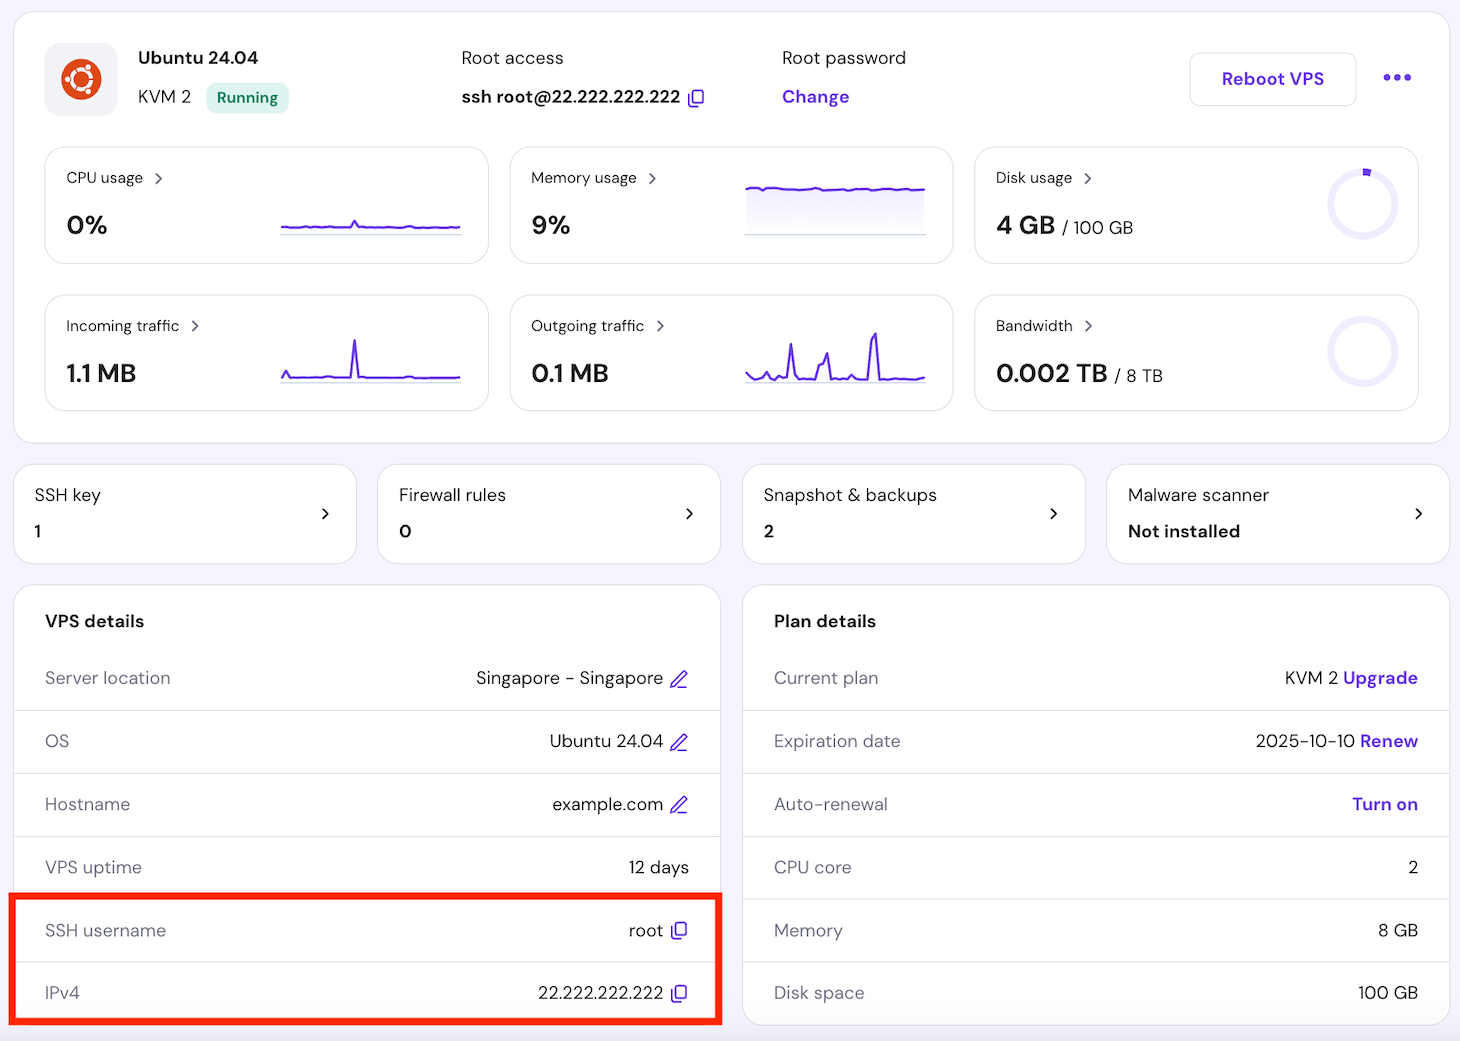
Once you’ve retrieved your credentials, log in to your server using an SSH client like PuTTY on your computer.
Then, update and upgrade your system for the latest features and security patches with the following Linux commands:
sudo apt-get update
sudo apt-get upgrade
If it’s your first time updating, add the i386 architecture to ensure compatibility with specific Unturned server dependencies:
sudo dpkg --add-architecture i386
Continue by installing the necessary libraries, each serving a specific purpose:
- screen – keeps processes running even after the terminal is closed.
- htop – an interactive process viewer for monitoring your server’s performance.
- unzip and wget – tools for downloading and extracting files.
- mono – a software platform needed to run .NET applications (such as Unturned) on Linux.
Execute the following commands sequentially:
sudo apt-get install screen htop unzip wget
sudo apt-get install build-essential gcc-multilib libstdc++6:i386 libgcc1:i386 libncurses5:i386 rpm zlib1g:i386
sudo apt-get install libmono2.0-cil mono-runtime
sudo apt-get install libc6:i386 libgl1-mesa-glx:i386 libXrandr2:i386 libXcursor1:i386
3. Create a Steam account
Creating a dedicated Steam account for your Unturned server management offers several benefits.
First, it keeps your personal gaming and server management activities separate, enhancing security and organization. Moreover, a dedicated account reduces the risk of compromising your personal game data and settings.
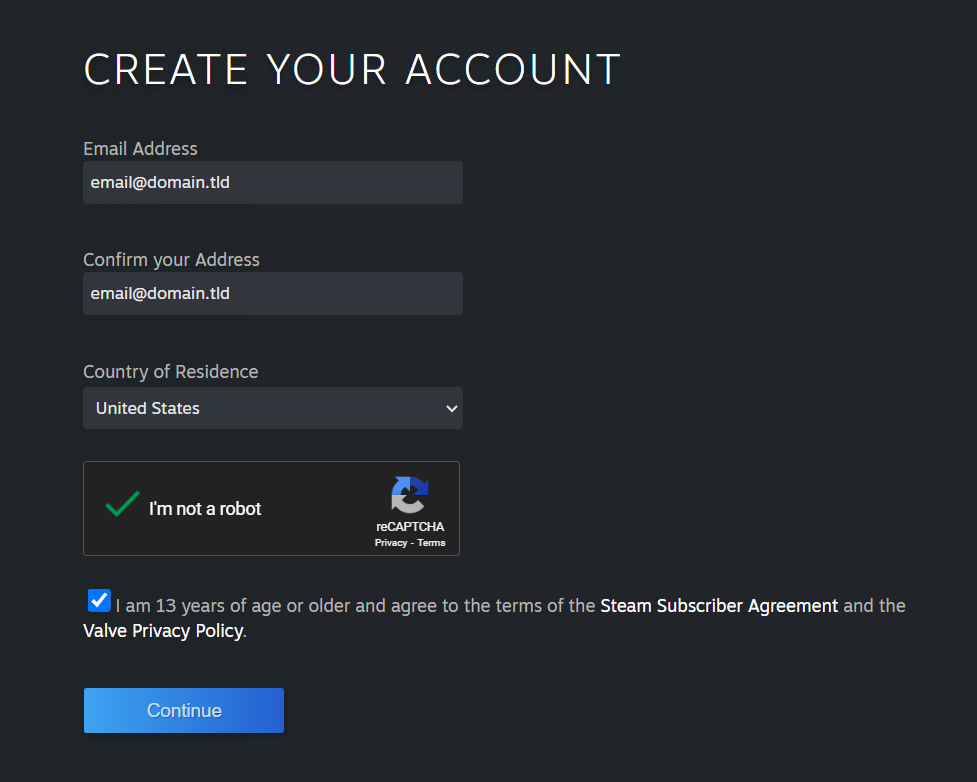
Create a new Steam account with these steps:
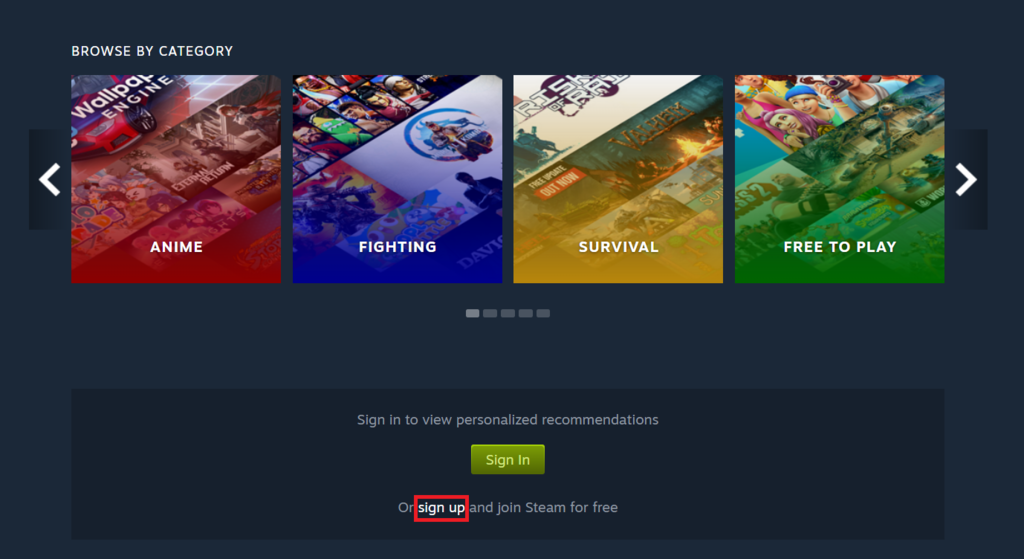
- Visit the Steam web page and click Sign Up to begin the account creation process.
- On the next page, enter your email address and country of residence.
- After submitting your details, Steam will send a verification email. Follow the instructions in the email to confirm your account.
- Once your account is verified, log in to set your username and password. Remember not to use the same password anywhere else for enhanced security.
4. Install SteamCMD and download Unturned server files
Before downloading the Unturned server files, it’s essential to install Wine and SteamCMD.
Wine is a compatibility layer for running Windows applications on Linux. SteamCMD is the command-line interface of the Steam client, used for installing and updating the Unturned dedicated server tool and other game server files.
Here are the steps:
- Install Wine by executing the following command:
sudo apt-get install wine
- Use the mkdir command to create a directory for SteamCMD. For example:
mkdir ~/steamcmd
- Download SteamCMD from the official source using:
wget https://steamcdn-a.akamaihd.net/client/installer/steamcmd_linux.tar.gz
- Once downloaded, extract the files with:
tar -xvzf steamcmd_linux.tar.gz
With Wine and SteamCMD ready, proceed to download the Unturned server files.
- First, create a directory for your Unturned server files by running:
mkdir ~/unturnedserver
- Then, run this Linux navigate command to access the SteamCMD directory:
cd ~/steamcmd
- Start SteamCMD by executing:
./steamcmd.sh
- In the SteamCMD interface, log in to your Steam account or use an anonymous login with this Unturned server command:
login anonymous
- Set the installation directory and download the Unturned server files:
force_install_dir ~/unturnedserver
app_update 1110390 validate
Suggested Reading
Wine is also crucial for installing other Steam-based game servers such as Enshrouded. Read our article if you're interested in configuring your own Enshrouded server.
5. Download and configure RocketLauncher
With your Unturned server files downloaded, the next step is to set up RocketLauncher. It is a server wrapper with additional functionality and customization options that enhance overall server management.
Follow the instructions below:
- Ensure you are in the directory where you installed SteamCMD. Then, use the following commands to download RocketLauncher:
cd ~/steamcmd
wget https://ci.rocketmod.net/job/Rocket.Unturned/lastSuccessfulBuild/artifact/Rocket.Unturned/bin/Release/Rocket.zip
- Once the download is complete, extract RocketLauncher and remove the .zip file:
unzip Rocket.zip && rm -rf Rocket.zip
- Move RocketLauncher and its scripts to the unturnedserver directory:
mv Scripts/Linux/RocketLauncher.exe ~/unturnedserver/
mv Scripts/Linux/*.sh ~/unturnedserver/
- If you’re planning to run a modded server with RocketMod, move the RocketMod files into the Modules directory of unturnedserver:
mv Modules/Rocket.Unturned/ ~/unturnedserver/Modules/
RocketMod offers a wide range of mods and plugins, including WorkshopDownloadConfig.json file, to enhance server customization and management.
During startup, the Map command searches this workshop file for specific mods and maps, automatically integrating them into the server.
6. Edit the update script
The next crucial step is to tailor the update.sh script for your Unturned server. Typically a batch script or a text document, this file automates updating the server files through SteamCMD.
To open the update script with the nano editor, run the following command:
nano ~/unturnedserver/update.sh
Here’s a basic outline of what you might find inside the update.sh file:
#!/bin/bash
# Navigate to SteamCMD directory
cd ~/steamcmd
# Log into Steam (use 'anonymous' or your dedicated account)
./steamcmd.sh +login [username] [password]
# Update/install Unturned
./steamcmd.sh +app_update 1110390 validate
# Exit SteamCMD
./steamcmd.sh +quit
Key points to edit within this script include:
- Steam login – replace [username] [password] with your dedicated Steam account credentials.
- Directory path – ensure the script correctly points to where SteamCMD is installed (in this case, ~/steamcmd).
- App update command – the +app_update 1110390 validate command is crucial, as it specifies the Unturned server’s app ID and checks for missing or corrupted files.
If you decide to input your Steam account credentials into the script, ensure the file permissions are set to restrict access.
Use the chmod command to set the permissions, allowing only the admin (you) to view or edit this file. Here’s an example:
chmod 700 ~/unturnedserver/update.sh
7. Configure the Firewall and port forwarding
After setting up your game server, configure the Firewall and set up port forwarding to ensure your server is accessible to players. This Unturned server troubleshooting step is critical for preventing and resolving connection issues.
Configure the Firewall
You’ll use UFW (Uncomplicated Firewall) to manage network traffic. First, enable UFW:
sudo ufw enable
Next, allow the default Unturned ports. The recommended port values for incoming connections are 27015 to 27017:
sudo ufw allow 27015:27017/tcp
sudo ufw allow 27015:27017/udp
If your server uses different ports (as specified in your server settings or Commands.dat file), replace 27015:27017 with your server’s port range.
Ask Kodee
Instead of using commands, Hostinger VPS users can ask our Kodee AI assistant to set up a new firewall rule on their server. For example, they can ask, "Set up a new firewall rule on my VPS that allows connection to port 27015 to 27017 TCP/UDP from any IP address."
Set up port forwarding
Port forwarding allows multiple devices to connect to your server through your router.
First, find your internal IP address by accessing Hostinger’s VPS dashboard or running ip addr in the SSH client.
Next, access your router’s settings via your web browser, typically by entering the router’s default gateway address.
Navigate to the Port Forwarding section and create a new rule as follows:
- Service Name – Unturned.
- Protocol – UDP (as Unturned primarily uses UDP).
- External Starting Port and Internal Starting Port – Your server’s starting port (e.g., 27015).
- External Ending Port and Internal Ending Port – Your server’s ending port (e.g., 27017).
- Internal IP Address – your VPS IP that hosts the Unturned server.
Finally, save and apply these changes.
8. Set configurations for the server
Now that you have set up the firewall and port forwarding, it’s time to configure your server. Proper Unturned server optimization is essential for bringing some quality-of-life changes.
You’ll find several .dat files to edit with a text editor in your Unturned server directory. These configuration files include Adminlist.dat, Blacklist.dat, Commands.dat, and Whitelist.dat.
Commands.dat File Configuration
The Commands.dat file allows you to set various server configurations as the Unturned server admin. To open Commands.dat, run:
nano ~/unturnedserver/Commands.dat
Here, you can modify various setup commands to configure your server, such as:
- Name [Server Name] – sets your server’s name.
- Password [Server Password] – establishes a password for private access.
- MaxPlayers [Number] – defines the maximum number of players allowed.
- Map [Map Name] – selects the map for your server. To use a player-created (for example, Steam Workshop) map, place the map files in the Workshop → Maps directory.
- Port [Port Number] – specifies your server’s port (default is 27015).
- Mode [Easy/Normal/Hard] – determines the difficulty mode.
- Owner [Steam 64 ID] – assigns the server owner, granting complete administrator commands.
- Perspective [First/Third/Both/Vehicle] – assigns the perspective of the server.
- PvE [True/False] – toggles between PvP and PvE modes.
- Bind [Internal IP] – binds your server to an internal or network adapter IP address.
- Cheats [True/False] – turn cheats on or off on the server. Only available for server administrators.
When editing these commands, ensure each is on a separate line to maintain clarity and prevent configuration errors.
Config.json file customization
The config.json file plays a crucial role in more advanced Unturned server customization. Located at {UNTURNED}Servers(Server name)config.json, this file allows for more detailed server configuration, including game rules and listing display.
When editing config.json, it’s crucial to adhere to the JSON format. Only edit the values after the colon (:) and within the quotation marks. Here are some elements you might encounter and modify:
Browser:
- Icon – path to an image file used as the server’s icon.
- Desc_Hint – a short description or hint that appears when hovering in the server list.
- Desc_Full – complete description of your server.
Server:
- VAC_Secure – turns the Valve Anti-Cheat system on or off.
- BattlEye_Secure – toggles BattlEye Anti-Cheat.
Gameplay:
- DayNight_Cycle – adjust the length of day and night cycles.
- Player_Difficulty – sets the default difficulty for players.
- Max_Players – determines the maximum number of players.
The game options mirror those in the in-game (Play → Singleplayer → Config) menu, allowing for a familiar and intuitive setup process.
Unturned multiplayer server setup
If you plan to run multiple servers or set specific server list queries, fine-tuning the settings in Commands.dat and config.json is essential.
To provide a varied experience across your dedicated servers, configure distinct server names and port numbers in the Commands.dat file and different gameplay settings in the config.json file.
Additionally, managing multiple file IDs is essential when configuring various settings for each server. This ensures each server instance is assigned a unique file ID, enhancing the overall server management process.
Furthermore, consider leveraging Unturned server plugins and mods to introduce new features or alter game mechanics. These can be found and managed in the Modules folder.
Regularly test these additions for compatibility and balance, ensuring they contribute positively to the multiplayer servers.
9. Launch your Unturned server
Once the Unturned server configuration is complete, it’s time to start it up and welcome players. This launch server step is crucial to make your server available for multiplayer gaming.
Execute launch commands
The command to start an Unturned server on Linux varies depending on the distribution and your admin preferences. The basic format for an internet server run is:
wine Unturned.exe [options]
The [options] include various parameters setting up player limits, using custom maps, and customizing game modes. For example:
wine Unturned.exe -nographics -pei -normal -nosync -pve -players:16 -sv
Use screen or tmux for detachable sessions
To keep the server running in the background, even if you disconnect from SSH, use tmuxor screen. Start the server using the following command:
screen -S unturnedserver wine Unturned.exe -nographics -pei -normal -nosync -pve -players:16 -sv
To detach from the screen session and leave the server running, press Ctrl + A → D. Reattach anytime with:
screen -r unturnedserver
Guide for players to join
Since you’re the owner of the host computer, you can connect to the server directly by running Unturned through Steam. Click Play → Connect, then enter localhost in the IP field.
Other players will need your server’s IP address to connect. Instruct them to select Join in Unturned’s main menu and enter your VPS’s IP to join your server.
Unturned server backup and maintenance
Maintaining a healthy Unturned server involves regular backups and monitoring server performance. Routinely back up config files such as Commands.dat, config.json, and the entire server directory to secure locations to safeguard against data loss.
Monitoring server performance, mainly CPU and memory usage, is crucial for optimal operation. Use tools like htop for real-time performance tracking.
Keeping the server and mods up-to-date ensures access to the latest features and security patches. Review server logs and player feedback regularly for potential issues or areas for improvement.
Scheduled maintenance is essential for applying updates and performing server restarts. Inform players in advance to minimize unwanted downtime.
Conclusion
In this guide, we’ve explored the process of setting up Unturned private servers, equipping you with the tools and knowledge needed to launch your gaming environment. Following each step, from selecting a reliable VPS to configuring server settings, is crucial to start a server on Unturned.
Remember, the success of a server often relies on regular maintenance and community support. Embrace the challenges and actively seek guidance for further documentation. Here’s to many thrilling survival adventures on your first server!
Discover other game servers you can set up with Hostinger
How to set up a Minecraft server
How to make a Palworld dedicated server
How to host a Rust server
How to create a Counter-Strike 2 server
How to launch a Sons of the Forest server

Paulius is as a Content Editor who excels in creating engaging technology-based content, while his keen eye for detail ensures accuracy in all aspects of his work. In addition to his role, Paulius brings 4+ years of valuable experience to the team, with a particular knack for crafting YouTube-related content. Beyond his professional know-how, he is more than willing to talk to you about everything board games.

Valentinas Čirba, Hostinger's Head of VPS, is a seasoned product leader specializing in VPS products with over ten years of experience. He's an expert at setting product strategy, leading cross-functional teams, and making smart decisions to deliver innovative solutions. Valentinas is committed to creating products that not only meet business objectives but also truly serve the customer. Follow him on LinkedIn.