How to Install LAMP on CentOS 7 – Step-by-Step
Do you want to know how to install LAMP stack on CentOS 7? You have come to the right place! In this article, you will learn about what LAMP stack is and how to install it on your Linux-based server.

Important! CentOS Linux 8 has reached it’s End of Lifetime (EOL) on 2021-12-31. While CentOS Linux 7 is still supported, it will reach EOL on 2024-06-30. We recommend keeping that in mind when choosing this OS. You can read more about it in their official website.
What Is LAMP?
LAMP is short for Linux, Apache, MySQL, and PHP. It is a stack of applications that work together on a web server to host a website. With that being said, each individual program serves a different purpose:
- In LAMP, Linux serves as the server’s operating system that handles all the commands on the machine. We’ll be using the CentOS 7 distribution in this tutorial.
- Apache is a web server software that manages HTTP requests to deliver your website’s content.
- MySQL is a relational database management system (RDBMS) whose function is to maintain user’s data on a server.
- PHP is a scripting language for server-side communication.
Without further ado, let’s learn how to install LAMP on CentOS 7.
3 Steps to Install LAMP on CentOS 7
We’ll divide Apache, MySQL, and PHP installations into different parts to help you understand them better. However, before we dive into the steps, there are a couple of essentials you should know about.
Prerequisites
First of all, make sure that your server already has CentOS 7 installed. At Hostinger, you can choose the operating system on the VPS hosting plan.
To access your server, you can use terminal in Linux and macOS, or Putty in Windows. For more information, read on how to establish a server connection using your SSH details.
Once you have gained access, you have to clean all the cache and update yum (default package-management utility for CentOS) This is to remove old packages on CentOS and get the latest version:
sudo yum clean all
sudo yum update
1. Install Apache
You can easily install Apache using the yum package. On your SSH client, enter:
sudo yum install httpd -y
After that, activate your Apache server by typing the following command:
sudo systemctl start httpd.service
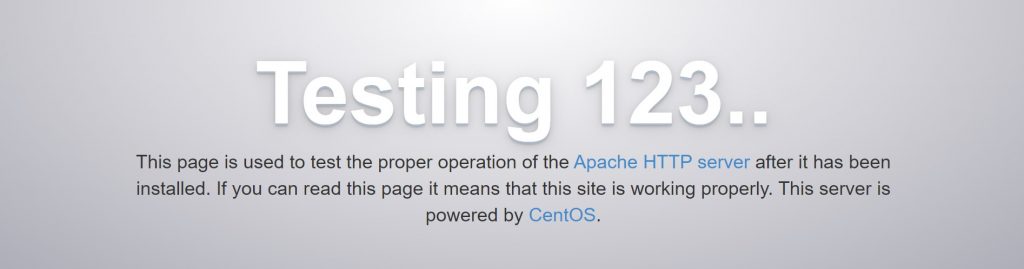
If the installation and activation were successful, you will get this result when you visit the server’s IP address:
2. Install MySQL (MariaDB) Server
MariaDB is the most popular MySQL fork that is free and open source. The command to install the database is as follows:
sudo yum install mariadb-server mariadb -y
Now, let’s start the MariaDB service:
sudo systemctl start mariadb
Once installed, we must secure MariaDB by executing this security command:
sudo mysql_secure_installation
When prompted for a password, you simply hit Enter to leave it blank or type in new password.
After that, follow the instructions to set up your password. Lastly, the script will ask you to configure several security measures, including:
- Remove anonymous users?
- Disallow login remotely?
- Remove test database and access to it?
- Reload privilege tables now?
When you are done with the process, it will send you this message:
Cleaning up...
All done! If you've completed all of the above steps, your MariaDB installation should now be secure.
Thanks for using MariaDB!
3. Install PHP
First, you have to install yum-utils and enable EPEL (Extra Packages for Enterprise Linux) repository:
sudo yum install epel-release yum-utils
Then, download and install remirepo:
sudo yum install http://rpms.remirepo.net/enterprise/remi-release-7.rpm
Enable it:
sudo yum-config-manager --enable remi-php73
To install PHP, use the following command:
sudo yum install php php-common php-opcache php-mcrypt php-cli php-gd php-curl php-mysqlnd
If you want to check the version, type php -v and you should get this result:
PHP 7.3.9 (cli) (built: Aug 27 2019 22:52:39) ( NTS )
Copyright (c) 1997-2018 The PHP Group
Zend Engine v3.3.9, Copyright (c) 1998-2018 Zend Technologies
with Zend OPcache v7.3.9, Copyright (c) 1999-2018, by Zend Technologies
Restart your Apache server to ensure that it’s working with the newly installed PHP:
sudo systemctl restart httpd.service
The next step is to test PHP processing. To do that, we need to create info.php file and put it on the default PHP directory (/var/www/html). You can use nano editor for this:
sudo nano /var/www/html/info.php
Then, insert this code inside:
<?php phpinfo(); ?>
Use CTRL+X to exit and save the file. The last thing is to check your server by visiting the info.php URL:
http://your.ip.address/info.php
The page should look like this:
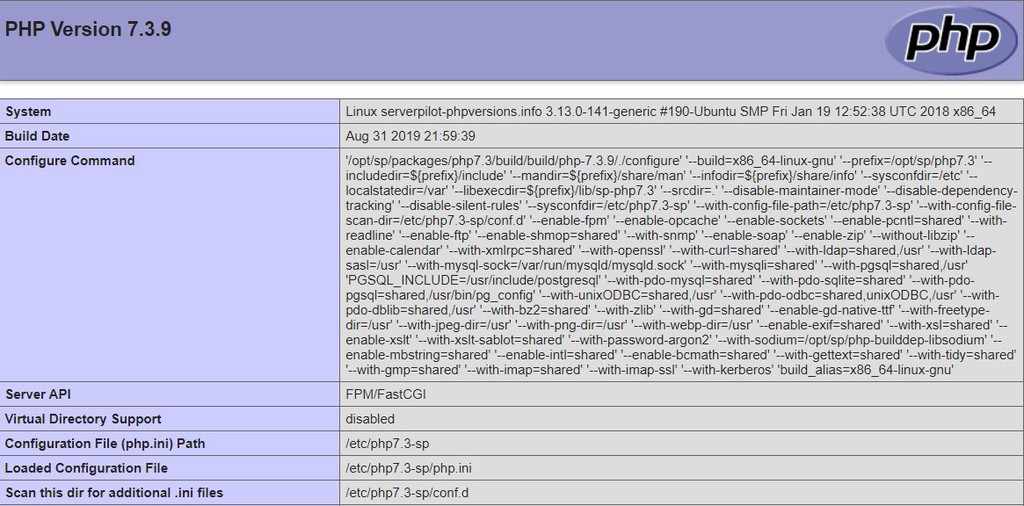
Good job! This means PHP is installed and running on your server. You have successfully installed LAMP on CentOS 7.
Conclusion
LAMP stack is an essential set of programs for web development. It consists of Linux, Apache, MySQL, and PHP. They work hand in hand to help you manage a server or VPS.

Our tutorial has shown you how to install LAMP stack on CentOS 7. Here’s our brief summary of all the steps.
- Make sure your server runs on CentOS 7. Then, clean the cache and update to the latest packages.
- Install Apache and then check if it’s already enabled on your server.
- Install MySQL with MariaDB and run a security command to secure your database.
- Install PHP and test PHP processing by creating info.php file.
Learn More About CentOS
How to Change Hostname on CentOS
How to Set Timezone in CentOS
How to Install Let’s Encrypt SSL on CentOS
How to Disable Selinux on CentOS

Edgaras is a veteran server administrator at Hostinger. He makes sure that every server runs at full throttle and has all the latest technological advancements. When he's not working, Edgaras enjoys skiing and exploring the world.

Comments
March 27 2020
Nice guide, just one step missing on php installation. After enabling remi repo: sudo yum-config-manager --enable remi-php73 php has to be installed, I did following this command: sudo yum install php php-common php-opcache php-mcrypt php-cli php-gd php-curl php-mysqlnd Please update, rest of te guide is fine.
April 24 2020
Hey Sam, Thanks, updated.
February 09 2023
Hi, Thank you very much for this tutorial, but how can I access to "info.php" through another computer in same network? Please I need your Help.