How to Install Let’s Encrypt SSL on VPS Running Webmin/Virtualmin

Let’s Encrypt is the go-to choice for those who need a free SSL certificates. And luckily for Webmin users, SSL certificates from Let’s Encrypt can be requested and installed directly from the web-based control panel.
In this tutorial, we will explain how to install Let’s Encrypt SSL on a VPS running Webmin.
Why Do You Need SSL Certificates From Let’s Encrypt?
There are many methods of protecting a website, and enabling an SSL certificate is one of them. SSL (Secure Sockets Layer) secures your connection by encrypting the data sent between the browser and the server.
Most popular web browsers like Chrome and Firefox alert the users when they’re on a non-secure website. As such, having an SSL can help you gain visitors’ trust and improve the site’s credibility.
Unfortunately, due to its cost, many websites do not use SSL. To address this issue, the Internet Security Research Group (ISRG) set up a free certificate authority named Let’s Encrypt. It currently serves more than 150 million websites.
Installing Let’s Encrypt SSL on VPS by Using Webmin
Installing Let’s Encrypt SSL by using Webmin is pretty easy and quick. Follow the steps below to know how to do it.
Step 1: Enable SSL Settings
Before we proceed, make sure that you already set Webmin as your VPS operating system.
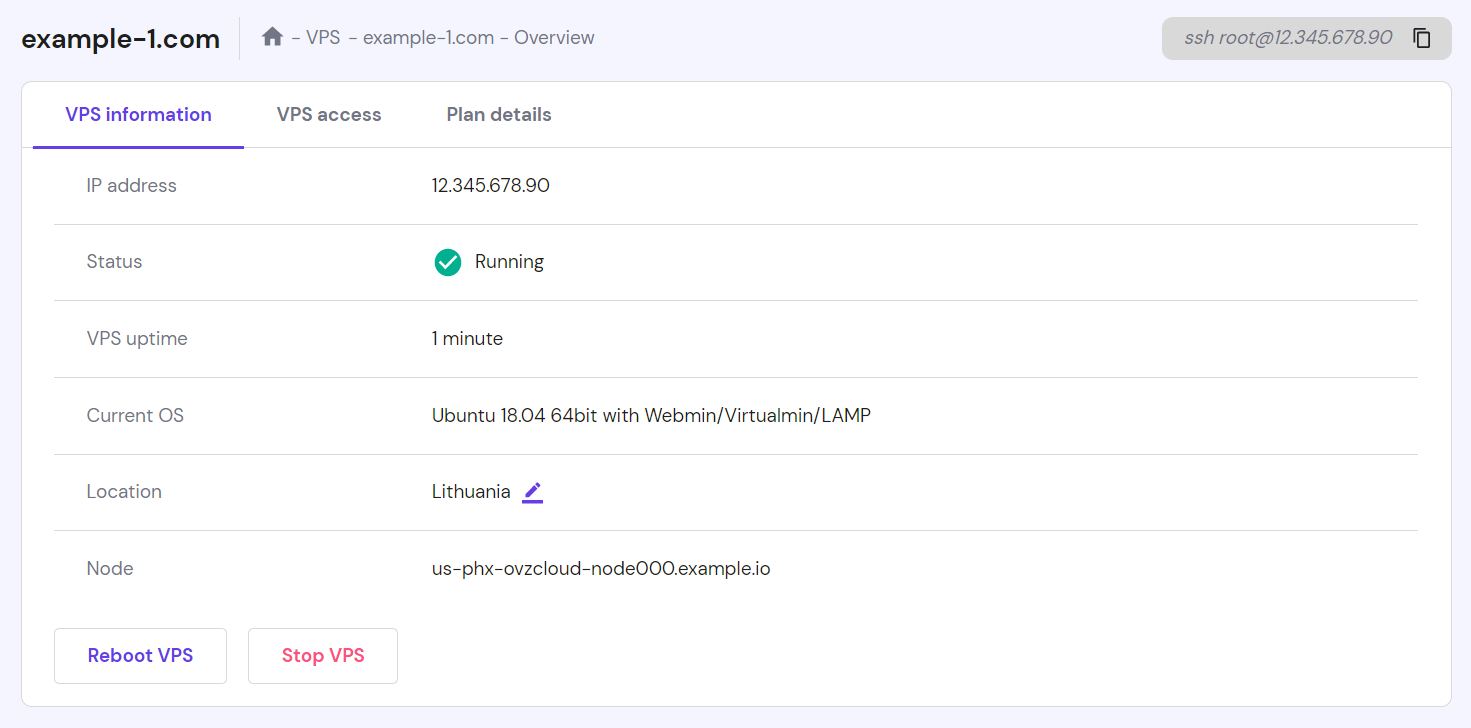
Log in to the Hostinger’s hPanel and head to the Servers tab. Then, find Other settings section and change the operating system to Ubuntu 18.04 64bit with Webmin/Virtualmin/LAMP. Press Save changes.
After that’s done, we need to log in to your Webmin and enable the SSL option for your website:
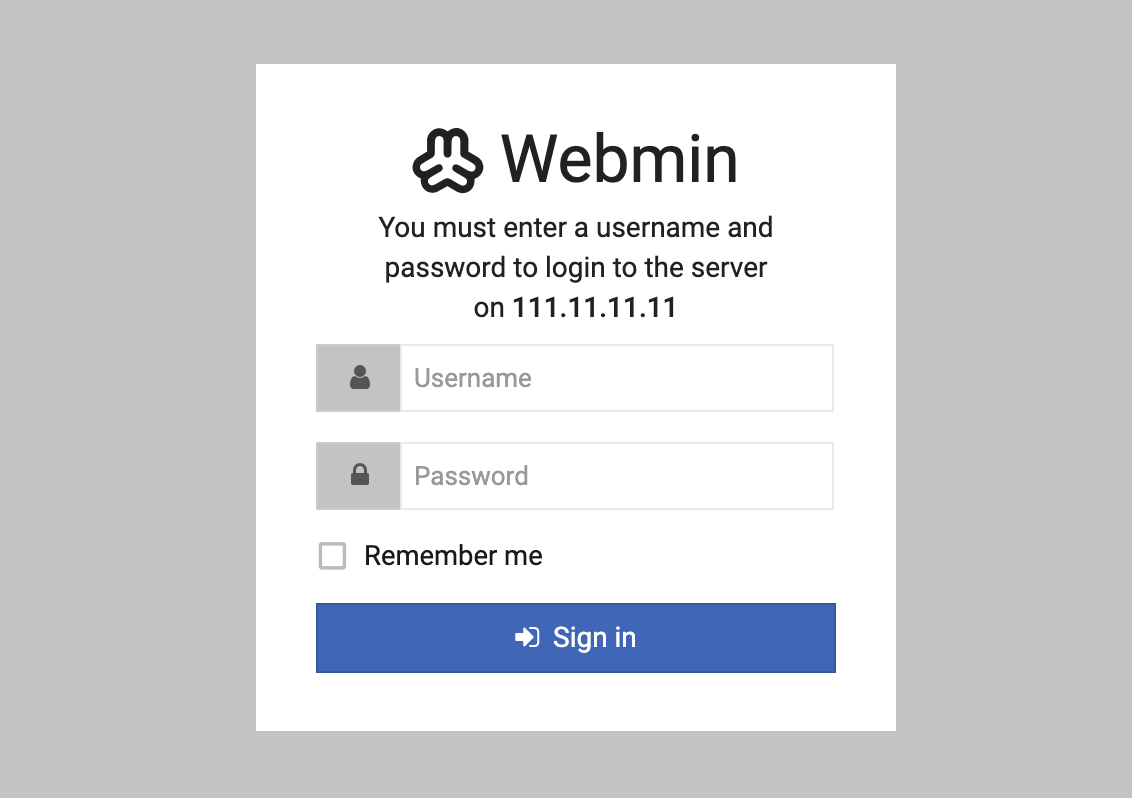
- Login to your Webmin/Virtualmin by typing https://your.vps.ip.address:10000. The IP address along with your login credentials can be found in the hPanel’s Servers tab.
- You’ll be prompted with a warning from the browser. For Chrome users, click Advanced and select Proceed to [your IP address].
- Enter your login credentials. If you forgot your password, find the Root password option in the hPanel’s Servers tab and reset your password from there.
- Once logged in, select the Virtualmin tab from the sidebar menu, and click Edit Virtual Server. If you haven’t set up a Virtual Server, follow this tutorial for guidance.
- Head over to the Enabled Features section and tick the Apache SSL website enabled? option. Hit Save Virtual Server.

Step 2: Install Let’s Encrypt SSL on Your VPS
Once SSL is enabled, we can install the Let’s Encrypt certificate from your Webmin:
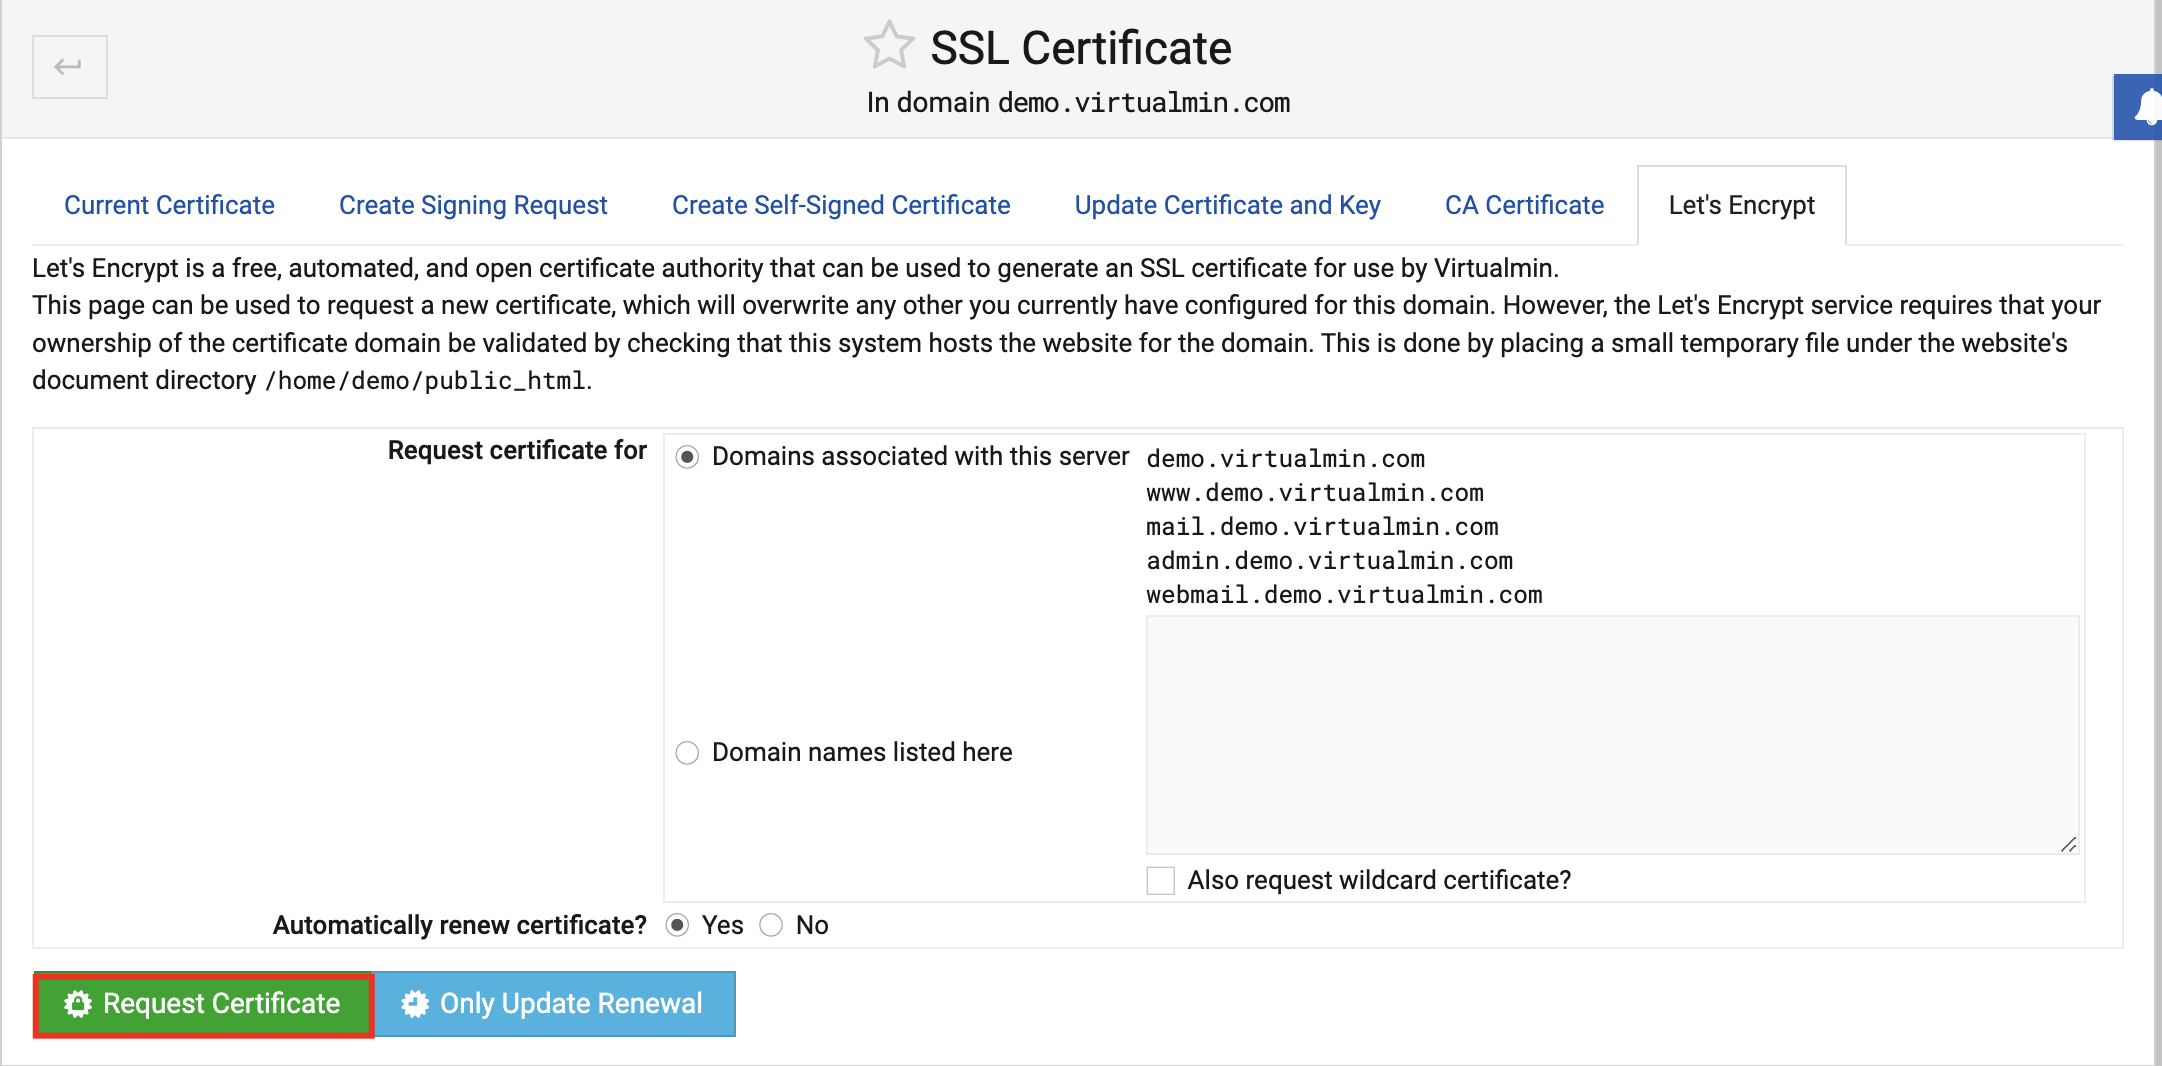
- From the Virtualmin panel, head over to Server Configuration -> SSL Certificate. Then, select the Let’s Encrypt tab and allow some time for this section to load.
- Adjust the following settings according to your needs:
- Request certificate for — two options are available: Domains associated with this server and Domains listed here. Choose the former to install the certificate on your virtual hosts’ default domain names. However, if you need to install the certificate on other domains and subdomains within the same server, choose the latter and enter the domain names.
- Months between automatic renewal — Let’s Encrypt certificates are valid for 90 days. Hence, the value of this option should not be more than three.
- Once you’re done making changes, click Request Certificate.
That’s it! You should now be able to access your website using the HTTPS protocol.
If you want to automatically redirect all of your website traffic to the HTTPS version of your site, refer to this tutorial.
Suggested Reading
If you have a VPS running CentOS 7, you can check our guide on installing an SSL on CentOS 7.
Conclusion
There you have it! In this tutorial, you have learned how to install Let’s Encrypt SSL certificate on a VPS running Webmin. Simply enable the SSL option from your Webmin, and then request the certificate. Pretty easy, isn’t it?
So what are you waiting for? Go ahead and secure your website!

Linas started as a customer success agent and is now a full-stack web developer and Technical Team Lead at Hostinger. He is passionate about presenting people with top-notch technical solutions, but as much as he enjoys coding, he secretly dreams of becoming a rock star.

Comments
December 12 2020
How to install Free SSL on a VPS Ubuntu 18.04? I did not found any article on this.
February 09 2021
Hi, Jon! If you're still not able to install it, please check with our Customer Success team - they'll be happy to assist you :)
September 17 2021
Hello Linas L. This is extremely helpful thank you very much! One note - On step 1.4 and 2.0 you mention to go to the Webmin tab on the left nav, however the settings you listed were actually found in the Virtualmin tab. Thank you so much for writing this!
September 21 2021
Hi Alex, thanks for pointing that out - we'll update the article soon!