How to Install Magento 2 Manually
Choosing an eCommerce platform may seem challenging since there are many options to choose from. One popular choice is Magento, an open-source eCommerce platform for managing and customizing online shops.
This article will cover the process of installing Magento 2.4.5 on a virtual private server hosting running Ubuntu 20.04.
Download Business Plan Template
System Requirements
Before installing Magento 2.4.5, your system must meet the system requirements:
- Apache 2.4 or NGINX 1.18
- MySQL 8.0
- PHP 8.1
- Elasticsearch 7.17 or OpenSearch 1.2
- Composer 2.2
- A Magento marketplace account
Important! Magento 2 only works on our VPS Hosting because it requires technologies that are not available on Web Hosting or Cloud Hosting plans.
Begin by fulfilling all of the system requirements – upgrading the operating system and installing the web server, MySQL, PHP, and a search engine.

Upgrade the Operating System
Log in to your VPS and upgrade the operating system with the following commands:
sudo apt-get update
sudo apt-get upgrade
Install the Web Server
You can use Magento 2 with either Apache or NGINX web server. In this tutorial, we will go with Apache. To install and configure it, follow these steps:
- Install Apache:
sudo apt-get -y install apache2
- Then, verify the installation:
apache2 -v
You should see an output similar to the following:
Server version: Apache/2.4.41 (Ubuntu) Server built: 2022-06-14T13:30:55
- Enable the Apache rewrite module:
a2enmod rewrite
- Enable .htaccess support by opening the default Apache configuration file with your preferred text editor:
sudo nano /etc/apache2/sites-available/000-default.conf
- Add the following code to the end of 000-default.conf file:
<Directory "/var/www/html">
    AllowOverride All
</Directory>
- Restart Apache:
service apache2 restart
Install MySQL
MySQL 8.0 is needed for Magento 2.4.5. Follow these steps to install and configure it:
- Install the MySQL server:
sudo apt install mysql-server
- Check its current status:
sudo service mysql status
You should see something like this:
 mysql.service - MySQL Community Server
     Loaded: loaded (/lib/systemd/system/mysql.service; enabled; vendor preset: enabled)
    Active: active (running) since Tue 2023-01-24 05:52:58 UTC; 45min ago
   Main PID: 10304 (mysqld)
    Status: "Server is operational"
      Tasks: 39 (limit: 614)
     Memory: 349.7M
    CGroup: /system.slice/mysql.service
             └─10304 /usr/sbin/mysqld

Jan 24 05:52:57 myvps.tld systemd[1]: Starting MySQL Community Server...
Jan 24 05:52:58 myvps.tld systemd[1]: Started MySQL Community Server.
- Open MySQL:
mysql -u root -p
- Enter the following commands one after another to create a magento database:
create database magento;
create user 'magento'@'localhost' IDENTIFIED BY 'magento';
GRANT ALL ON magento.* TO 'magento'@'localhost';
flush privileges;
- Enter exit to quit the prompt.
- Verify the database:
mysql -u magento -p
If it asks for a password, use magento. If the database is working properly, you should see a screen like this:
Welcome to the MySQL monitor.  Commands end with ; or \g.
Your MySQL connection id is 12
Server version: 8.0.31-0ubuntu0.20.04.2 (Ubuntu)

Copyright (c) 2000, 2022, Oracle and/or its affiliates.

Oracle is a registered trademark of Oracle Corporation and/or its
affiliates. Other names may be trademarks of their respective
owners.
Install PHP
Next, you must install PHP with all the required extensions. Refer to the official Magento documentation for the step-by-step tutorial.
Install a Search Engine
Magento also requires a search engine. You can use Elasticsearch or OpenSearch. For this tutorial, we have installed Elasticsearch 7.17.
Install Magento 2
Once your system has fulfilled all the requirements, install Magento 2 using Composer:
- Open your preferred Magento 2 installation directory:
cd var/www/html/magento2
- Add <app_root>/bin to your system PATH:
export PATH=$PATH:/var/www/html/magento2/bin
- Get the Magento metapackage. In this tutorial, we will use Magento Open Source 2.4.5 package:
composer create-project --repository-url=https://repo.magento.com/ magento/project-community-edition=2.4.5 <install-directory-name>
Make sure to replace the <install-directory-name> part with the actual install directory. If you encounter errors about missing PHP extensions, install them and get the Magento metapackage again.
Pro Tip
You will need to enter authentication keys from the Magento marketplace whenever you install Magento for the first time. The public key will be your username, and the private key will be your password.
- Run the following commands one by one to set the correct permissions:
cd /var/www/html/<magento install directory>
find var generated vendor pub/static pub/media app/etc -type f -exec chmod g+w {} +
find var generated vendor pub/static pub/media app/etc -type d -exec chmod g+ws {} +
chown -R :www-data . # Ubuntu
chmod u+x bin/magento
Make sure to replace <magento install directory> with the actual install directory.
- Use the following command to install Magento using its default settings:
bin/magento setup:install \
--base-url=http://localhost/magento2 \
--db-host=localhost \
--db-name=magento \
--db-user=magento \
--db-password=magento \
--admin-firstname=admin \
--admin-lastname=admin \
--admin-email=admin@admin.com \
--admin-user=admin \
--admin-password=admin123 \
--language=en_US \
--currency=USD \
--timezone=America/Chicago \
--use-rewrites=1 \
--search-engine=elasticsearch7 \--elasticsearch-port=9200 \
--elasticsearch-host=localhost \
--elasticsearch-index-prefix=es-host.example.com \
--elasticsearch-timeout=15
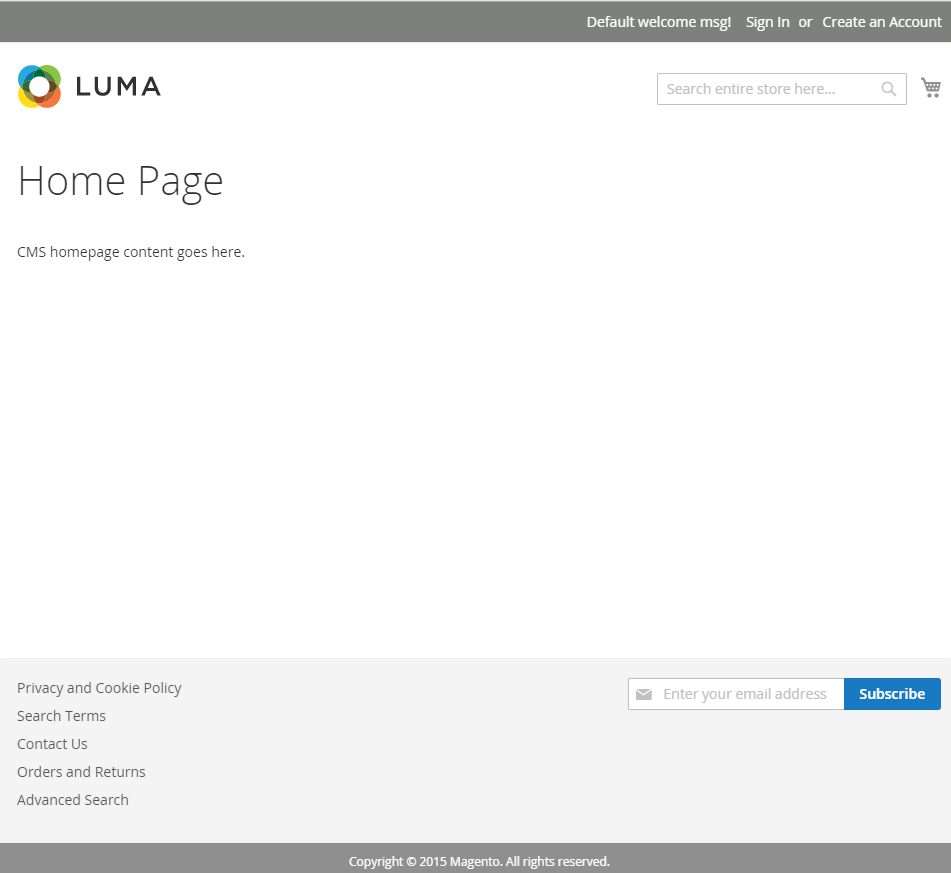
- After the installation, confirm whether Magento 2 is working by opening the storefront URL, specified as base-url in the previous step. In our case, it will be http://localhost/magento2. Make sure to replace localhost with the actual IP address.
That’s it, Magento 2 is now installed. For further configuration details, refer to the official documentation.
Conclusion
Magento is a very powerful tool for creating and managing online stores.
In this tutorial, we’ve covered how to install Magento 2 manually. We hope this article has helped you set up Magento 2 on your Linux server.
If you have any questions, leave them in the comments section below.

Ignas takes great satisfaction in helping people tackle even the most complex technical issues. His current goal is to write easy-to-follow articles so that these issues will not happen at all. During his free time, Ignas likes to play video games and fix up things around his house.

Comments
August 29 2017
Hi I installed Magento 2.1.8 in a public_html subfolder mydomain.com/store as i already have a live store and was planning to build a new site to test, but how do I access Magento Admin to do the setting. What URL would it have?